Categories
Boat Building Epoxy Tools Uncategorized wood work

Steps, decks, doublers and more.

Building not writing.

It’s been a good holiday season for me and the boat, powered by a strongly recovering wrist, a desperation to make real progress, and the inspiring industriousness of Troy’s work.

Thankfully, I’ve been able to afford to have Troy and his assistant Luke working on the boat for longer periods. There is something about professionals, and their detachment from a project, that has a momentum I’ve never been able to hold when boatbuilding. It’s a freedom from all the stifling yet wonderful choices many of us have as owner-builders. The agony and the ecstasy.

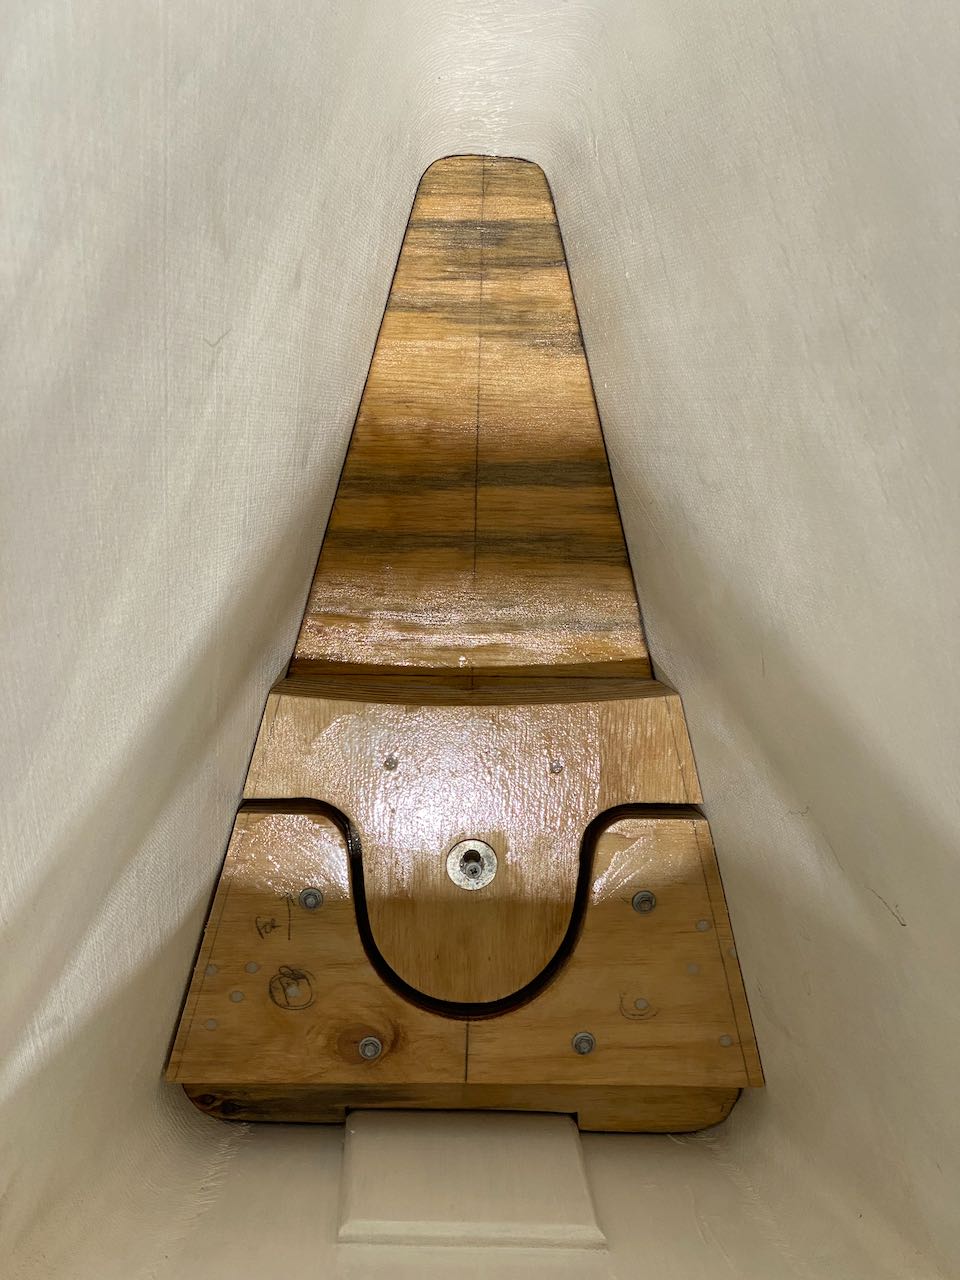
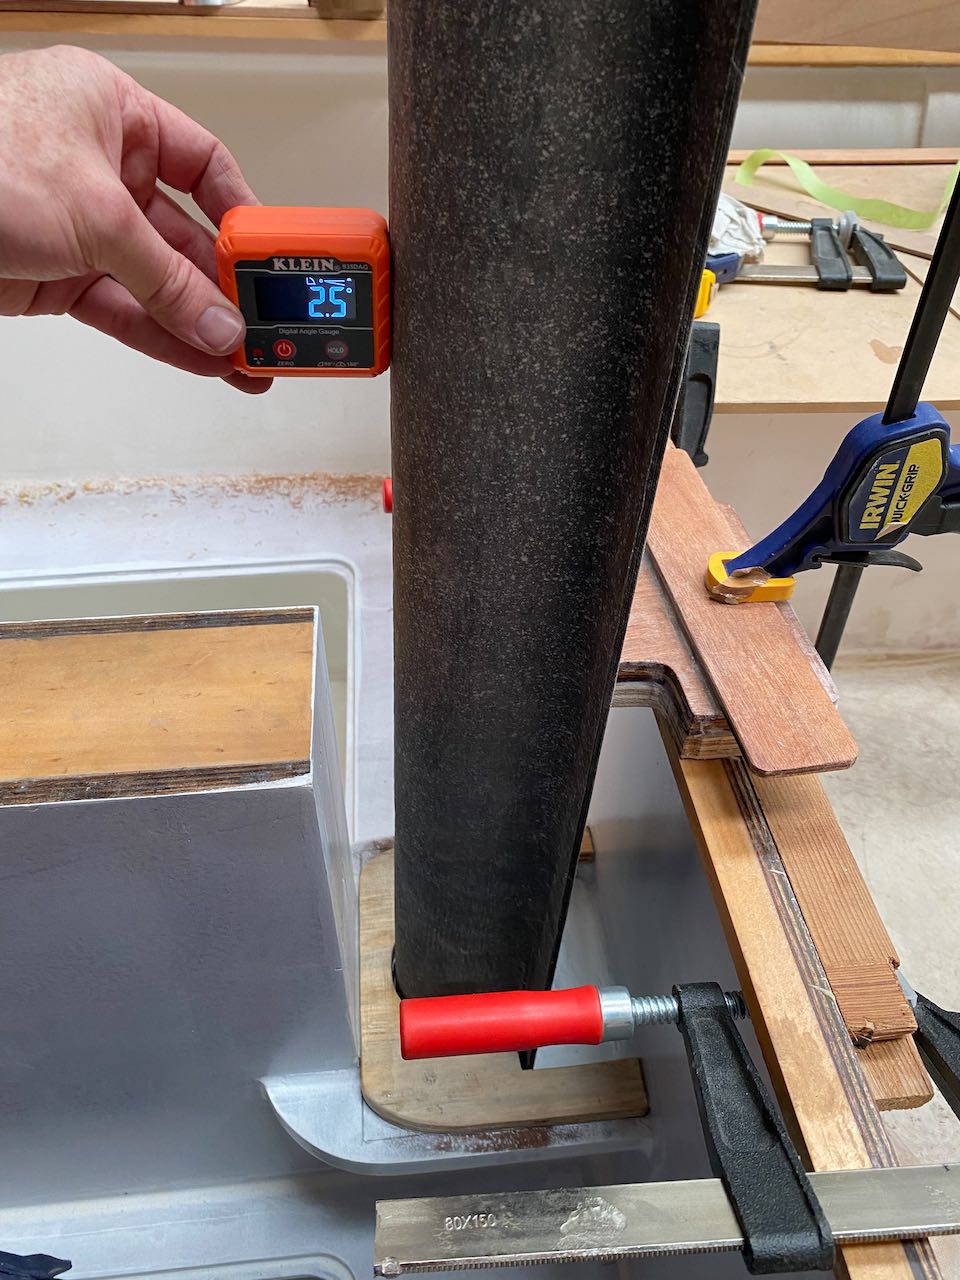
The forward tabernacle step is painted and installed and fits the part like a glove. I had to purchase a cute little angle-o-meter to set the rake, and wow does this work well.

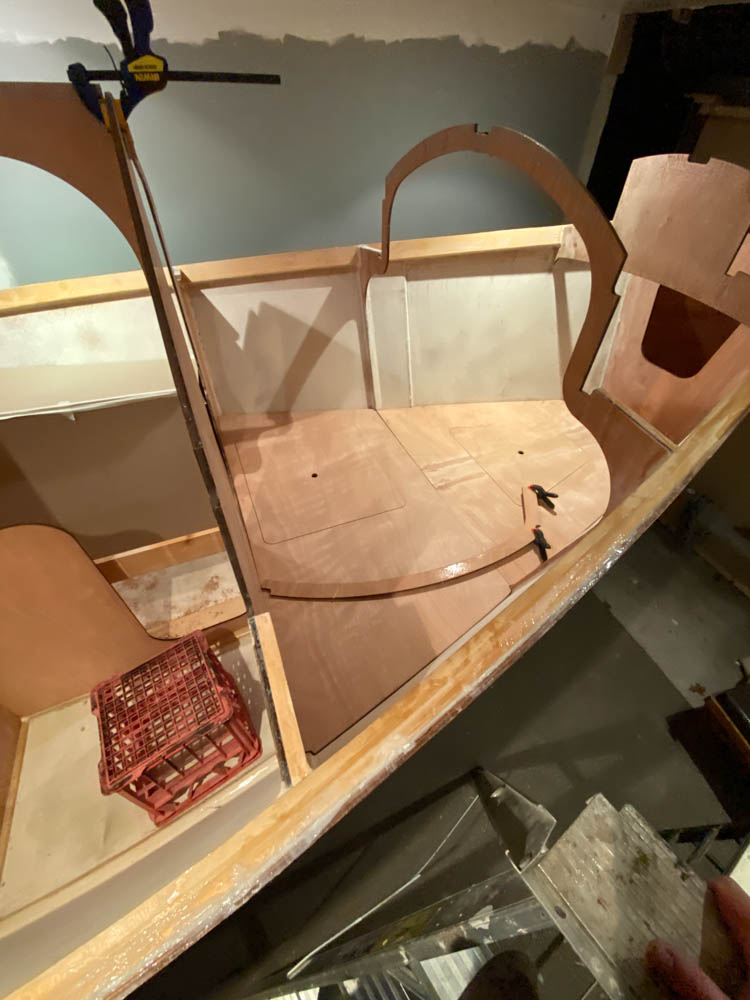
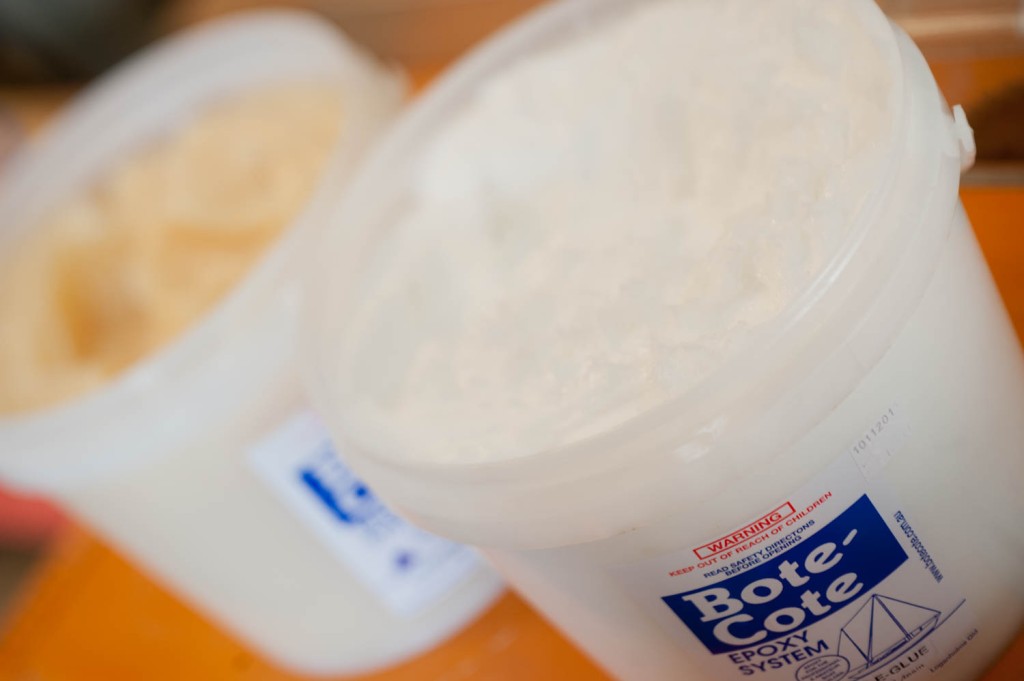
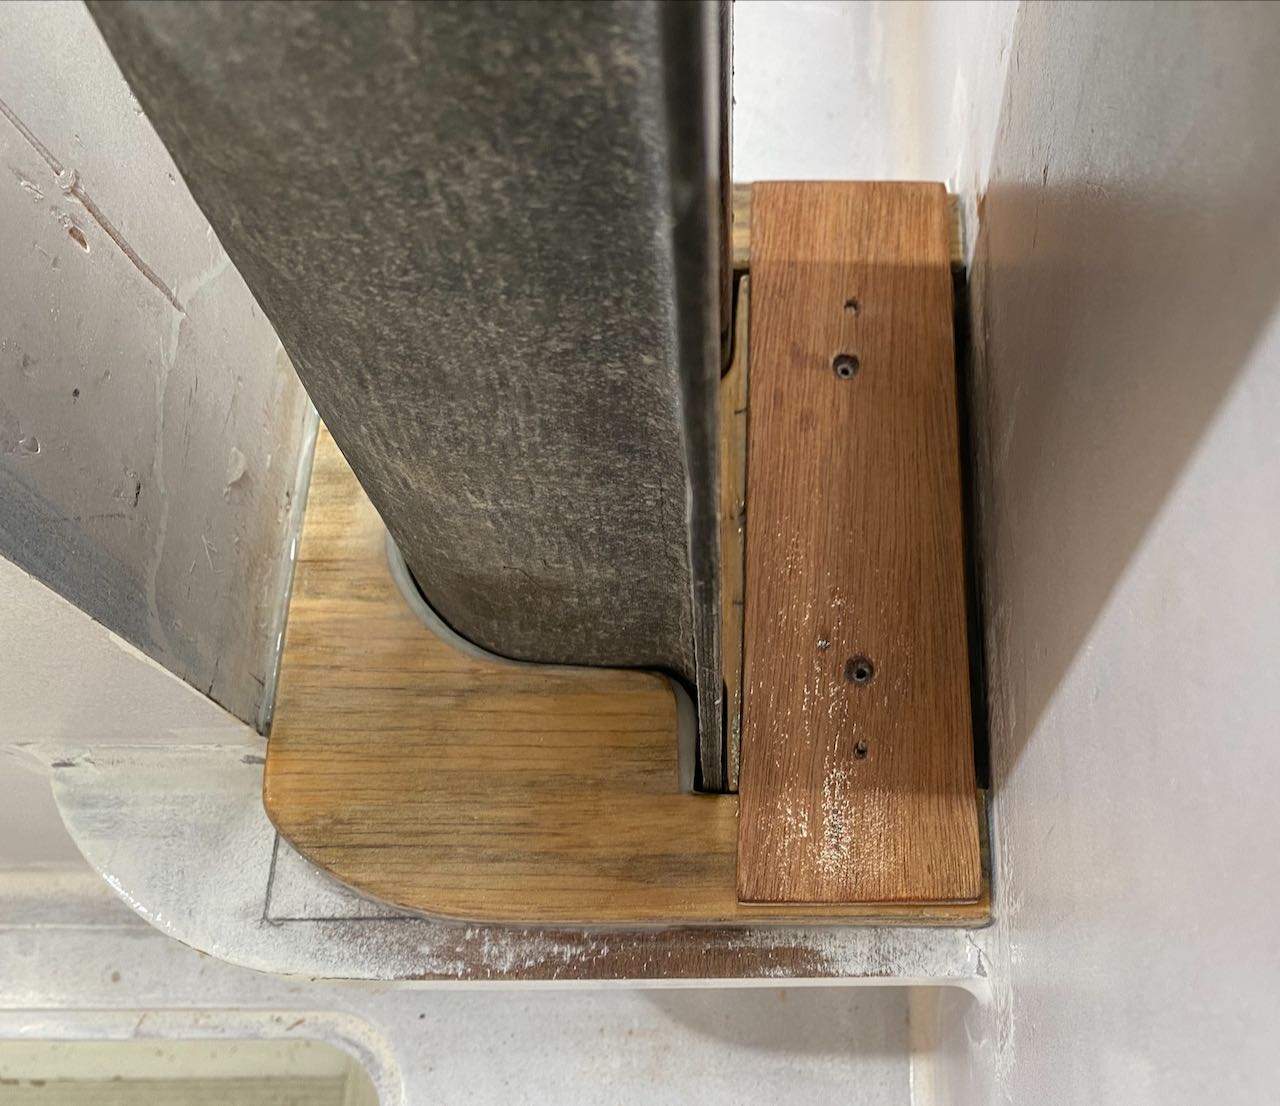
The mizzen tabernacle step had to be beefed up, I realised this when the main was complete, so I set about adding another layer of 16mm ply to the existing fixed ‘socket’. The mating fit of this to the horseshoe curve of the carbon tabernacle is important so the stress load is well shared. I used Botecote Epox-e-glue to perfect the fit as a moulding paste. I protected the carbon tabernacle with slippery packing tape so it wouldn’t stick in there. It worked a treat.

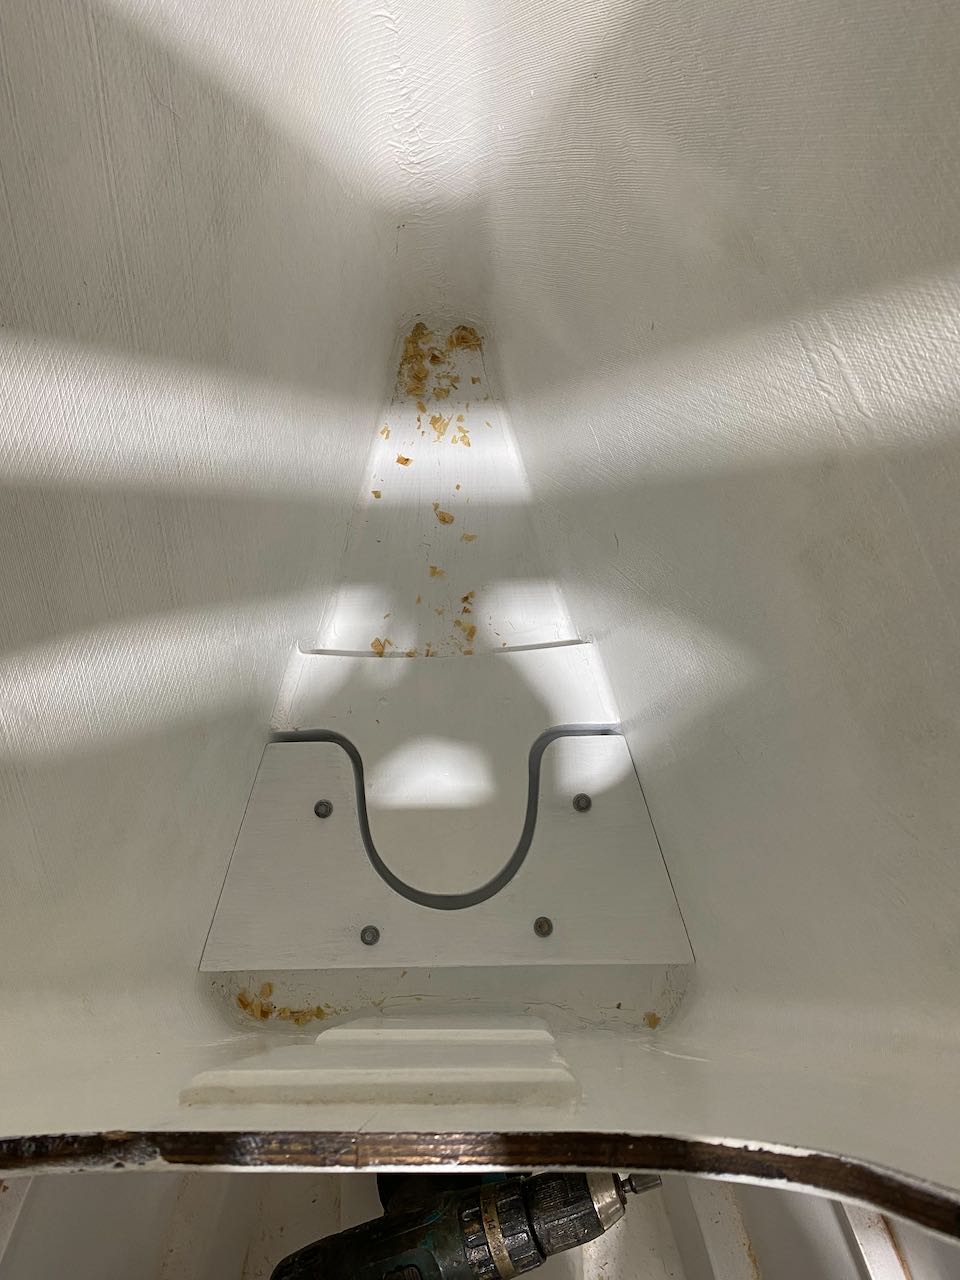
Next the plug, or key had to be made, this is a removable piece of ply that fits the inside of the carbon, and evenly clamps the tabernacle in place. Again the angle-o-meter was employed to ensure a rake of choice could be made. All this needs now is paint, and so it waits until the can is opened for a larger job.

Meanwhile….

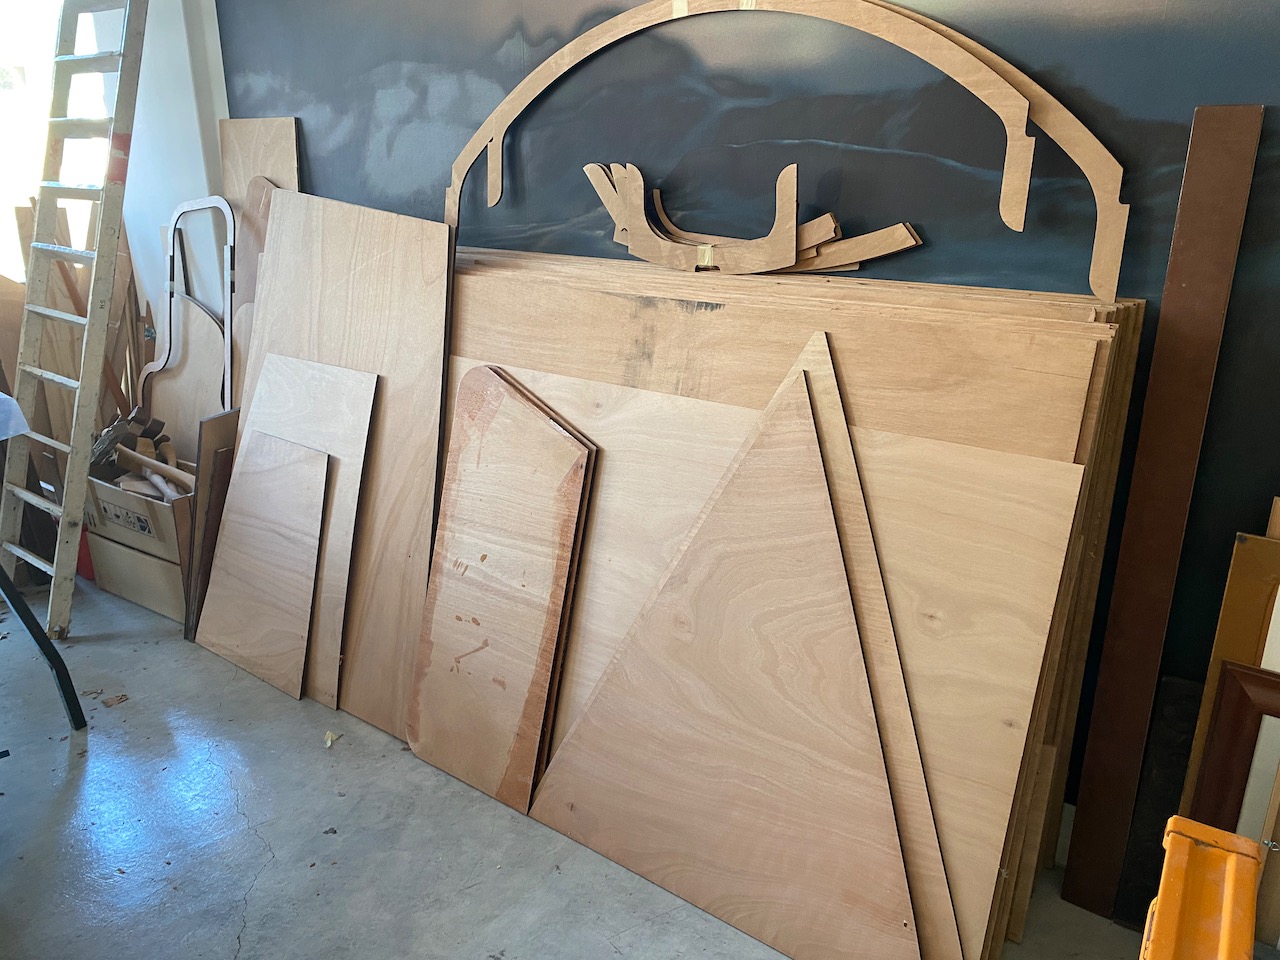
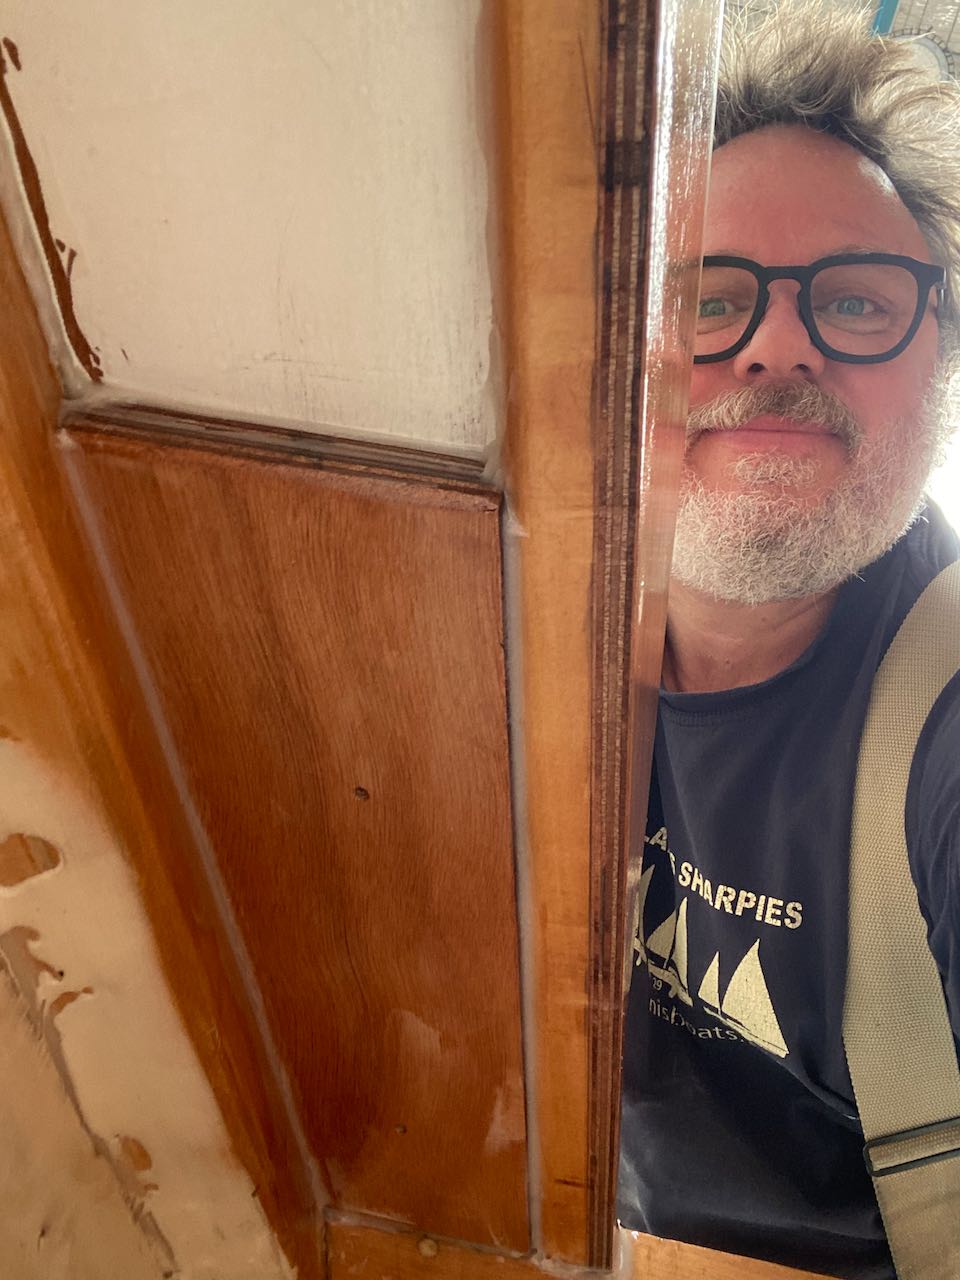
Troy and Luke have powered through a final sheer fairing, which I joyfully weighed in on. There is nothing better than contemplating, discussing and tweaking the sheerline. They then set about joining and laying the side decks and cabin sides. Wow this has changed everything. It’s a BIG marker of progress. They did a great job.

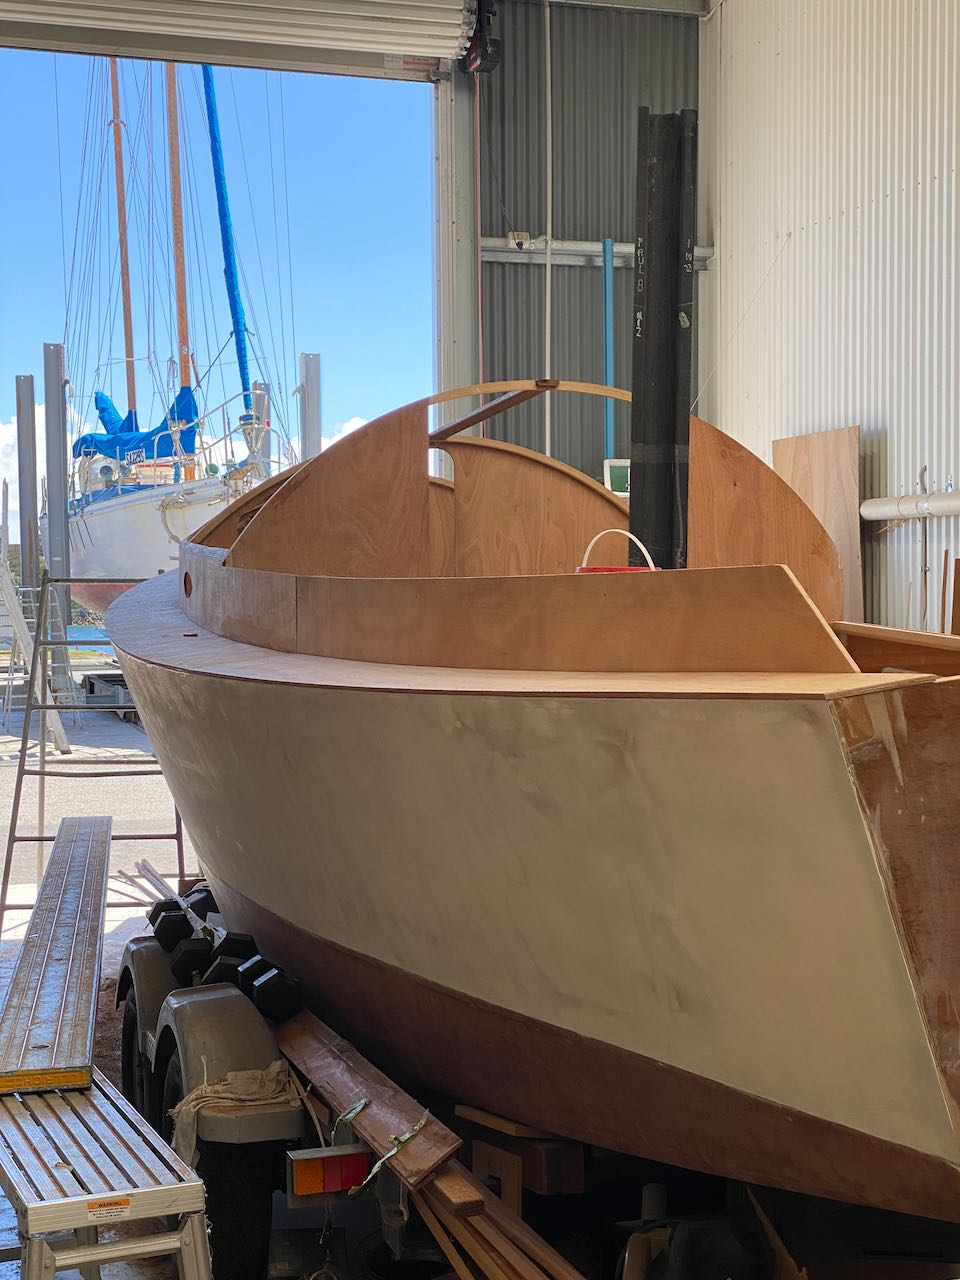
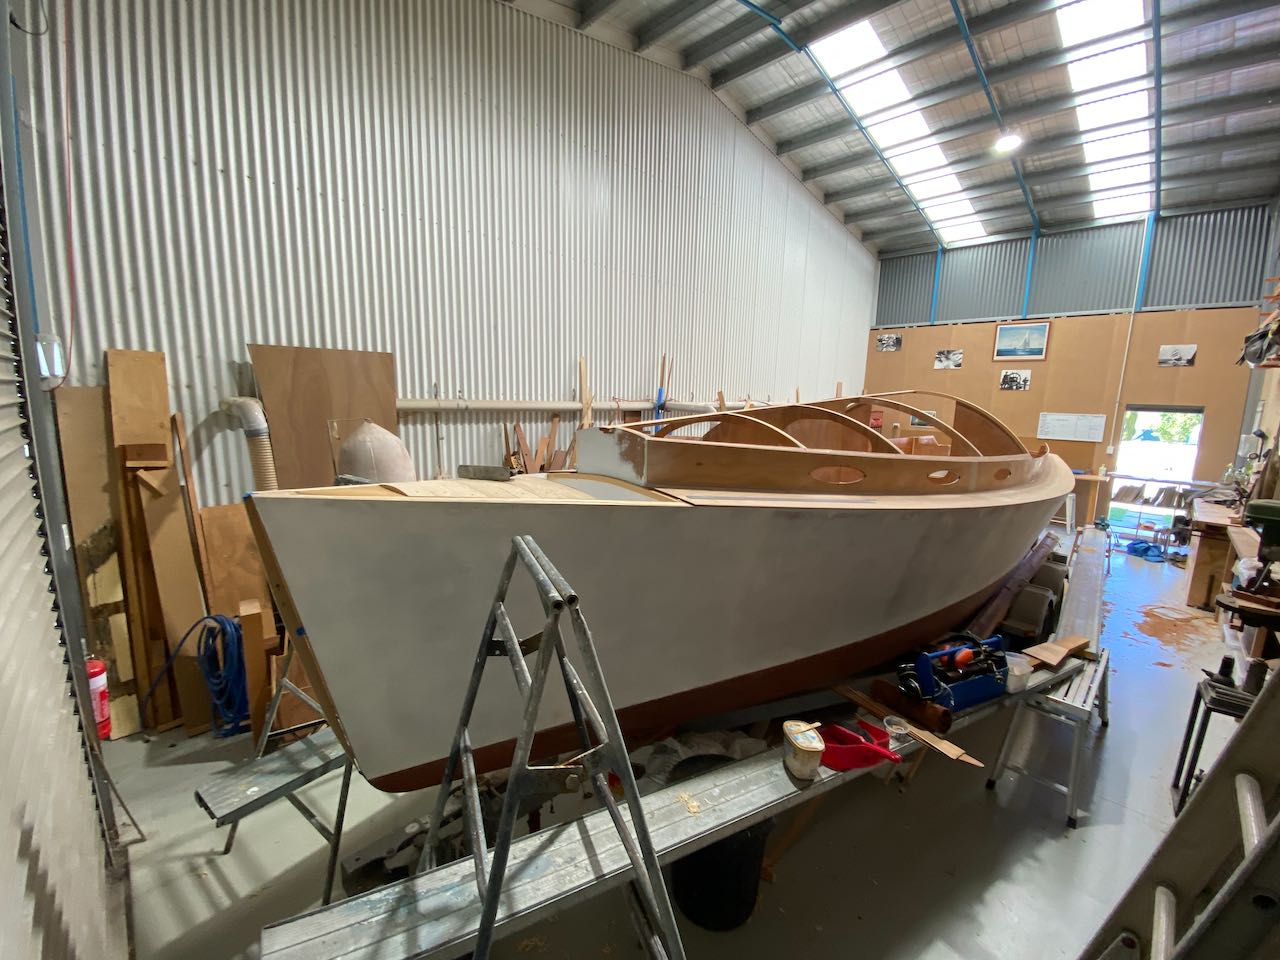
I followed up with a bit of cleanup and epoxy coating of bits of the underside. Troy had pre-coated and pre-painted these, but there were parts needing finishing.

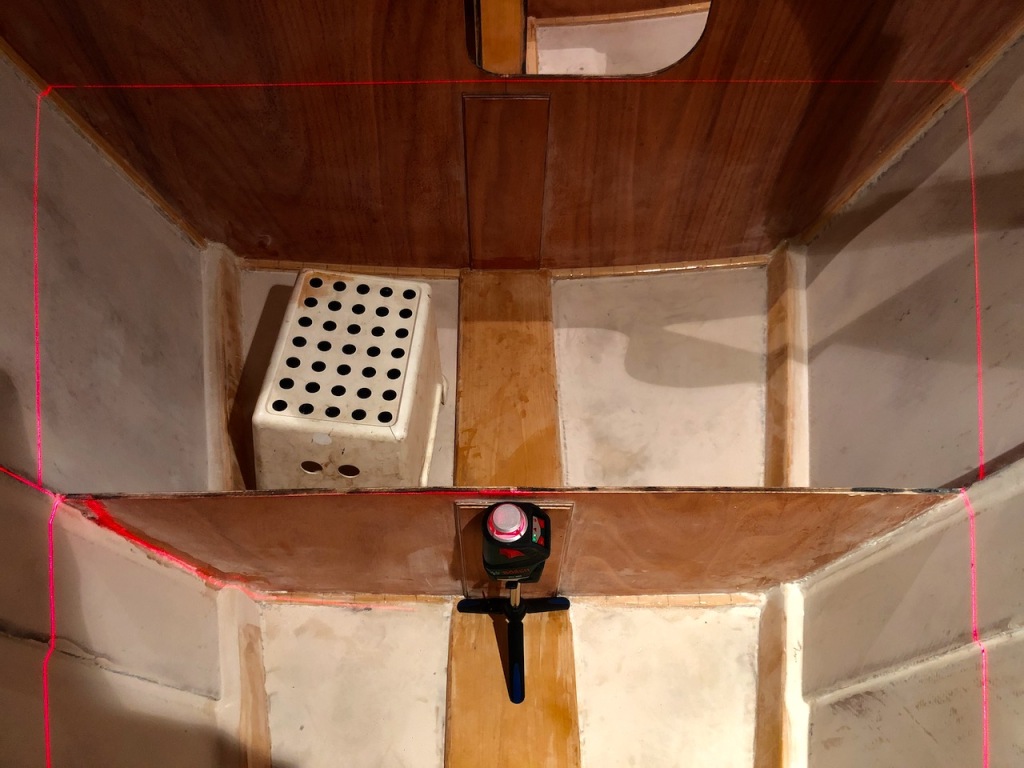
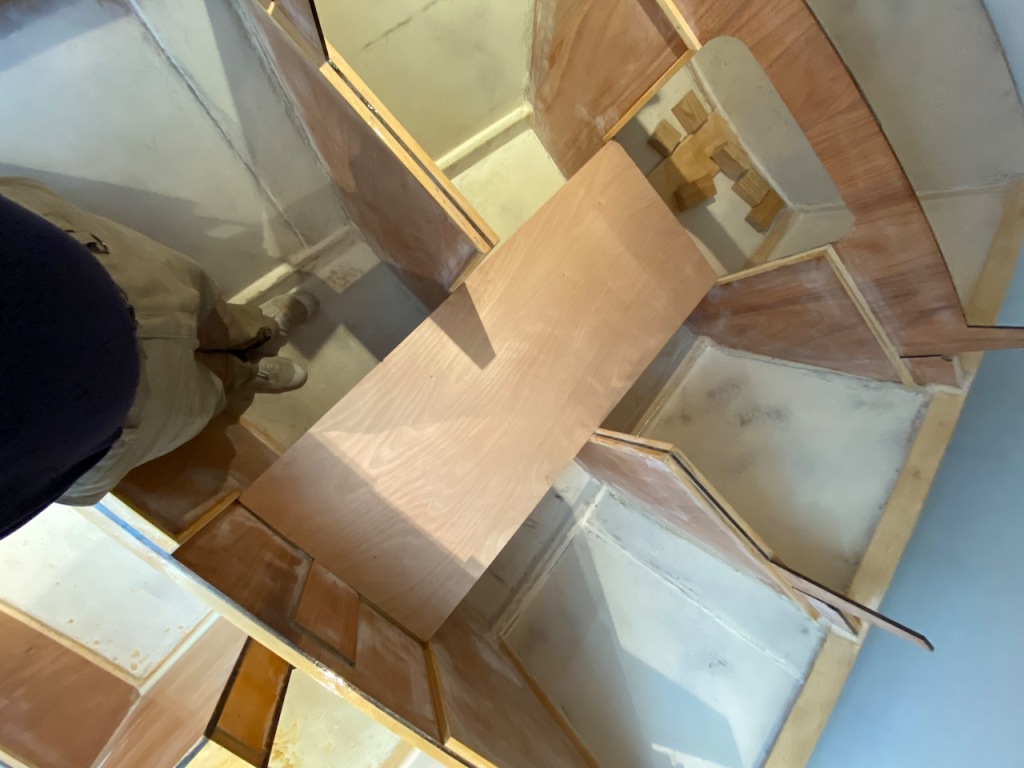
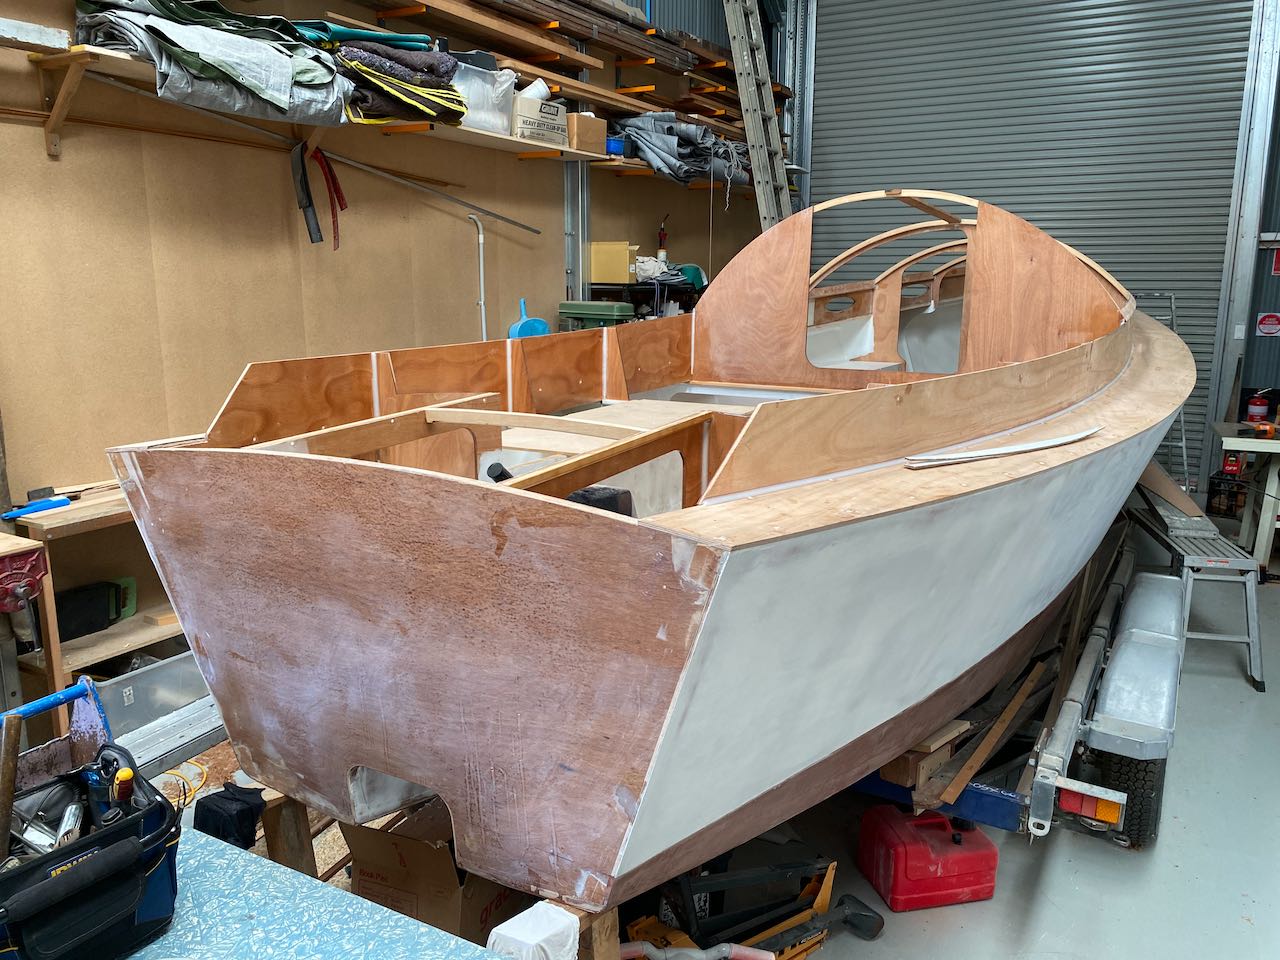
We both missed the critical stern quarter deck doublers (under deck cleat support), and these are complex little shapes, not a square edge in sight. So I set about fashioning these up out of laminated 9mm ply and set them in a mortar of e-glue, oozing everywhere. Access to these is through the wet lockers in the stern, the areas either side of the outboard well. With the central stern decking still off, it didn’t require too much contortion.

Once the deck doublers were cleaned up and sanded, the lockers begged for several coats of clear epoxy as they are likely to get banged about with fuel tanks other easily forgotten smell sources. This now all done, the next step is more paint, off-white Aquacote, brings in the light and is easy on the eye.

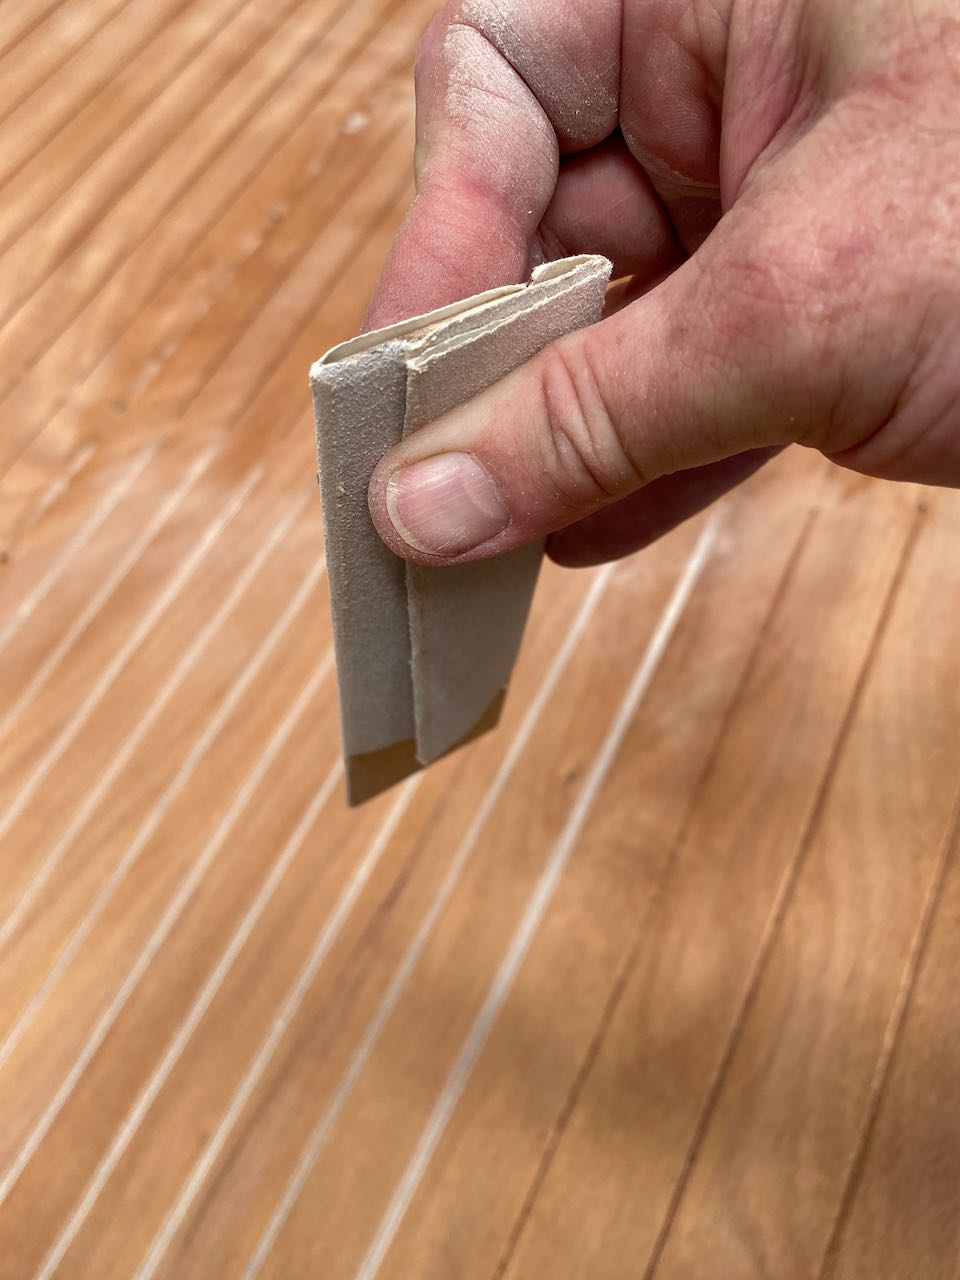
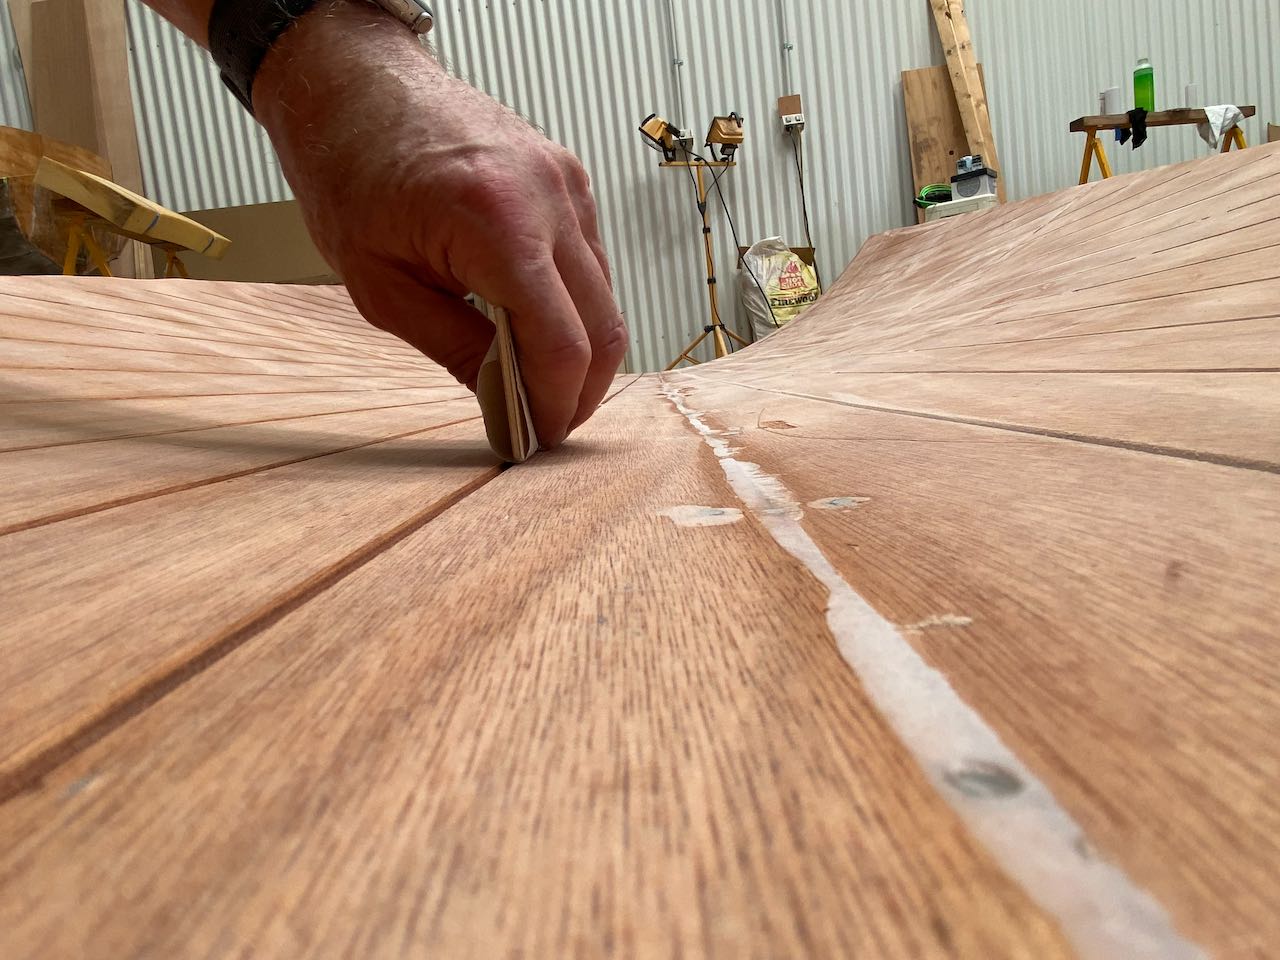
To truly test my resolve and stamina, I’ve been tackling sanding and epoxy coating the underside of the cabin top. Thankfully Troy had laminated this and popped it off, upside down on the ground. You may remember that I had the brilliant idea of longitudinal cove grooves to create a handsome effect…well each groove needs sanding and careful brushing, 3 coats of epoxy, 3+ coats of paint.

A true test of the fresh wrists, knees and back.

Categories
Boat Building Epoxy norwalk island sharpie Tools wood work

Working inside and out

Troy and I have a bit of a routine going on where he and his crew will work on the bigger external items while I fiddle and fart over the internal details.

Troy’s first project, the motor well, is almost finished, it is just needing some filling and fairing before paint. The fuel lockers are mostly in place and the back deck when fitted will lock it all up. However the lack of a back deck is providing an excellent access route into the boat. This is a surprisingly important consideration as getting in and out of a boat on a trailer requires stair-master effort. And having an easily distracted disposition, I’m in and out like a fiddler’s elbow.

Troy is currently working on the cabin sides and top, yay! and it’s really stating to tie up the top of the boat. The tops of those bulkheads are unsupported and have been at risk the entire build. Amazingly I’ve only broken one in the ten years and that was when the boat was being turned over!

Deck carlins fitted and faired ready for the cabin sides and top

Meanwhile, I’ve been working on the quarter berths and settees. The process involves fitting the risers and tops, designing and cutting the hatches then painting out the insides. I’ve been spiling like a real boatbuilder as they all are complex fits.

Painting out the lockers
Quarter berth foot wells

I believe I have tried every spiling method; stick and board, 6mm MDF template fit by tracing, and lastly, hot glue gun and 3mm MDF strips. Every single method has produced mistakes no matter how careful I am. The fastest has been the MDF strips, but it also made the poorest fit. Perhaps the MDF is too floppy, perhaps it is just tricky.

Templating with 3mm MDF and a hot glue gun

I’ve been using a dumbbell set as clamps, plus the neat trick of reversing the Quickgrip clamp ends to make them push instead of pull.

Quickgrip and dumbell at work
Seat risers in!

One little piece of magic that happened occurred when working out the settees. The prime consideration is the distance from the hull outside to the front of the settee. It’s important because it juggles comfort for sitting and sleeping, foot well functionality and storage optimisation.

I began looking at the foot well, I wanted to be able to turn with a size 10 shoe (and not get jammed and bust a knee). I chose to make the risers dead vertical, and not tucked in at the bottom, to maximise storage and simplicity. This dictated the gap to the centreboard case. The next step was to see how comfortable the settees would be.

I mocked up a settee expecting the thigh support to be suitably deep, but the back to be weird. I say weird because the back of the settee is the hull side and at shoulder height the deck comes inboard, then the cabin sides rises from there. I fully expected to feel hunched sitting there.

Not only was the seat top, depth and height sweet, but Bruce Kirby’s settee back worked perfectly! The deck and cabin side all magically works as a back rest. God it felt good. I’ll post some pictures when I remember to take them!

Categories
Personal Tools

Back in for a refit

Another uninteresting medical update on my wrist.

The previous procedure failed to fuse my left (dominant) wrist, so my stoic surgeon Prof Bain, went back in with screws and it seems to be holding well.

That first surgery, recovery, and revision and recovery took close to a year. More frustrations for a boat builder, and the second, in both diagnosis through to surgery and near recovery, has taken longer.

I’m not sure it has the stamina and strength yet, but it feels good. The best it has felt in years.

Categories
Boat Building Epoxy Tools wood work

V-berth

The plans place a bulkhead in the middle of the berth, allowing for good support and a natural break up of compartments, it also sets the height and level of the horizontal surface.

My work with the cleating gave a good outline of the shape, and the kit has provided both for and aft panels so it should be a cinch, all I need to decide on is the access hatches’ size and position.

Not quite a cinch as you may have guessed by the flippant nature and my choice of the word. My building has produced some irregularities, nothing more than 7mm out in places, really quite ok, but no cinch.

I found it easiest to split the forward piece in half and remove the excess, to create a regular shaped insert from the centre as the edges made a reasonable fit. Also forming part of my logic, the hatch needs structure supporting it, so the structure can also hold the halves together.

Trimming up plywood lets me use one of my favourite tools, a Number 78 Stanley plane with a guide in place. It is the quickest way to trim rough jigsaw cut edges back to a line.

I chose the openings of the hatches to be big enough to pass down large objects, but not too big as to weaken the structure.

The forward insert has to be left out (it will be epoxied in) as we need to still access the back of the first bulkhead to fit the tabernacle with ease.

The aft panel and it’s hatch required a little more consideration as bunkees need to come and go over it. I decided to make a large hatch over the port side, shaped sympathetic to the entryway, so when working up forward, with the hatch removed, you can step through the hatch to the hull. This will lessen the crawling and generally give more room to swing the cat, if the cat needs swinging. If you get my drift.

It was a treat to splash the paint about in this finished zone, a bright white Aquacote is quite ship shape in Bristol fashion. It feels finished…

Categories
Boat Building Epoxy Tools Uncategorized wood work

Fit out begins

I am loving this stage. So many small non-critical re-makeable decisions to consider, lots of fiddly templates to make, some careful cutting of plywood, lots of Purbond (polyurethane no-mix glue), and best of all, watching the living spaces resolve.

I began by levelling the boat on it’s trailer, fore and aft, port to starboard. This allows the use of a laser level to mark out the interior furniture.

Using a laser to mark out the V-berth cleats

Next I shaped the bevels for the cleats so the v shape hull sides and the flat interior surfaces can be fixed with maximum glue surface. I quickly realised it’s a job for the bandsaw and not a hand plane. Coincidentally, now the boat is housed at work, I get to use some of the workshop machinery we have for our box and frame making, (most helpful).

I attached the cleats with Botecote’s E-Glue, which is a dream to work with. An epoxy 1:1 mix that is already thickened, so it comes together rapidly and can fill the gaps created by my average carpentry skills. You spoon it out and mix it on a flat sheet. It’s quick and ideal for the smallest of mixes.

Botecote’s E-Glue

Some of the cleats could be clamped with spring clamps, some needed to be drilled and screw clamped, and some needed a trickier solution.

For the cleats that are midway on the hull sides, I didn’t want to drill into the topsides to clamp those cleats, so I set up a long bar that anchored with a loose screw (for quick single handed placement) into the chine logs. This bar could be clamped at the sheer with a Quick Grip clamp.

Note the screw into the chine log sits in an open slot on those clamping bars, this allowed for a dry run, break down, then a quick set up when it got serious.

I also attached the cockpit cleating, and perhaps went a bit too far and have to cut slots in the new cleats to fit in cabin sole sides and decking. I was very excited and really should have thought it through first.

Dry fitting the self draining sole in place. It went in perfectly!

At this point it dawned on me to look at all of the kit parts that were left over and nut out where they fitted. Current kits all come labeled, but my ten year old kit has been a bit of a puzzle.

I really should have done this sooner, it was so rewarding to see how it fits. Especially the cabin sides and decks! Wow!

Wow. It’s a sharpie.
Categories
Personal Tools

The Terry Thomas Sign

Terry Thomas Sign

What I did not need is another excuse for slowing/stopping progress, but I’ve found a ripper. A fall while off-trail bushwalking in October 2017 apparently tore a ligament allowing bones to rearrange themselves in my left (dominant) wrist. The condition is called SLAC wrist, or the charming “Terry Thomas Sign”. I’ve always loved the pantomime villain Terry Thomas played in some of my favourite movies, he was brilliant.

At the time I ignored the hurt, but during 2018 it got worse so I pursued a gradual escalation of medical intervention. That ended with an attempted reconstruction in November 2018. Once into the wrist with his knife, the surgeon discovered too much arthritis to proceed. Apparently the left wrist is riddled with it, quite a mess. There are also signs my right wrist may also be arthritic. The Doctor didn’t want to risk pulling it all tightly back together, when it wasn’t going to fit. So he set about performing an arthroscopic cleanup.

The medicos think the heavy fairing process did a lot of the recent damage, and I’d have to agree. I could never sustain fairing with a torture board for long, and was sore for days afterwards.

The whole thing has left me feeling pretty down and rapidly aged. It turns out I can’t do it all, being a part-time boat builder when I spent a life as a desk jockey has consequences.

I am writing this in March 2019 feeling about as recovered as I will be from the arthroscopy and news of the reality. I am feeling better in myself now, I’ve reconciled how I can progress with the build, I have also made real progress, I’ve changed out some tools, and learned a few new techniques which I will share in future posts.

I have also embraced some help from friends and I am deeply touched by their support.

Categories
Epoxy norwalk island sharpie Shedcam Tools Uncategorized wood work wooden boat

On worry.

Or do I mean procrastination? You have read many posts about sanding and fairing, and this is one more, potentially the last (for both our sakes, I hope so).

You put the faring batten on the hull, you look for deviations of more than a few millimeters. You do this in all planes. You argue with yourself what is ‘a few millimeters’. You run your hand around feeling for divets, you mark them as you find them. You fill with epoxy mixed with light-weight filler for sanding, you mistakenly vary the mix slightly from time to time, you save money with some water effected, lumpy filler. You vary the application process attempting to speed things up (troweling ridges vs multiple coats). You sand with varying electric devices, balancing the felt divets with the eyeballed fairing batten results.

Repeat.

Sometimes you over-sand, sometimes you under-thicken the filler. You eventually realise that everyone is correct, this is only a job for hand sanding with a long/torture board. You fight that concept. You plan to hire a fairing team. You can’t find any money for the hire of the team. You wonder where they work and how to find them. You look for more information on fairing. You beat yourself up about not being able to complete this ‘simple’ task that is holding everything up.

You try again on the long board. Your lack of upper body fitness is obvious. The rotten left shoulder bites back. You give up. You beat yourself up and try again. You end up aching and frustrated and the hull appears no better. You ask advice, you get your work inspected, you get varying answers. Everyone is telling you (the truth) that it is a personal decision.

So, you bite the metaphorical bullet, and spend four days hand sanding.

And it now looks and feels pretty good.

It may be fair now!

Categories
Epoxy Tools wood work

So many tips!

If you are prone to help videos, and general boaty building information, you absolutely must watch ALL of these videos on this fab YouTube channel, Tips from a Shipwright.

Shipwright Louis Sauzedde is a wonderful personality, and incredibly skilled with his hands. I would highly recommend watching the full series on building the work skiff, 30-ish episodes from timber yard to water.

Link to the show’s website: http://www.tipsfromashipwright.com

Prepare to get lost!

Categories
Robert Ayliffe Sailing Tools Uncategorized

My god months pass!

I have been doing everything. Including boat work.
Just letting you know, I’m alive and happy, the boat is looking fair and is progressing. My career as a blogger and social media magnate has waned at the expense of some focussing.

Some key points:

  1. I killed Robert’s Festo sander (gearbox).
  2. I killed my Metabo sander (bearings).
  3. I had Robert’s sander’s gearbox replaced and it’s as new, but still patina riddled.
  4. He took it away (apparently he had to use it…sheesh!)
  5. I brought a new one, he paid for it.
  6. I am buying his old one off him. Bingo.
  7. I went to the Hobart Wooden Boat Festival.
  8. I have been sailing (see below video).
  9. I also have been sanding.

Here is a video by the wonderful Paul Cleaver of our little West Lakes sail together.

Categories
Epoxy Fibreglass Tools wooden boat

More snot and disco skirts

Starboard side sheathed

Oh joy I am back on the fibreglass!

Wrapping the forefoot with nasty pointy stuff

A mixed blessing fibreglass is. The unarguable protection it provides makes it a necessity, but dealing with it is not fun. The cloth is so slippery it slides out your hand like a wet fish, yet it jags on anything and distorts the weave requiring a stroking session to realign. Applying such large areas of it makes you stir crazy mixing the epoxy, and your wrist gets hammered squeegeeing it. That is all before we consider the health benefits!

The join of two sheets of fibreglass, still to be sanded

My process is to mark out as much as I can handle by myself, which is about two to three meters of 1500mm wide cloth, drape it on the boat and position it, then mark out the area to be covered. I have two objectives in mind, making best use of the cloth and keeping straight-ish edges.

If I had a few more people who could keep my odd and un-planned hours, I would attempt the entire side at once. But by myself, I am leaving gaps between the cloth panels and filling with epoxy mixed with light weight filler.

With the cloth off the boat and the area marked out, I then roll on a coat of epoxy to fill the area, then approach it gingerly with the cloth and drape carefully to my marks, paying attention to straight edges. Then it is into the squegeeing in more epoxy, pushing the cloth into the epoxy against the hull.

It takes two to six mixes of epoxy to fill the cloth sections and any extra goes towards rolling on the adjacent cured area, filling the weave.

Wet 'glass on the bow
Wet ‘glass on the bow

The result is a lean fit with no lifting of the cloth, but the weave will need more epoxy, and this can be achieved whilst it is still tacky, (but not too green), or later after a light sand.

Sanding fibreglass is my big hatred. I desperately dislike the glass fibres that it produces. To combat these nasty, itchy, glassy, sticky-inny shards, I invested in a decent sander that works well with my extractor, and I upgraded the extractor with a Dust Deputy thingo to improve the suck.

The Festo extractor with Dust Devil on top
The Festo extractor with Dust Devil on top, ungainly but it sucks!

The Dust Deputy adds a cyclonic action to any extractor, or regular vacuum cleaner, much like Dyson has built into their celebrated vacuum cleaners. With my Festool extracter, I have done away with the bag, and just let the Deputy’s bin fill up. With the small amount of sanding I have done since installing the Deputy, I have filled the tub twice, indicating it is catching more than the bag did!

Kate gave me a Festool extractor four years ago, and it was the best thing she could have purchased me. Minimising dust is so critical with these modern materials, I don’t want anything to get in the way of enjoying this boat.

The Festool Rotex sander I purchased is amazing, it has two settings, a random orbit and a direct drive. So with the same 120 grit paper, I can remove material very quickly with the direct drive, and finish off with the random orbital setting. All with the twist of a setting on the head. To add to this, they are very quiet, almost not needing hearing protection.

The 90mm Festo Rotex sander

I chose the small Rotex (90mm) because I wanted it for detail sanding, but now I really want the big 125mm unit. Now I want both. But at $900 each this will not happen soon.

Off to the glass fibre work I go, I’m itching just thinking about it!