 That is a ‘link bait’ title, because I never got a chance to test the chair, but Ayliffe assures me it is the way to go.
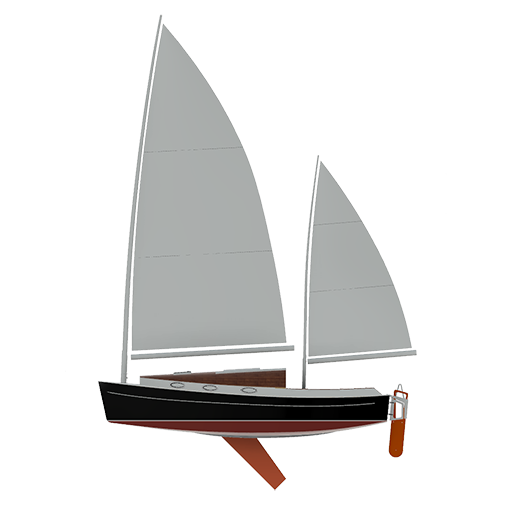
So I need to mark the “waterline”, a key and mostly critical line on the boat, certainly equal to the sheer line in criticalness (criticality?). Nothing worse than an unfair line on a boat.
There are three challenges with marking the waterline:
- Is my boat still level?
- Where do I mark the water line?
- How do I mark the waterline?
Let us tackle the “is my boat level” question; I honestly cannot remember levelling the building jig… A major worry set in when I was posed this question. Surely I did, this is the first thing you do when setting up to build. Surely? 😦
So I climbed underneath with my best spirit level (yes I have a worst one, which I have since thrown out). I checked the beam level, which showed itself to be spot on. The fore an aft level was more difficult to ascertain, I could only rely on the centreboard case, and even with this could be out a bee’s whisker the way it is set in the boat and not matter. So my worry progressed to amber stage.
The centreboard case was not exactly level, over 1.6meters, it was out 3mm. So the whole boat could be 10-20mm out….. I rang Robert to share the worry, he guffawed and said “we haven’t had an earthquake!”. I neglected to share my doubts about my initial levelling of the jig back four years ago and replied, “yes indeed we had had an earthquake”. We had.
I decided to ignore the boat may not be level.
I then asked Robert on the phone what is the measure from the Reference Waterline (RWL) to the Design Waterline (DWL). He verbally shrugged and asked if I had the sail plan handy. I had. I blabbered about measurements and projected lines and worry, and he talked up and said.
“Look at the sail plan. See where the bow is just our of the water? See where the stern is just out of the water?” I replied in the affirmative. “Look at your boat” he said, “pick a similar spot at each end and mark it on the boat!”. “Oh” I uttered.
Turns out this is one of those science-meets-art moments. And because we add a “boot strap” of 75mm above the waterline, there is room to move.
Then I asked Robert about marking the waterline. I tell him I have been trying to transfer the RWL using a long tube filled with water and have been struggling. He spoke about friction when I complained I thought the air pressure was different by the door of my shed. I am sure I could have used the tube, I am sure the laws of physics still apply in Beulah Park. Robert suggested a much more clever idea.
I need an office chair, with a stick tied vertically to it, then to that stick I attach a perpendicular stick, and on the end of that I stick I stick a marker. I then get the chair height right and push it around the boat scribing the line. Elegant.
However, I do not have an office chair that I trust to stay inflated.
I recalled an offer by a friend/mentor/fellow sharpie builder to borrow his laser level for this very task. Chris Dearden even delivers. Within a day the laser was on my door step, with a smiling Chris, ten minutes of training and a hearty “good luck with that” and I was ready.
 First job was to test the laser level was level. This is when I found out I had a bad spirit level. Chris’ recently minted laser level matched two of my three spirit levels. So I threw the offending thing out in disgust. How many times had I trusted this mid 1990’s stick with bubble? I certainly would have used it to set the building jig up (if I could remember setting it up!).
Interestingly, the spirit level that I now trust is a mid 1950’s Stanley that weighs too much for single handed work.
 Chris and I had discussed the limitation of his laser level beyond 45 degrees of operation, so the setting of the line will require many repositions down the starboard side of the boat, but the port side could be struck in one.
I set the laser up on the far side of the room and initially tested the level of the boat by aligning the transom-hull bottom intersection with the turn of the bow knuckle. This was perfect. Impressively so.
I then placed a piece of wood on each end on the bottom of the boat and raised the laser to hit my estimated water line. The pieces of wood at each end on the bottom are there to see the laser line projecting beyond the hull. Looking at the sail plan and back to the boat made the estimation quite easy, it made sense visually.
Then it was a matter of dropping the laser 75mm for the boot strap and get scribing with a 600mm ruler and pencil. I found sometimes, the 600mm ruler was too long to cope with the curve of the hull and projected line. I had to make short straight lines to keep inside the laser line. Perhaps I should have used a fairing batton.
 At the bow I transferred the line with a small trustworthy spirit level across to the starboard side and proceeded to move the laser step by step down the squeezy side of the boat marking as I went. The laser has a magnetic bracket which allowed it to clamp onto the steel walls of the shed.
At the transom, I drew a deep breath worrying about my process, and carefully checked if the line met the starting point. It was 2mm out. Wow.

Next is to sort out the bow and stern lift. This is where the boot strap line is raised (lowered when the boat is upside down) at each end a squidgy just to hide any nose-diving or tail-dragging that may come from a badly ladened boat.
This is done by eye, so another task for me to drink tea with and contemplate for several hours.

