Is work/life balance a thing to chase? Is just the energy spent chasing it, or feeling like you should be doing something wrong, destructive?
I am starting to think you can burn yourself out just worrying about the balance.
If your’re lucky, you will like your job and this makes spending time at work easier. I do enjoy mine, and it is rewarding. This year Kate has moved from focussing on her design business, to helping me redesign mine. She is a mighty talent, and I’ve never felt better about where it is going. However, on this boat build blog, this is starting to sound like an excuse.
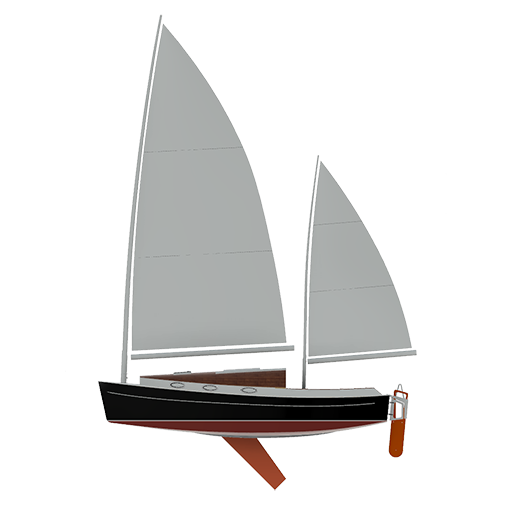
The Sharpie has been a little neglected. I’ve made some pleasing progress. But it does mean the boat is not ready to turn over. Most of the past months have been fixing my unfair bottom.
Last weekend I afixed the third layer of 6mm ply just in time for some international travel. It felt so good leaving having reached a big marker like that.
I thought it would be helpful to detail the process of putting these strips on the bottom because there are some subtle shortcuts that I had learned by the last plank. I hope these help you, dear reader:
- Rip up your planks to 200mm wide in advance. Don’t be precious with the cuts, just make them as parallel as possible.
- Use weights to lay out each plank on the boat and mark off where it needs to be cut.
- Note any spiling that is needed. This does not have to be perfect. I had to narrow the planks at the end by upwards on 6mm. I did this by marking what I thought needed to come off the plank ready for planing.
- Rough cut it to length with a small hand-held circular saw.
- Plane off the excess at the ends to spile the planks . I use a Stanley rebate plane with guide fitted, it can fair long cuts and trim for spiling the very quickly whilst keeping the edge square.
- Refit the plank and check the spiling. It does not have to fit perfectly, a fit within a three millimeters is acceptable in my book and has been confirmed by Robert Ayliffe. If needed, mark for further spiling and plane off some more.
- Whilst the plank is back on confirming its fit, trace where it sits on the hull so you know where apply the glue to. Leave a weight on each end and number them in a way the orientation on the hull is clear.
- Trim up the next piece. You will need lots of weights. The further you can glue up in one session, the less cleaning up there is. If found I could do four to six at a time.
- Once the strips are cut and spiled, stack them in order.
- Starting at the fist plank, give both surfaces a light spray of water, then spread out the Purbond with a spreader, I found a 100mm wide works well. You will note the purbond goes whitish and begins foaming, you want to be clamping before it really takes off, so you can’t spread more than a full plank
- I think the most effective clamping is screws with plywood washers. The plywood washers need to be covered in brown packing tape to keep it removable. You will need a screw every 150-200mm. Even with the screws the pressure from the foaming purbond can distort things. So stagger the screws and put others in where needed. The critical areas are where the planks meet, so I overlap the washer from the next plank to the previous to help the mating.
- You will need to do some clean up as you go, as with any glue, it’s harder when it’s harder.
- Once you’ve gone as far as you can, keep cleaning up. The Purbond will keep oozing.
- When it’s set, remove the screws and clean up. If you have enough screws, you can just remove those on the leading edge and cleanup the squeeze out so you can continue gluing. A sharp chisel followed with a sander does well cleaning up.
- So there you are, after all that, all I have left to do before turning over is trimming up and rounding the chines, cutting in the centreboard slot…and…probably some serious sanding final fairing and the ‘glassing and then more sanding, then painting and then………..something else I’m sure.

