 I am sure to the reader of this blog, it will appear that I am doing more writing than boat building. If you count physical labour as actual boat building, then I’d agree. But surely you must count thinking, as this is 50% of the process…?
This stage has been tough, the ikea-like assembly process is being replaced with serious hand-eye, sharp tools, measure twice cut once, is she fair, by Poseidon I’m not sure, here we go….etc, boat building. And I’m loving it. And to enter into self-praise, it is looking right, so I must be doing it right.
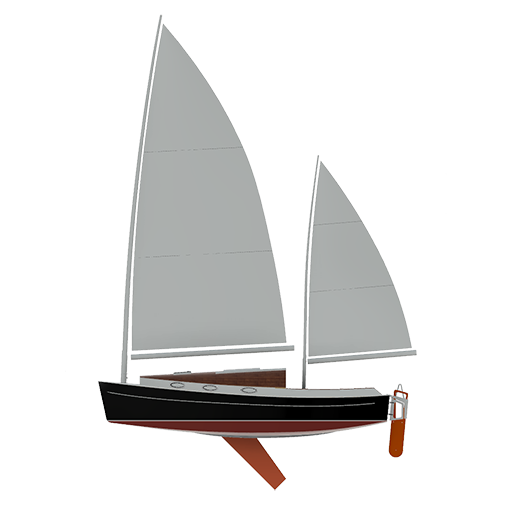
The concern is; sheer meets bow. The final stretch of sheer curve that needs to arch gracefully creating that moment of intersection where the cabin line, cabin sides and sheer converge. Such an important element in the Sharpie.
The plans don’t supply a precise landing place for the sheer clamps or the chine log, rightly so. This intersection at the bow must look right artistically and personally, and not particularly scientifically. I have seen one sharpie with a bad bow, and it kills the poise of the entire boat.
As the builder, you take a fairing batton (in my case the inner lamination piece), follow the line from bulkhead to bulkhead and let it run out to the stem, finely tweaking it’s landing place to suit the eye. I would think that 10mm either way could mess it up.
Once you find that landing place you need to shape the sheer clamp/chine logs’ face to sit flat the the back of the stem. You do this because the inner piece hits the back of the stem and joins there. The outer lamination continues past and is rebated into the stem.
Once the inner piece is sitting nicely on the back of the stem you can mark it’s position, allowing for a little twist to vertical that will accommodate the ply sides. You can then remove the stem and cut the rebate for the outer lamination of the clamp/log. If you have marked well, the cuts will be simple although compound.
 I found starting the compound cut with my Japanese razor saw got the angles correct, then I followed the kerf with a standard hand saw. If I had a larger razor saw, or a backless one, that would do the entire job.
This was serious fun.
