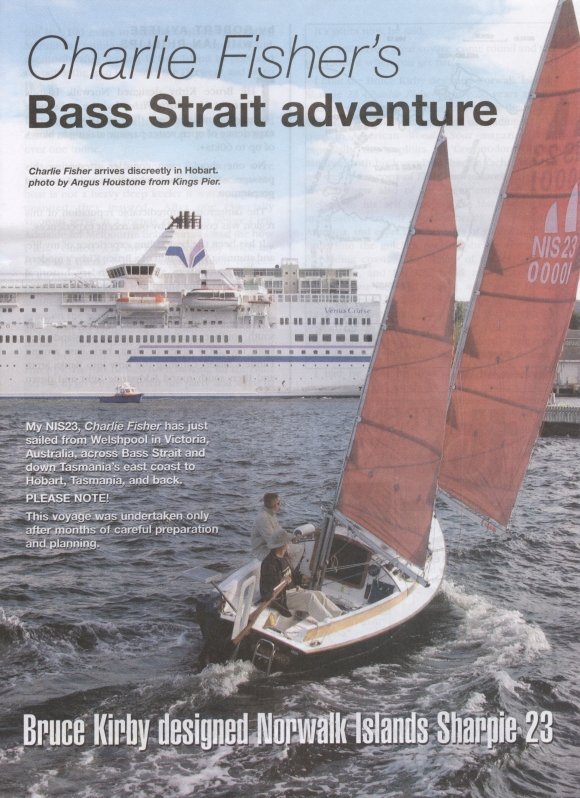
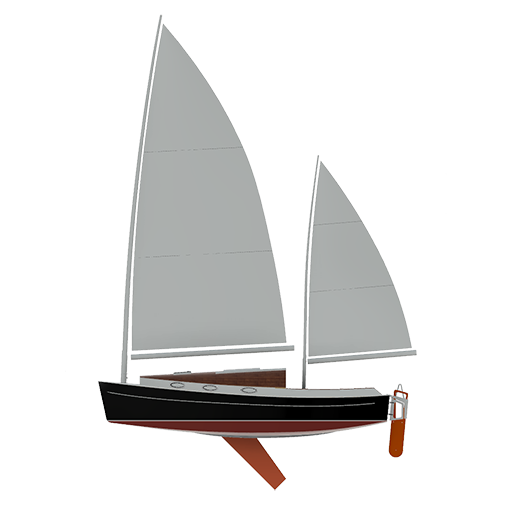
This is the story of Robert and Ian’s crossing to Tasmainia in Charlie Fisher, his 23′ NIS. Thanks to Robert and Australian Amateur Boat Builder Magazine for this rollicking tale.
 Paul's boat blog
This is the story of Robert and Ian’s crossing to Tasmainia in Charlie Fisher, his 23′ NIS. Thanks to Robert and Australian Amateur Boat Builder Magazine for this rollicking tale.
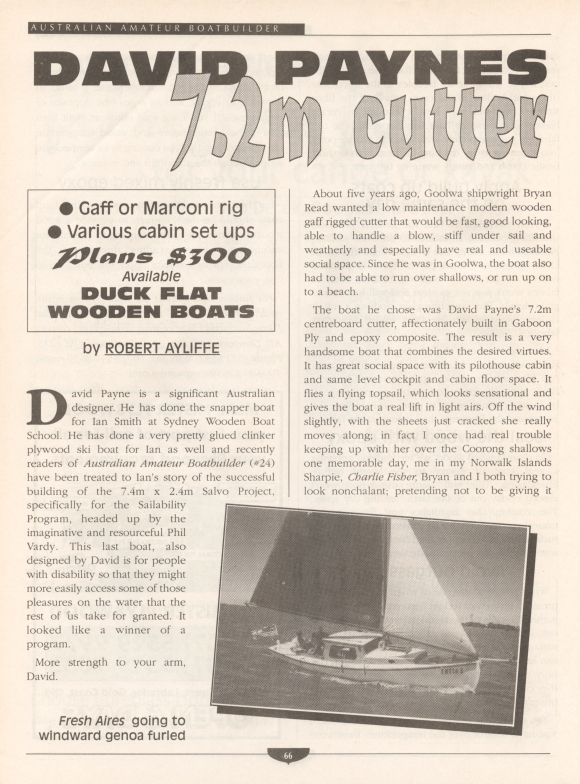
While I get my thoughts together to tell of the past six months, I dug up a couple of articles that mean a lot to me. Please take time to read them both, they appeared in the Australian Amateur Boat Builder, both written by Robert Ayliffe. Enjoy.
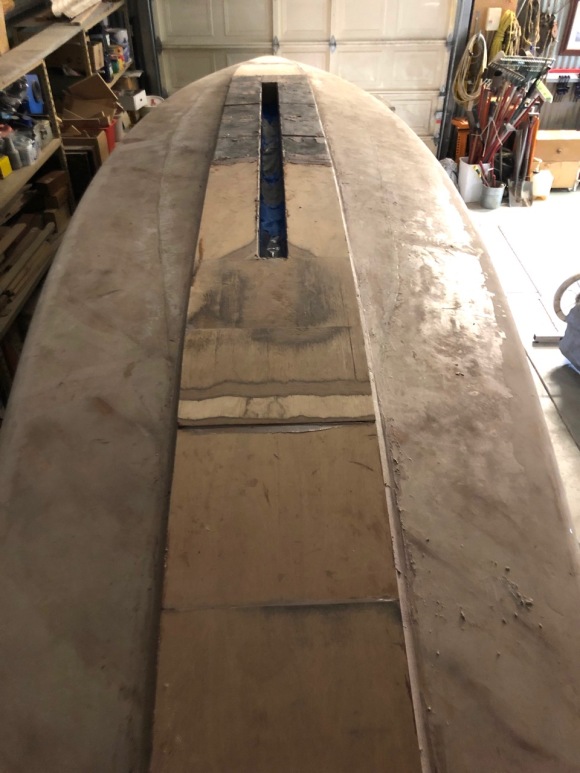
With the lead securely fitted, I had to make a ‘shoe’ that would lead the water into the lead and back out the stern, making the bottom hydrodynamical sound.
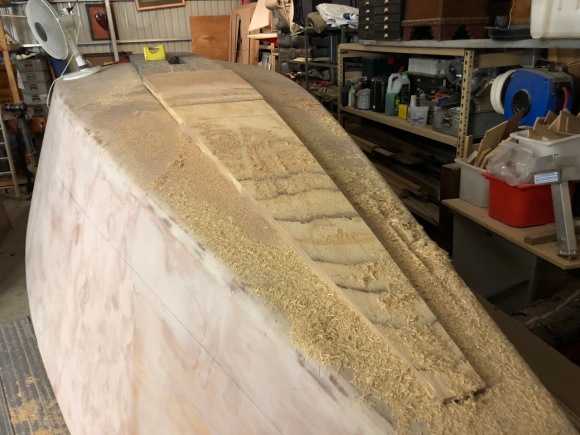
I chose to use 16mm ply and laminated it on the hull. Because of the significant amount of rocker (longitudinal curvature), the plywood would need to match the curve. After setting out some plastic sheeting to prevent it prematurely glueing to the hull, I held the layers down with straps and cross bars while the glue cured. This went well.
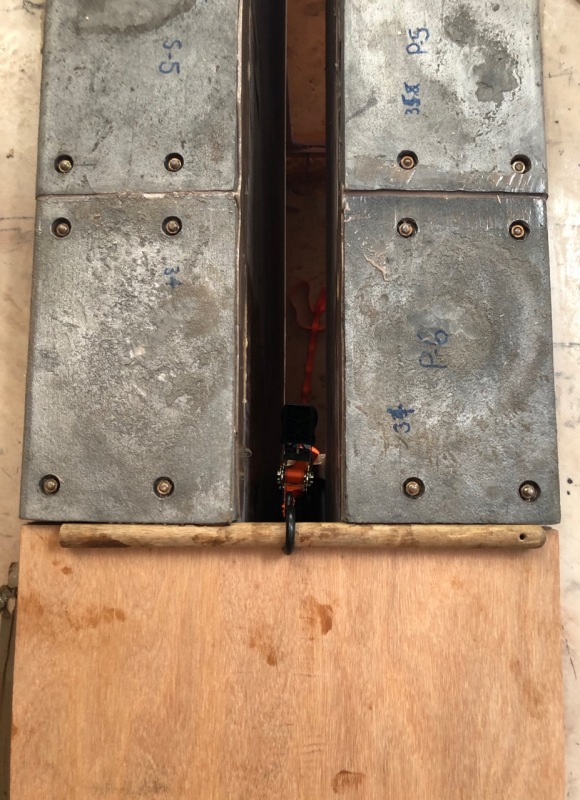
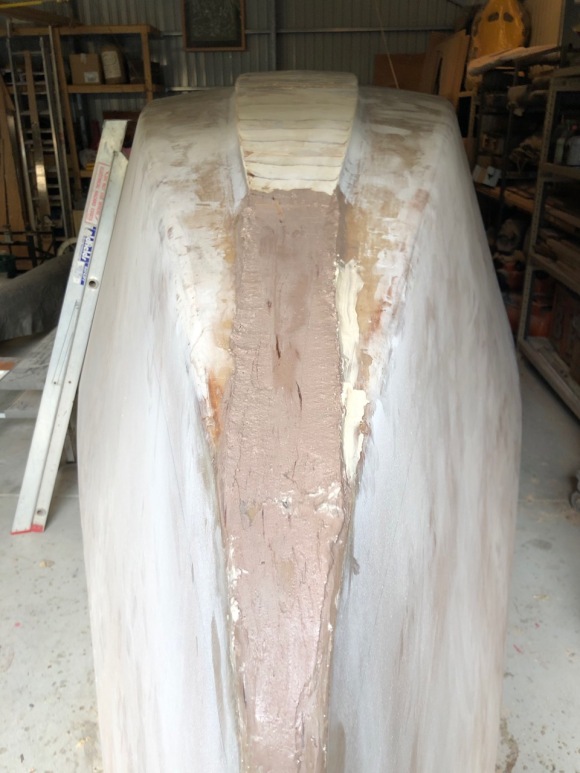
I then attempted to glue the forward shoe down in one go…which I rapidly realised was a huge mistake.
Not only is the hull curved longitudinally, but it also has a gentle cross curve, which is a part of the Mark 2 design refinements. This cross curve meant the ply would need to be made to curve in a second dimension, which is effectively impossible when dealing with thick ply. Therefore, the ply would need bedding in a significant amount of thickened epoxy to support it. And, you cannot mix up that much epoxy at once without it curing in your hands.
After throwing away the first litre of mix, by scraping it off the hull as it hardened, I cut the sections in quarters, with 3:1 scarf joints, and set about fixing them one at a time. This worked well, and progressed quickly because it wasn’t delicate work.
Within a few weeks, all the shoe was attached, and fairing and filleting had begun.
Just after I attached both fore and aft sections, Robert, Morgan and Seb stepped in and began the push to getting the boat turned. It was their filleting, fairing, fibreglassing and finally antifouling that got it turned and in the new home.