 The hull bottom is made from three layers 200mm wide strips of 6mm ply, cold moulded, the first layer runs perpendicular to the centre line, the second and third are planked opposed diagonally . This creates a very strong self supporting structure of its own, but it does result in an uneven surface which needs filling and fairing.
Funny to be back fairing again! Thankfully it’s all under foot, under locker and under bunk, so no one is worrying about it’s hydrodynamic performance. I jumped into mixing epoxy and a new (to me) type of light filler, the West System’s Light Weight Filler.
I’m very used to the BoteCote’s micro balloons, and they have served me well, but I really like the West System equivalent of the filler (Microlight 410). It’s hard to describe, perhaps ‘fluffy’ is a good term. It mixes in quickly, and bulks out well. In the consistency I am using it, which was quite wet, it is a pinkish plastic consistency. It set hard and shaped well with a course paper on the random orbital sander.
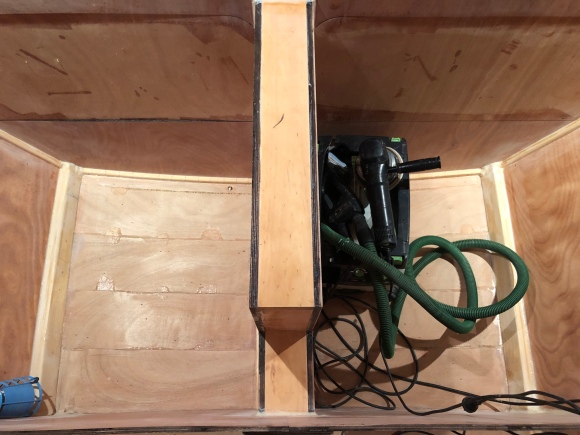
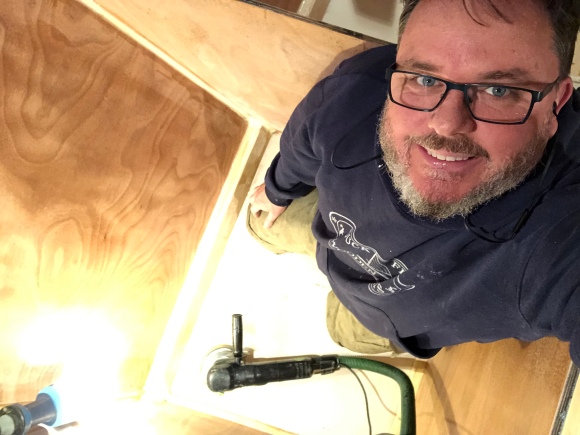
Each irregularly shaped compartment of the Sharpie has a bit of flooring, so the process is to clamber up into the boat, hopefully remembering all of the tools required, sand the section, working with 40 or 60 grit paper, switching between the extractor connected Festool Rotex 90 set with the corner detail fitting and then the big 150 for the middle bits. Then hop out to mix the epoxy. Then hop back in, spread it out, spatula it smooth and clean up. The next time I’m back on the boat, I check and sand the filled floor to smooth and patch with the next mix of filler if needed.
I could have just sanded the whole interior, then filled, but it’s too much of the same thing for my wrist and brain. It has gone quickly and looks great.