Categories
Boat Building Epoxy Tools Uncategorized wood work

Steps, decks, doublers and more.

Building not writing.

It’s been a good holiday season for me and the boat, powered by a strongly recovering wrist, a desperation to make real progress, and the inspiring industriousness of Troy’s work.

Thankfully, I’ve been able to afford to have Troy and his assistant Luke working on the boat for longer periods. There is something about professionals, and their detachment from a project, that has a momentum I’ve never been able to hold when boatbuilding. It’s a freedom from all the stifling yet wonderful choices many of us have as owner-builders. The agony and the ecstasy.
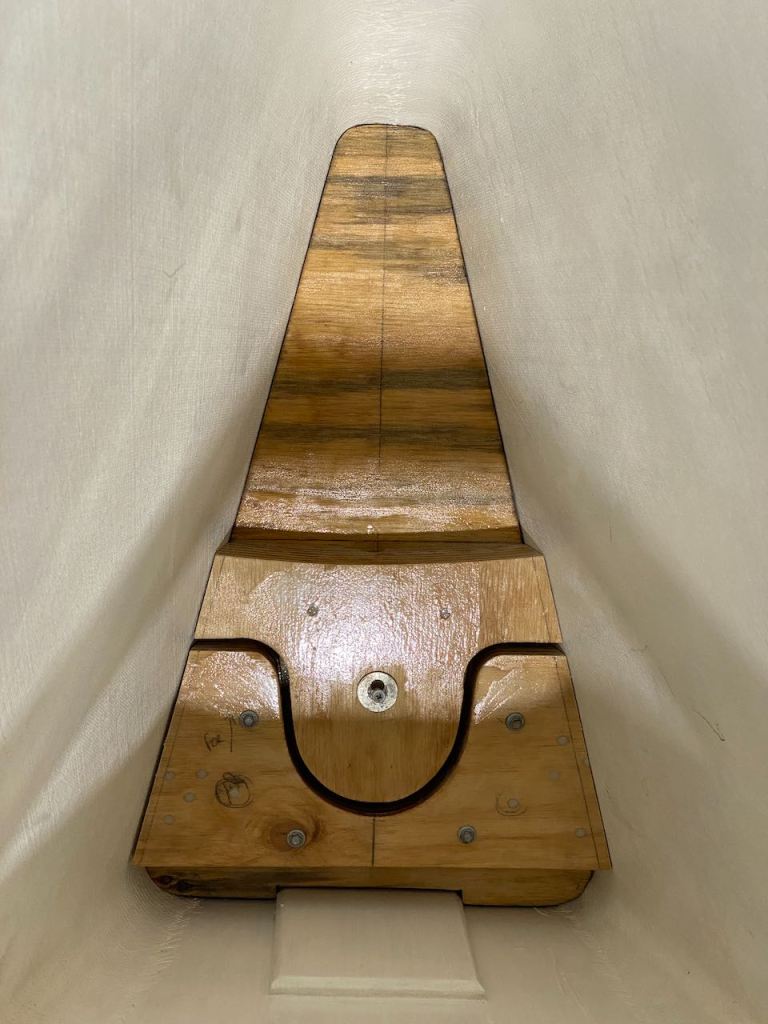
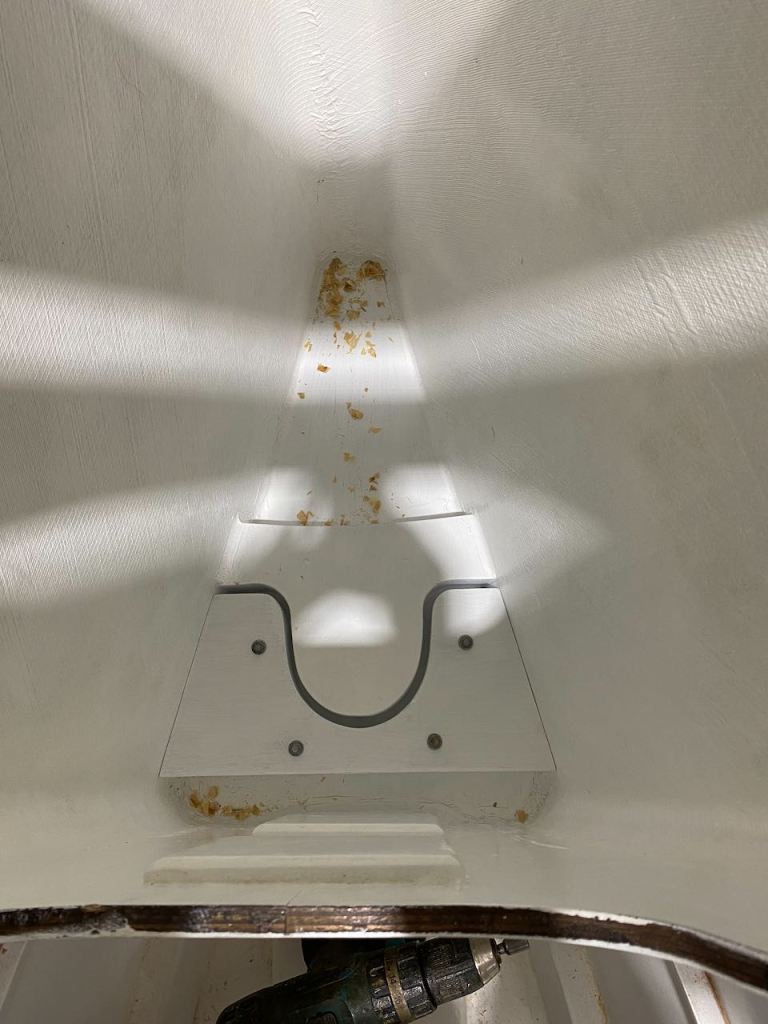
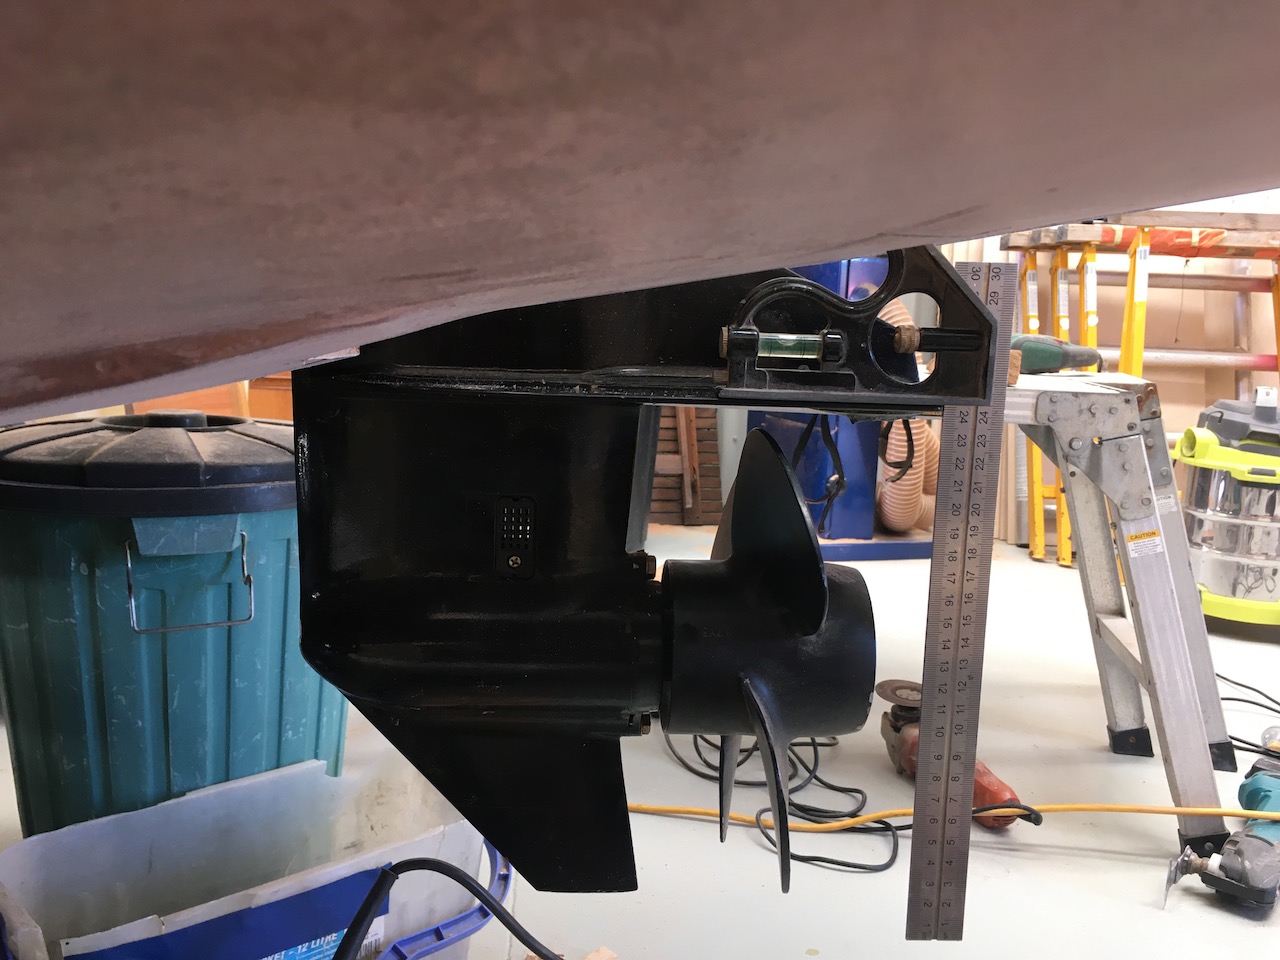
The forward tabernacle step is painted and installed and fits the part like a glove. I had to purchase a cute little angle-o-meter to set the rake, and wow does this work well.
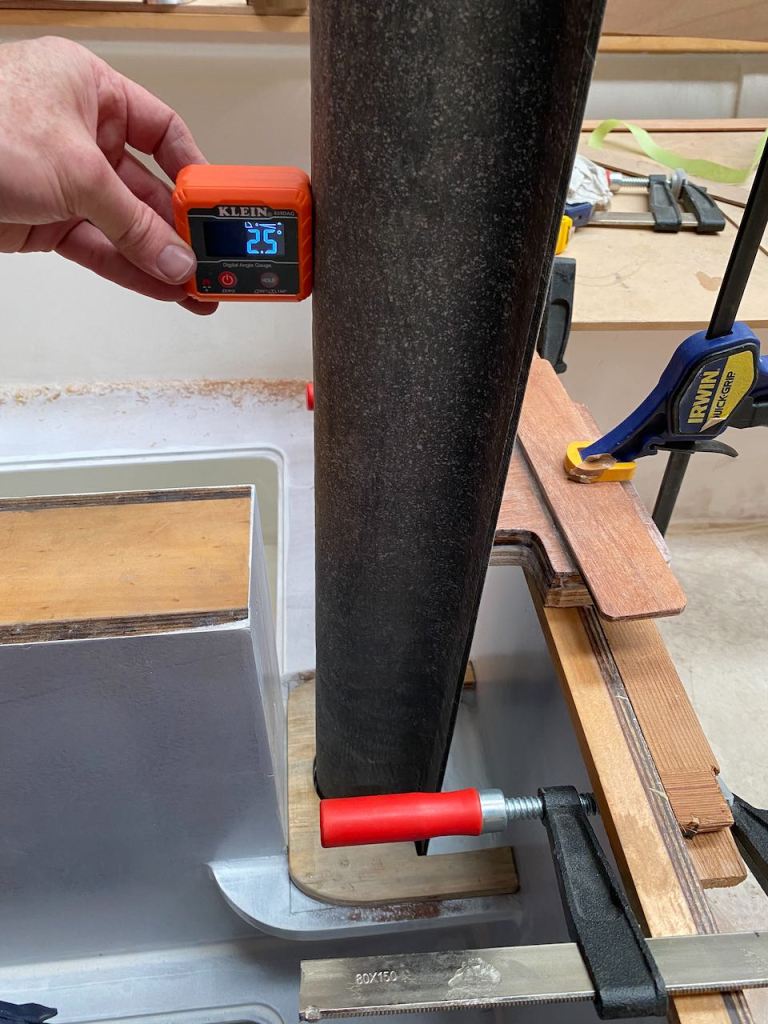
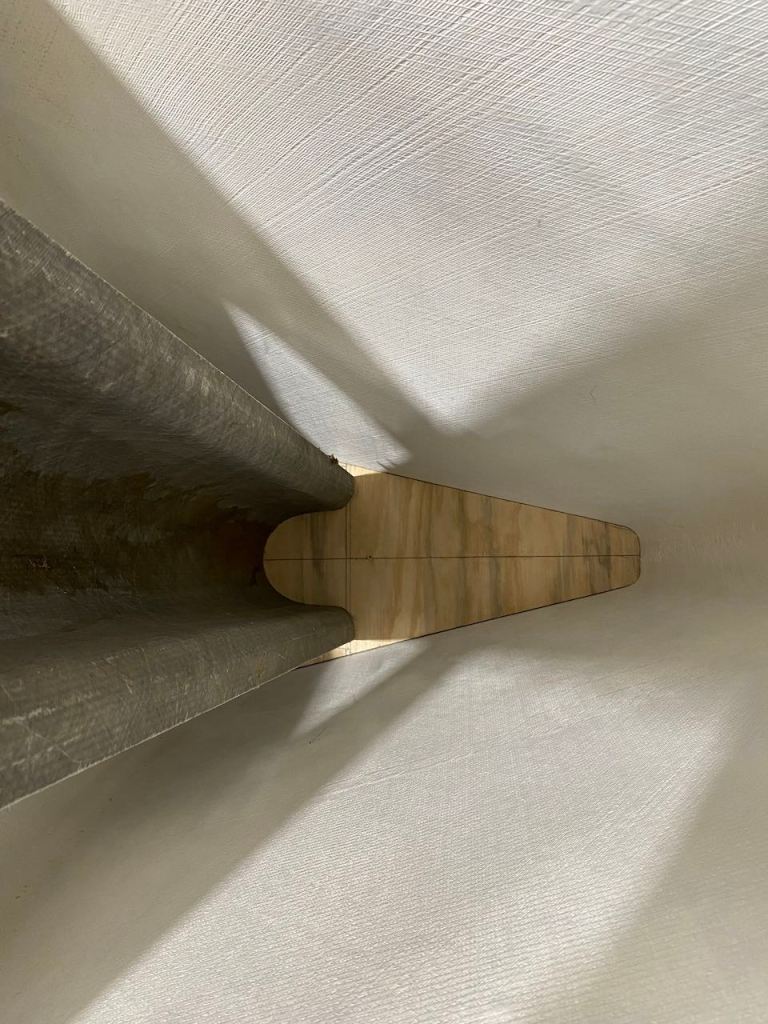
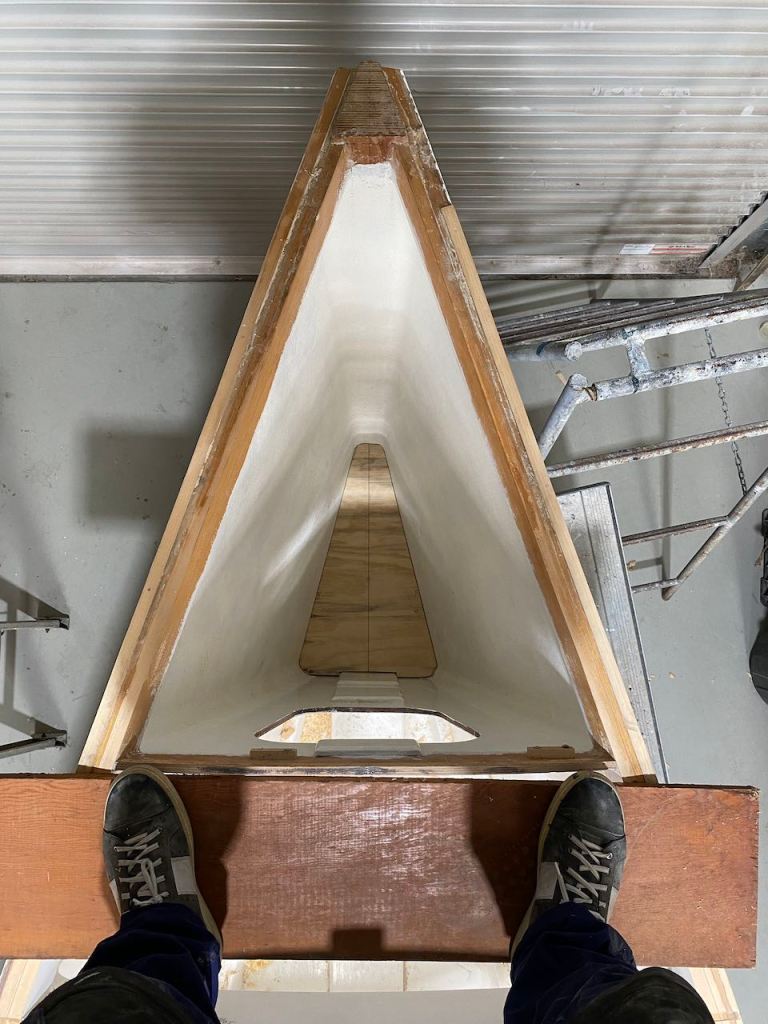
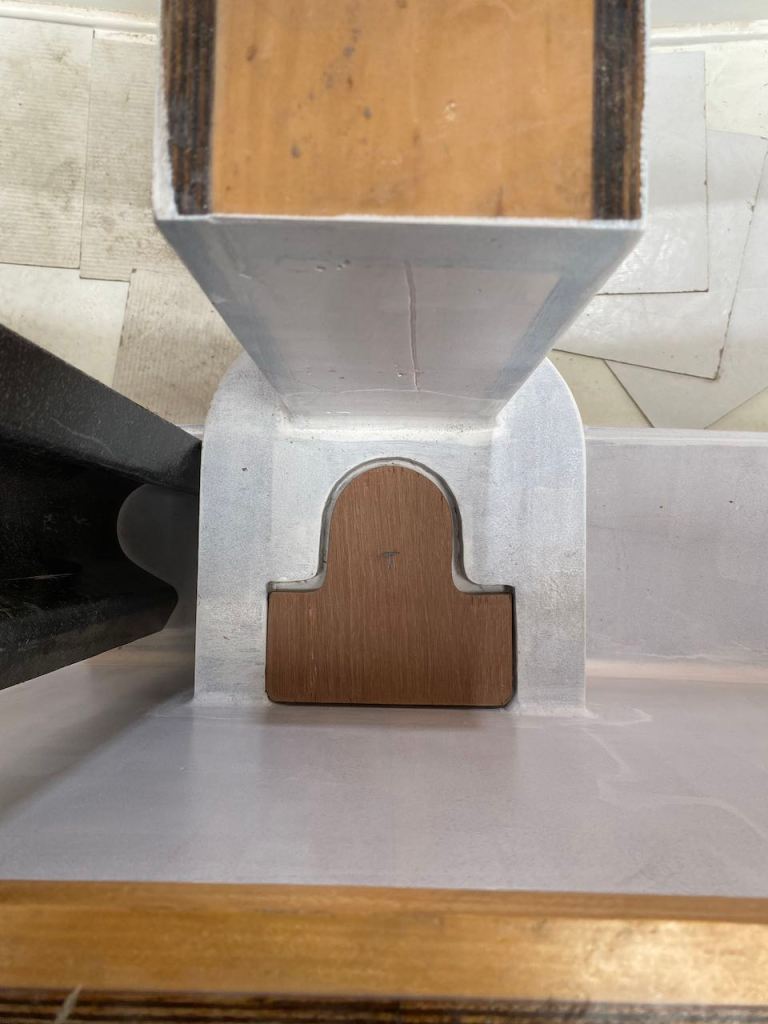
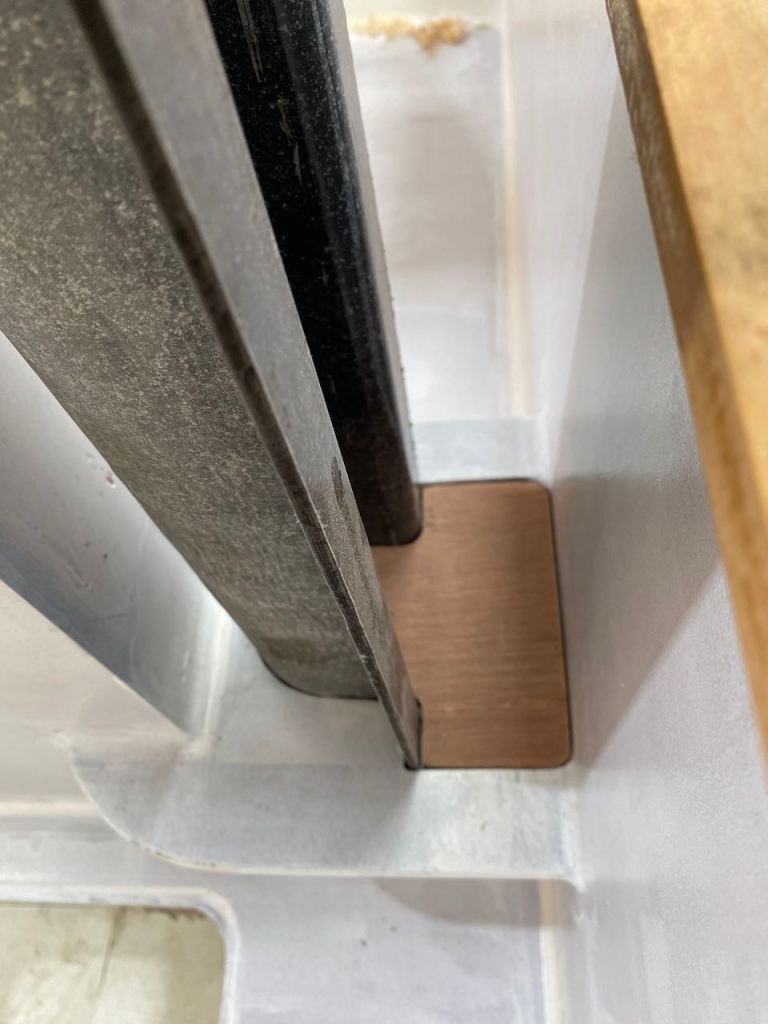
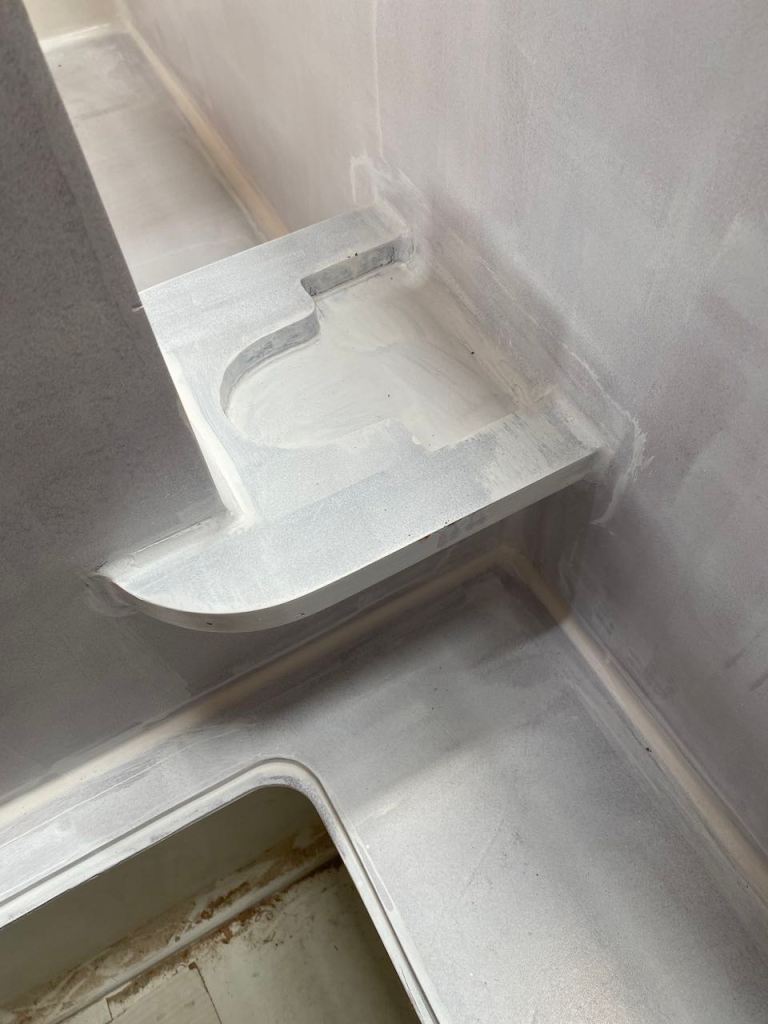
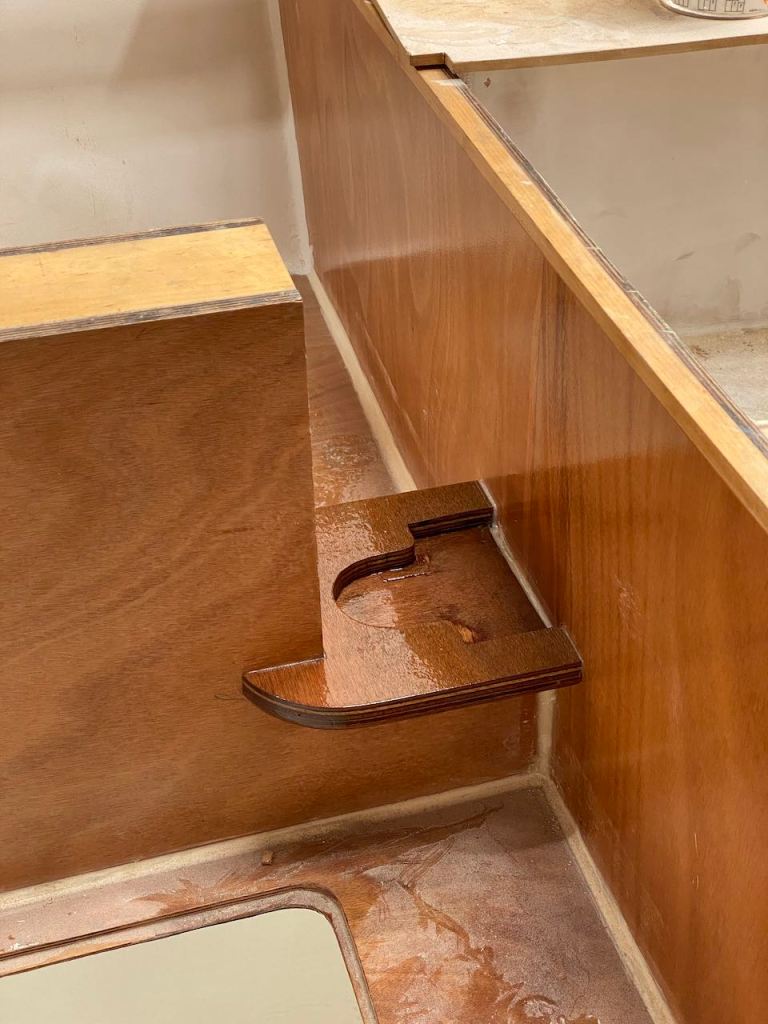
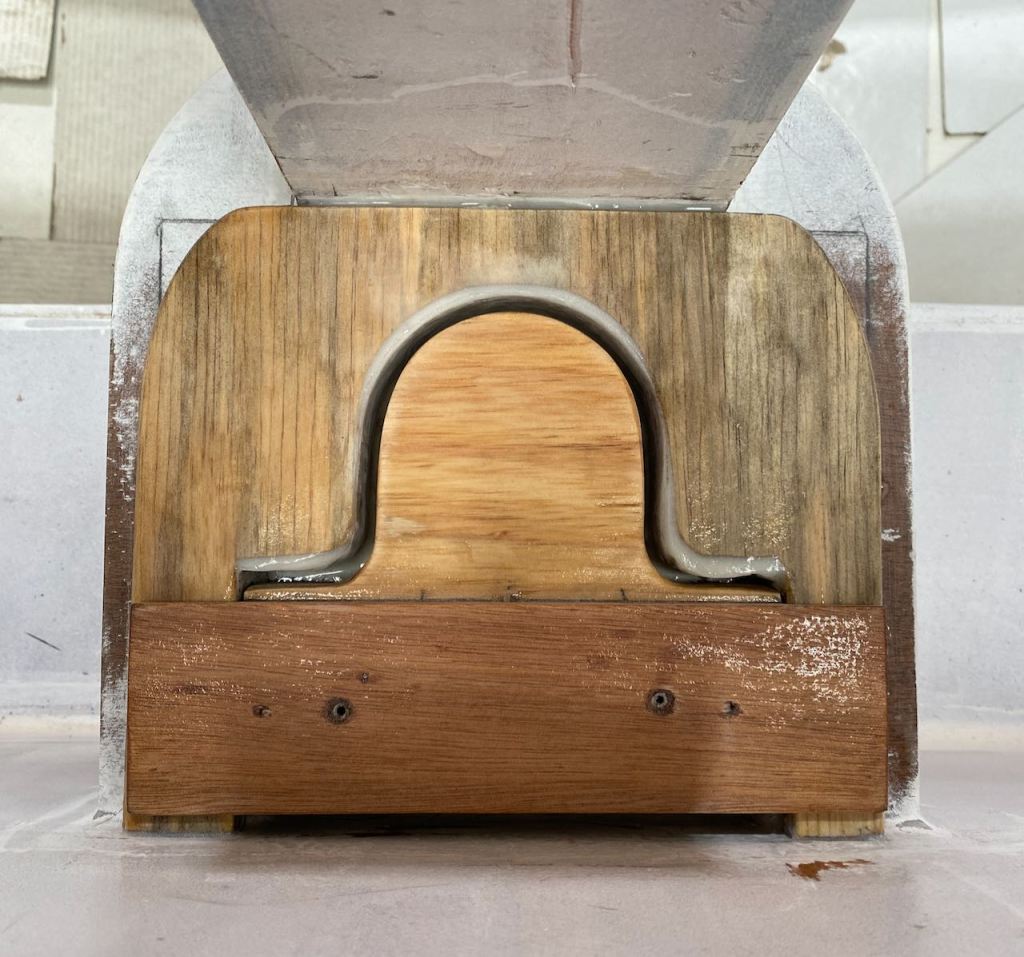
The mizzen tabernacle step had to be beefed up, I realised this when the main was complete, so I set about adding another layer of 16mm ply to the existing fixed ‘socket’. The mating fit of this to the horseshoe curve of the carbon tabernacle is important so the stress load is well shared. I used Botecote Epox-e-glue to perfect the fit as a moulding paste. I protected the carbon tabernacle with slippery packing tape so it wouldn’t stick in there. It worked a treat.
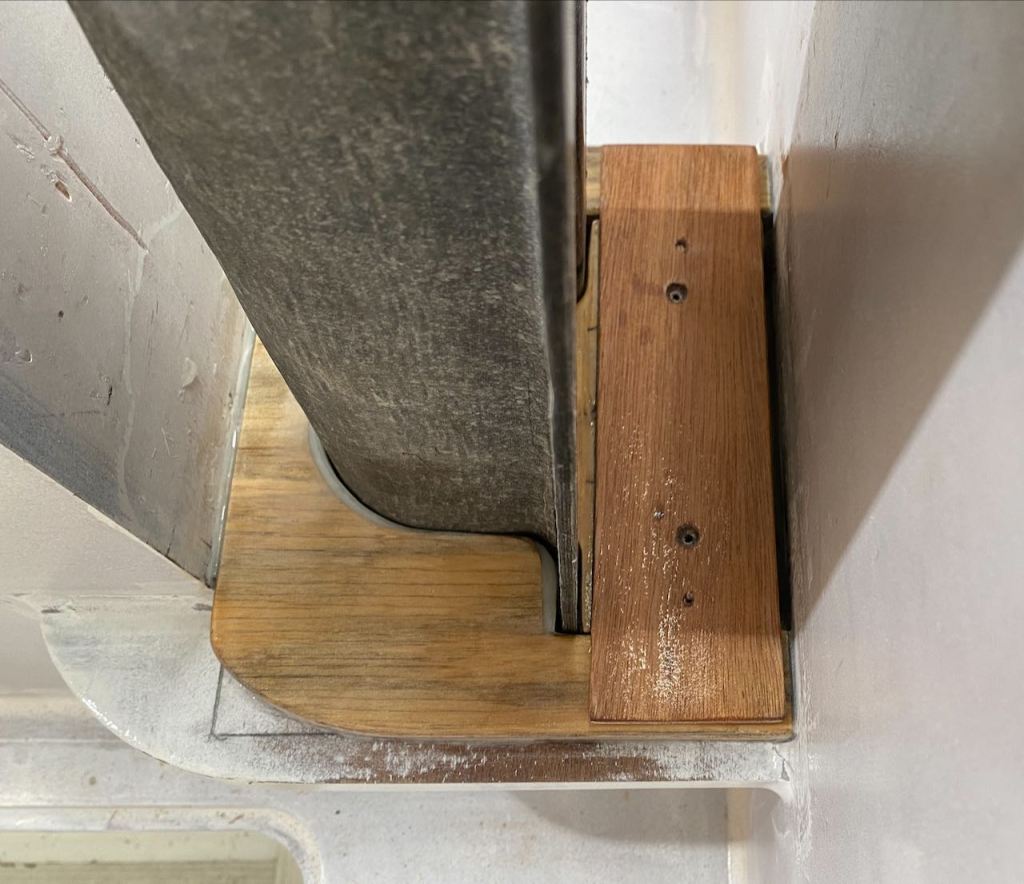
Next the plug, or key had to be made, this is a removable piece of ply that fits the inside of the carbon, and evenly clamps the tabernacle in place. Again the angle-o-meter was employed to ensure a rake of choice could be made. All this needs now is paint, and so it waits until the can is opened for a larger job.
Meanwhile….

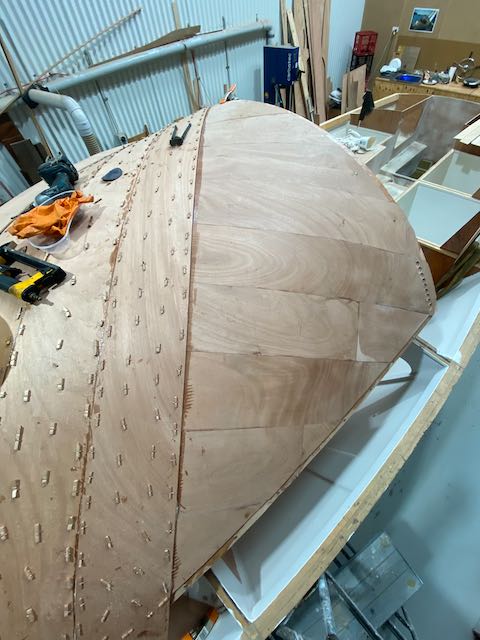
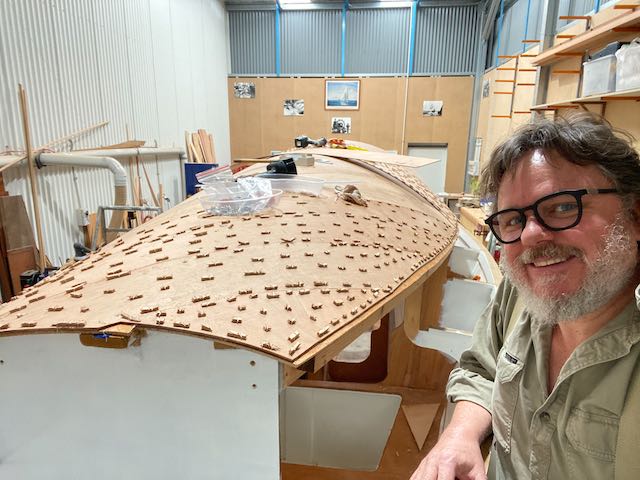
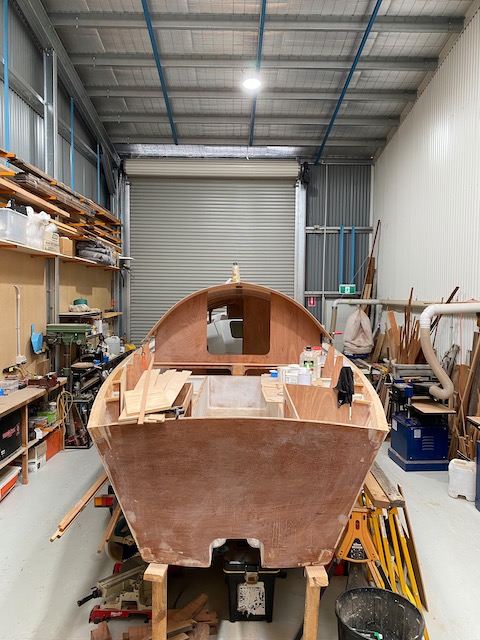
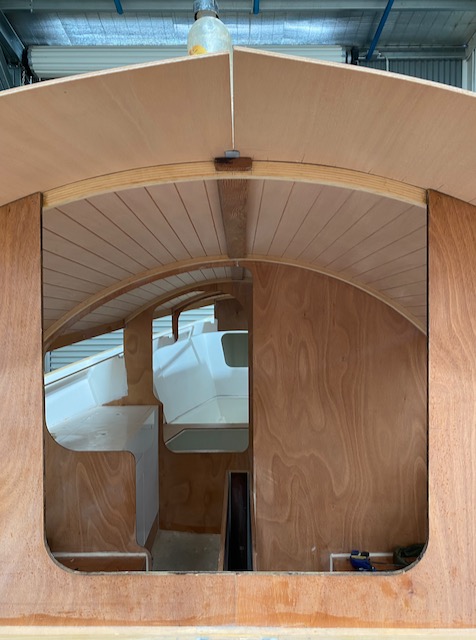
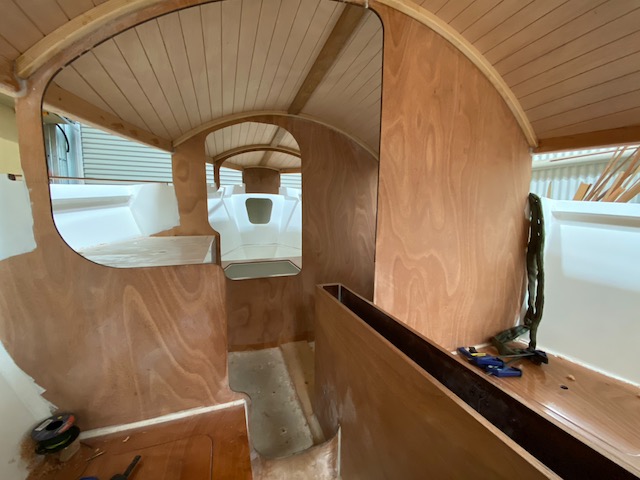
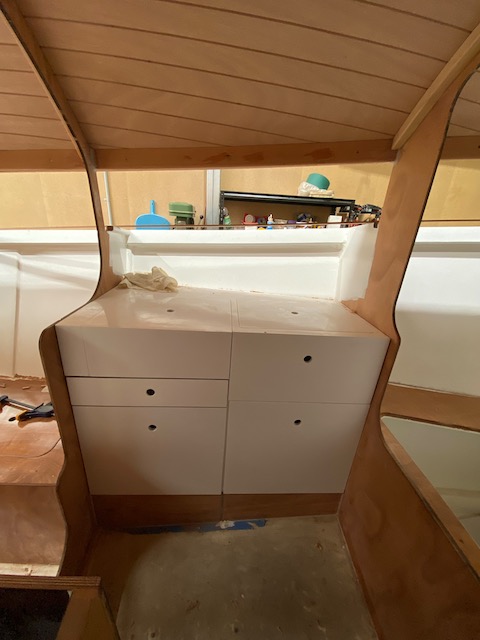
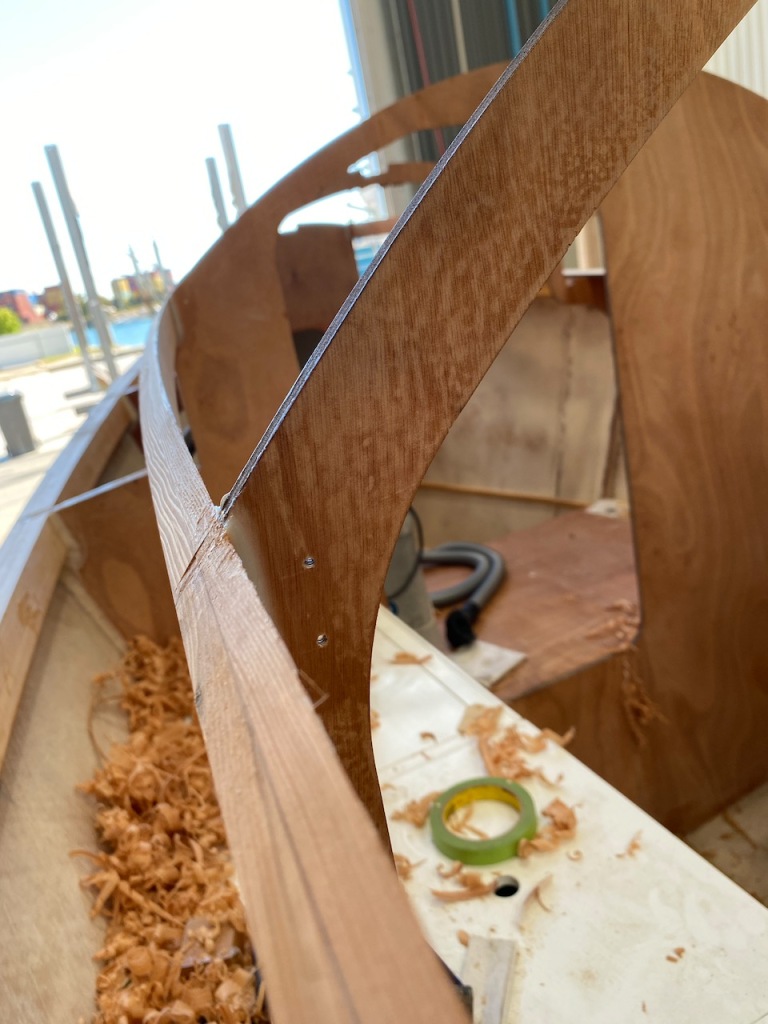
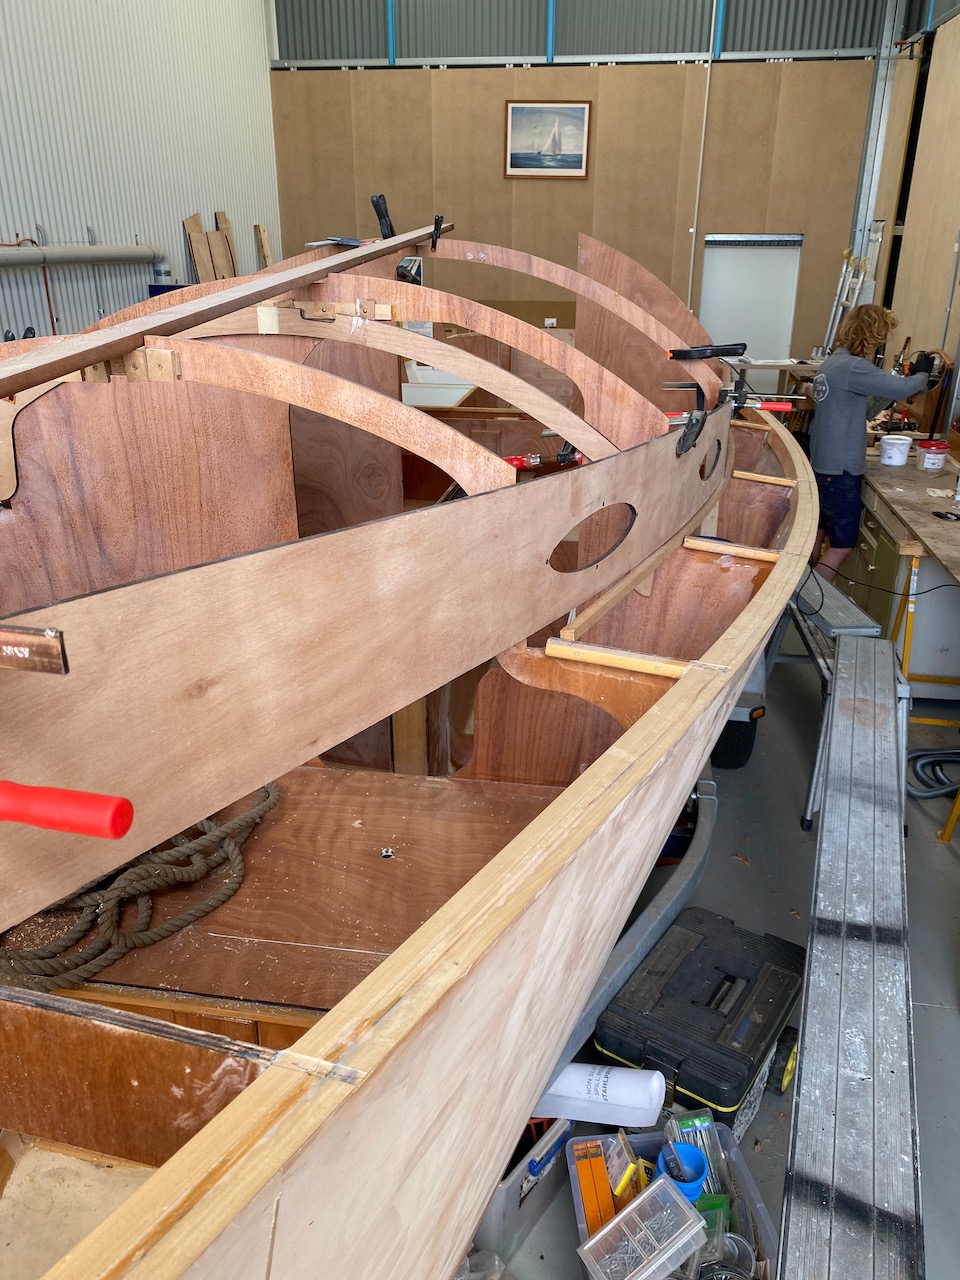
Troy and Luke have powered through a final sheer fairing, which I joyfully weighed in on. There is nothing better than contemplating, discussing and tweaking the sheerline. They then set about joining and laying the side decks and cabin sides. Wow this has changed everything. It’s a BIG marker of progress. They did a great job.
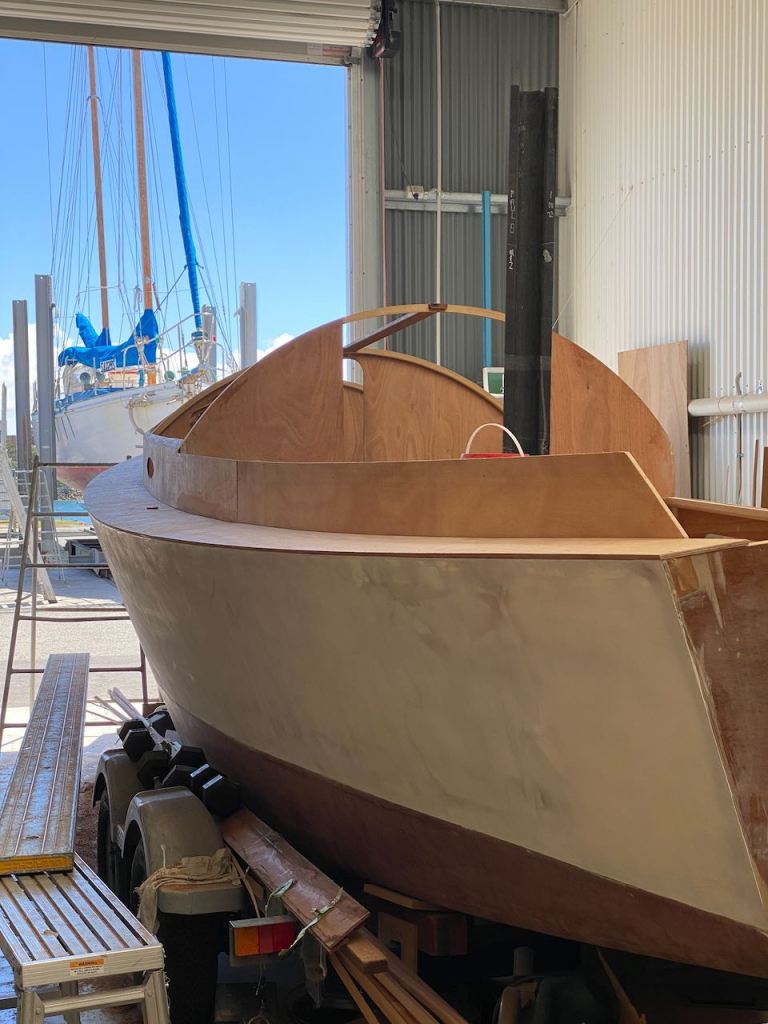
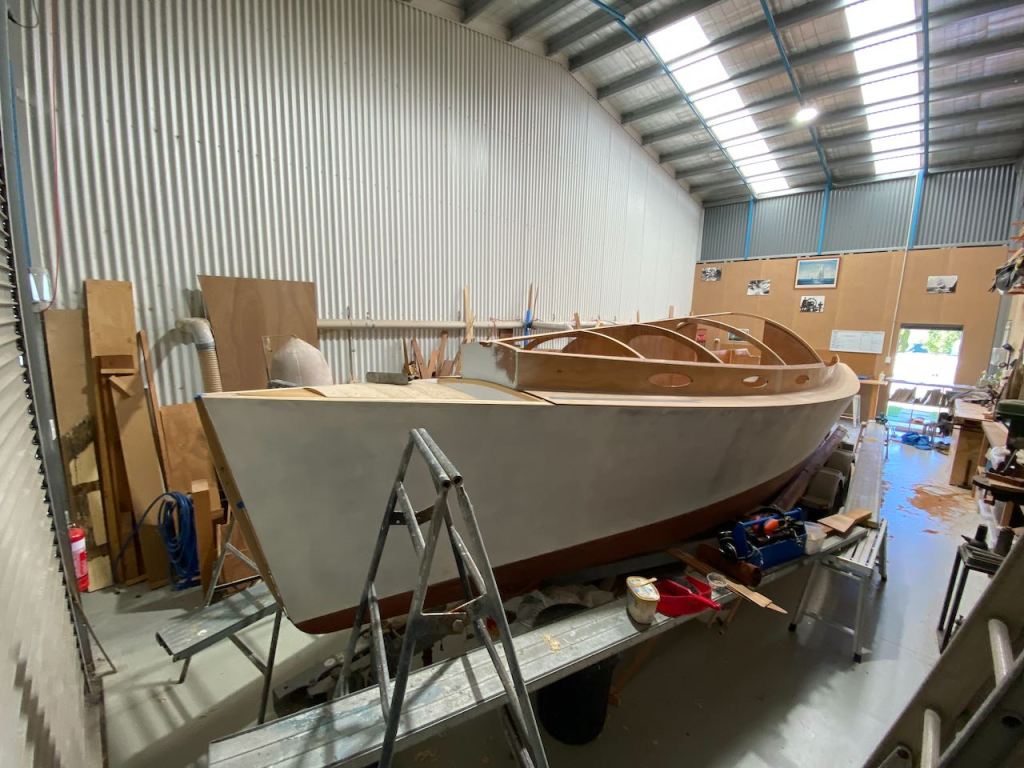
I followed up with a bit of cleanup and epoxy coating of bits of the underside. Troy had pre-coated and pre-painted these, but there were parts needing finishing.

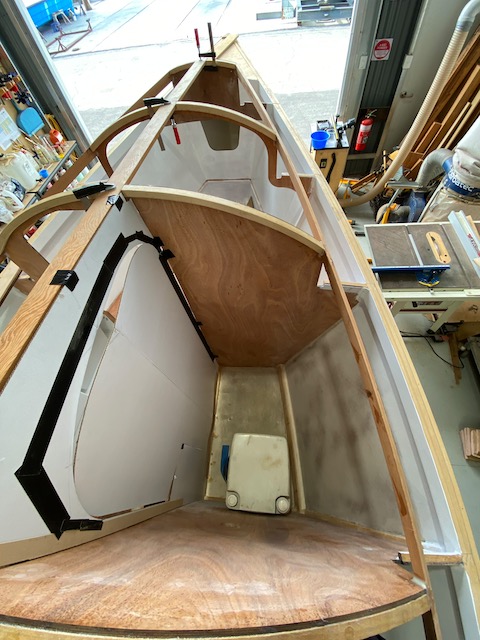
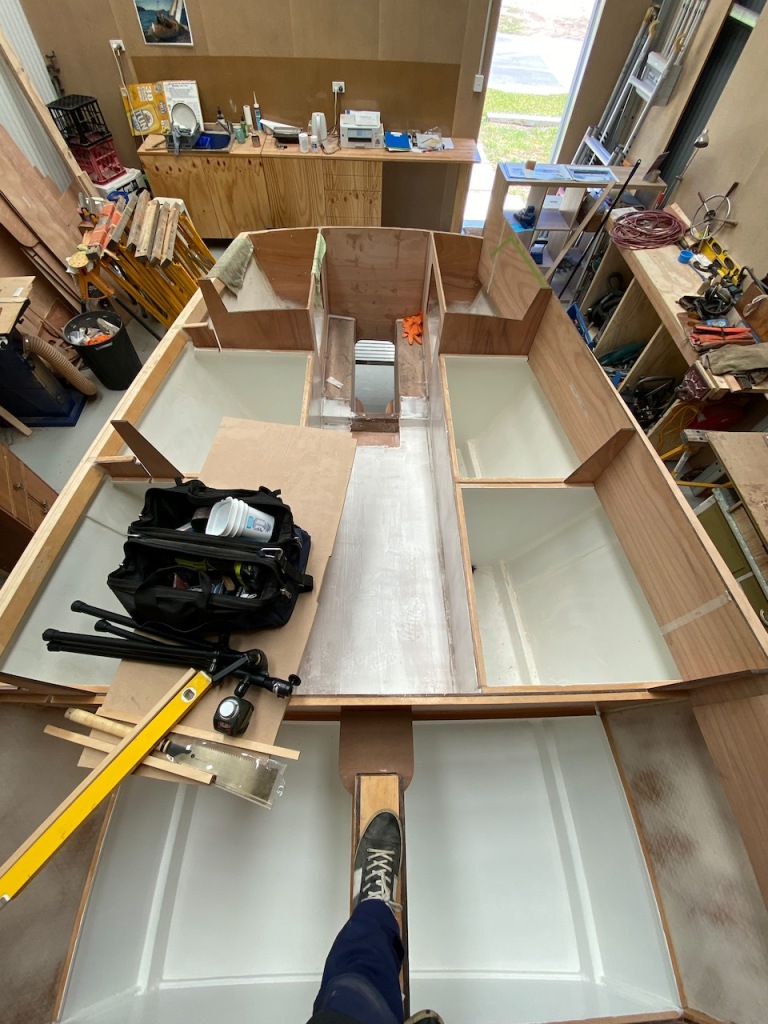
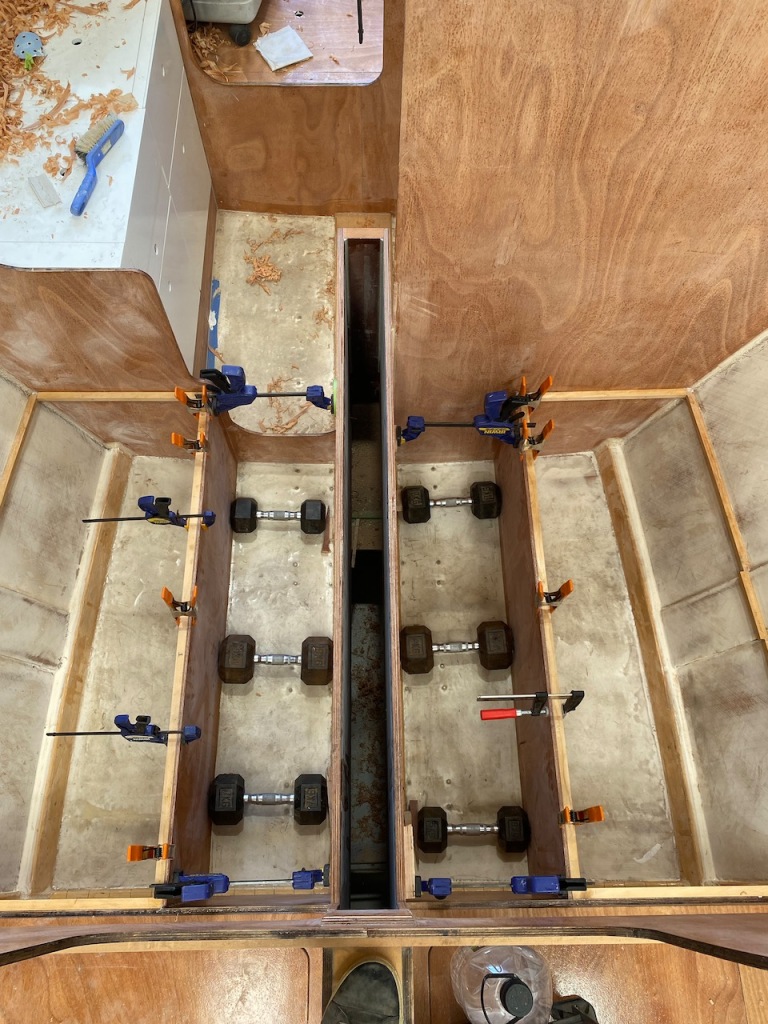
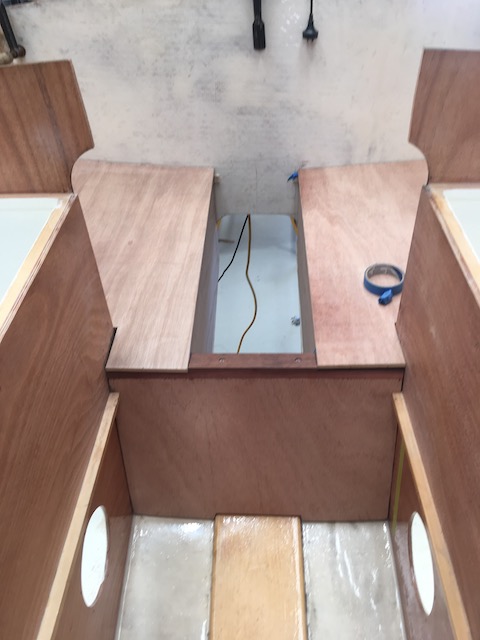
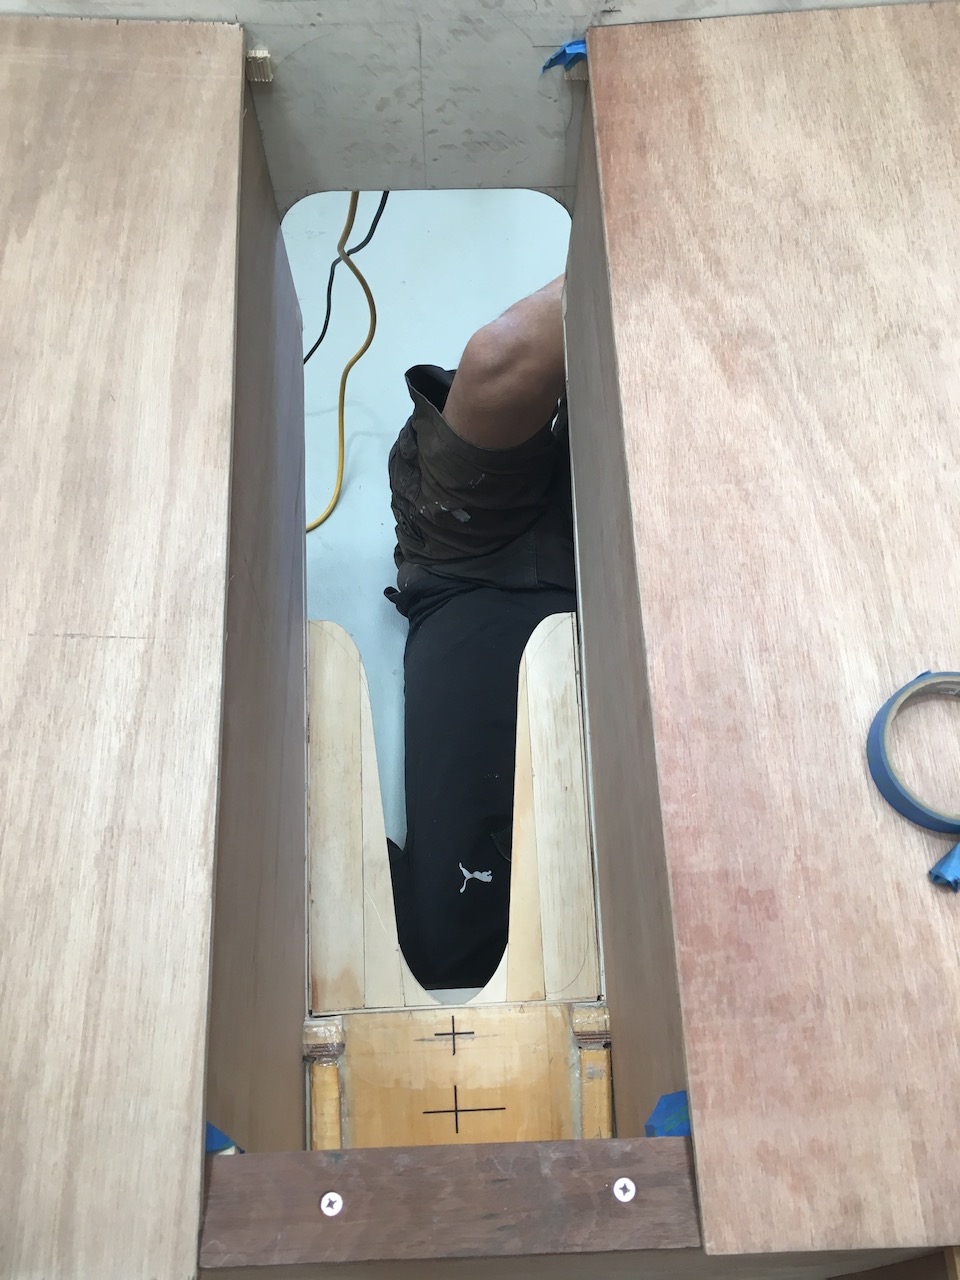
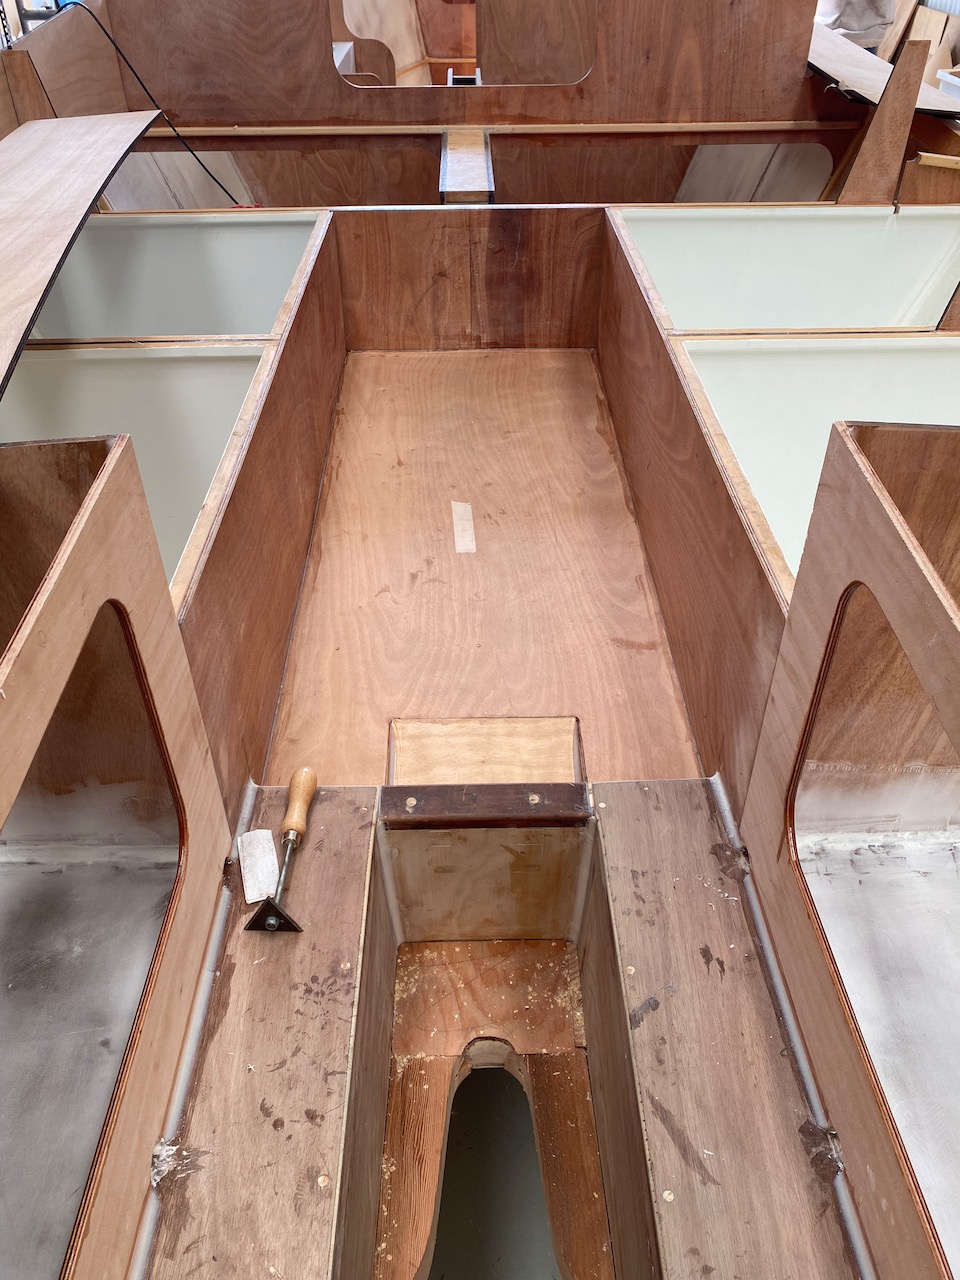
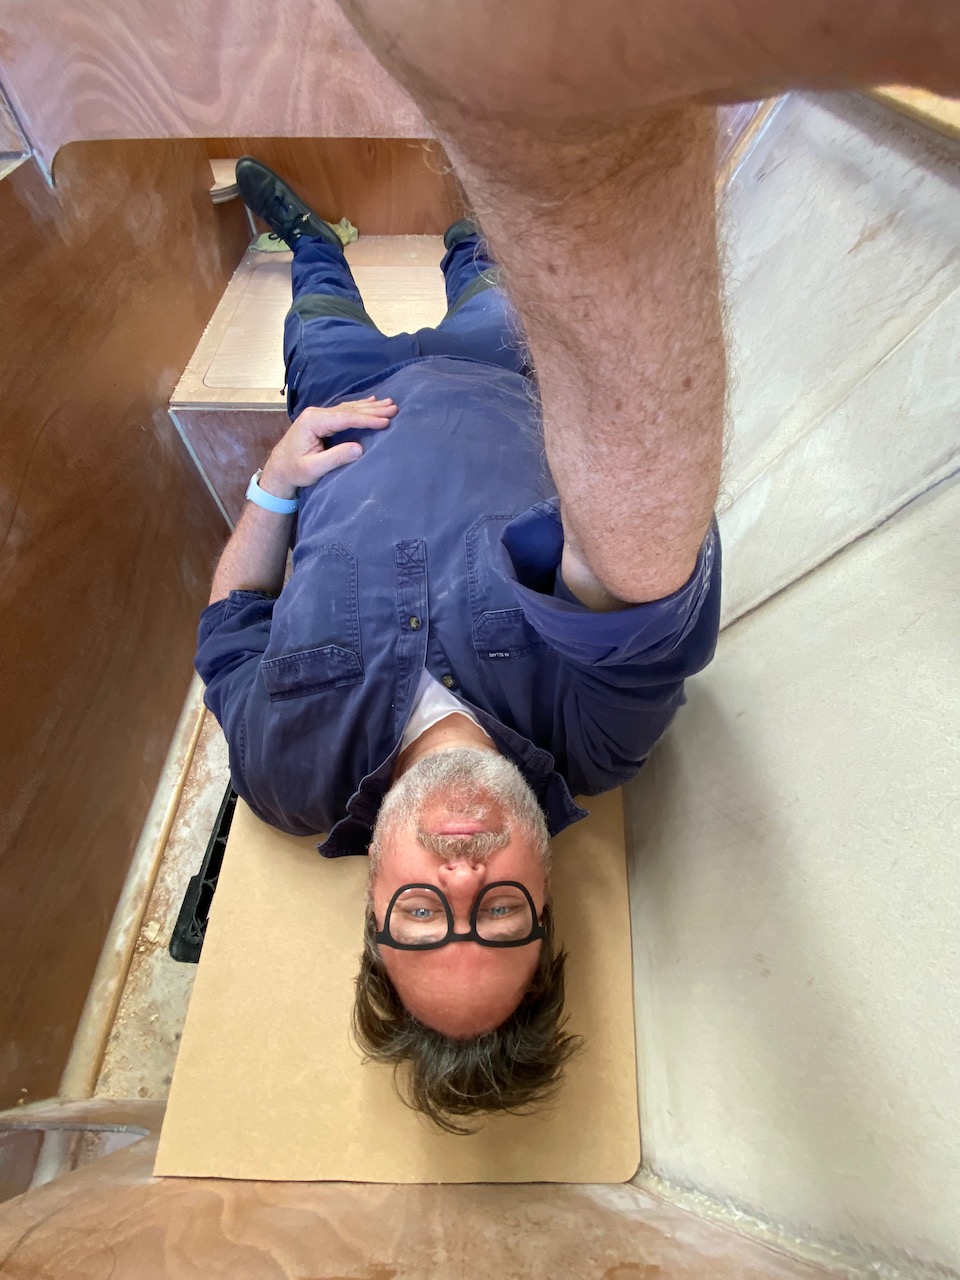
We both missed the critical stern quarter deck doublers (under deck cleat support), and these are complex little shapes, not a square edge in sight. So I set about fashioning these up out of laminated 9mm ply and set them in a mortar of e-glue, oozing everywhere. Access to these is through the wet lockers in the stern, the areas either side of the outboard well. With the central stern decking still off, it didn’t require too much contortion.
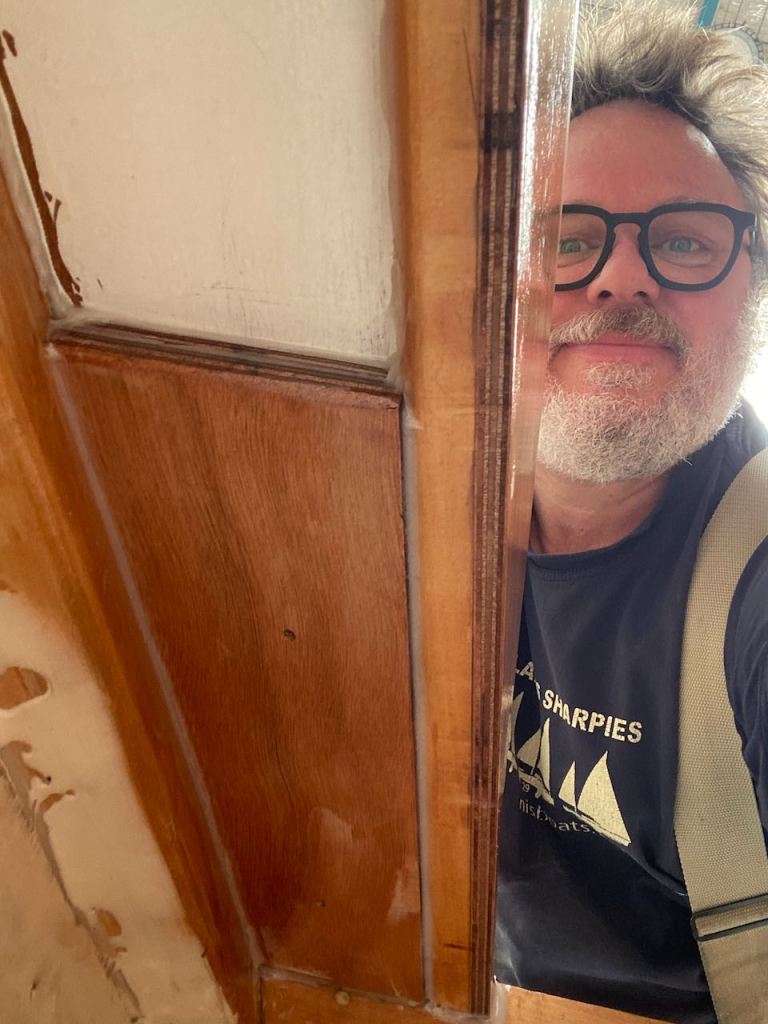
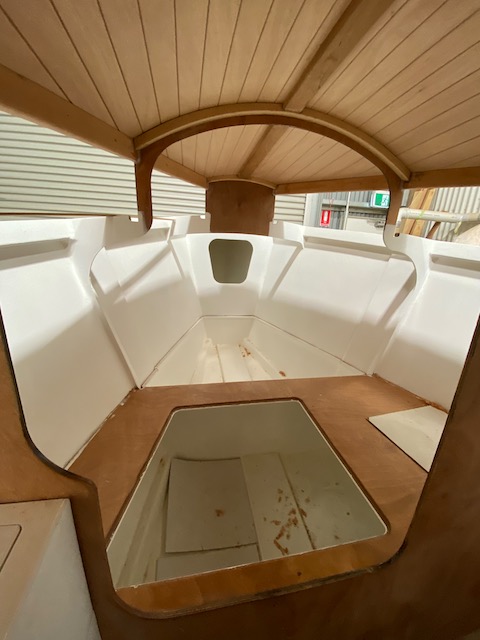
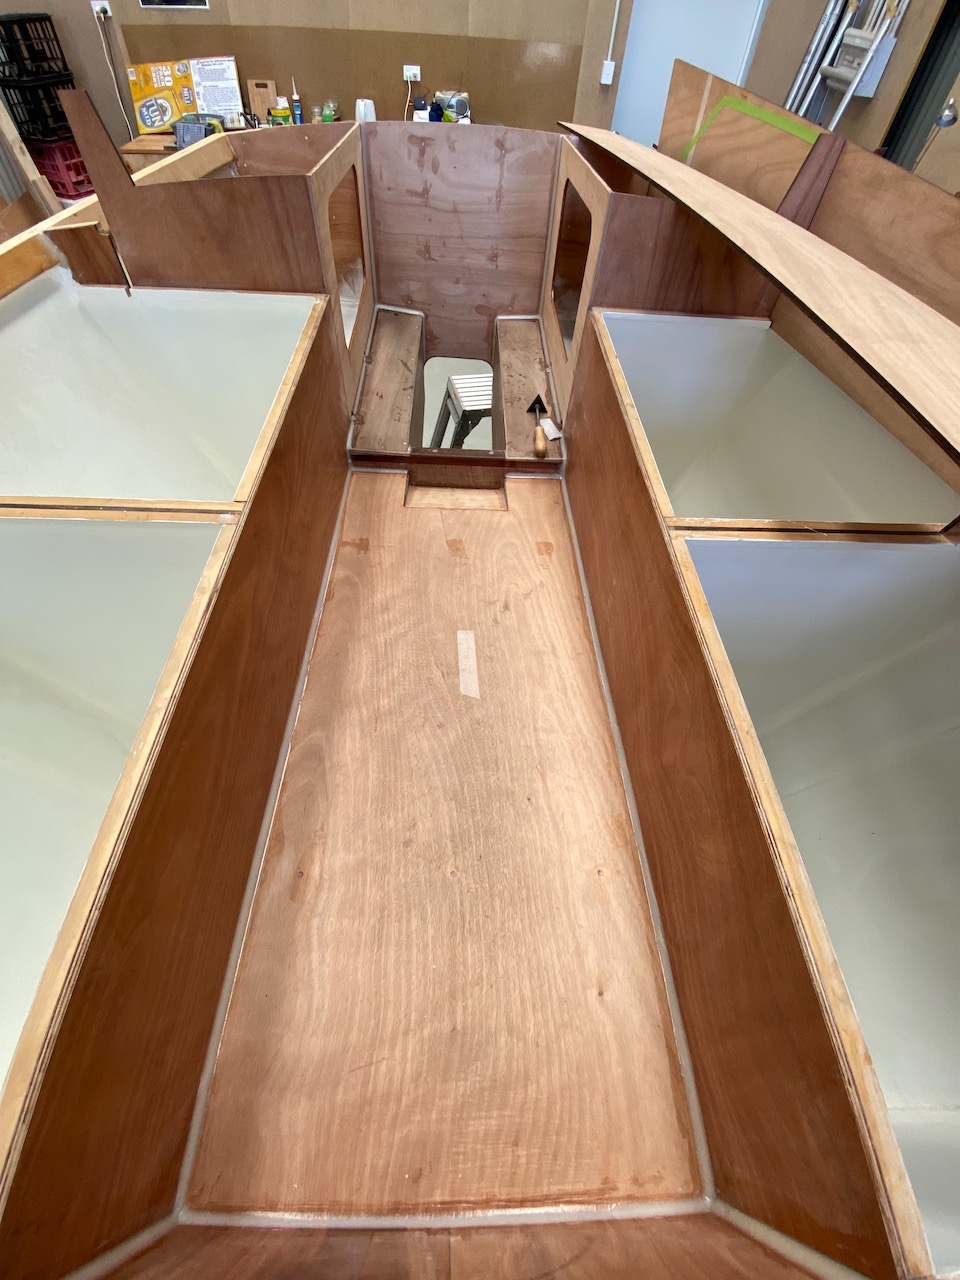
Once the deck doublers were cleaned up and sanded, the lockers begged for several coats of clear epoxy as they are likely to get banged about with fuel tanks other easily forgotten smell sources. This now all done, the next step is more paint, off-white Aquacote, brings in the light and is easy on the eye.

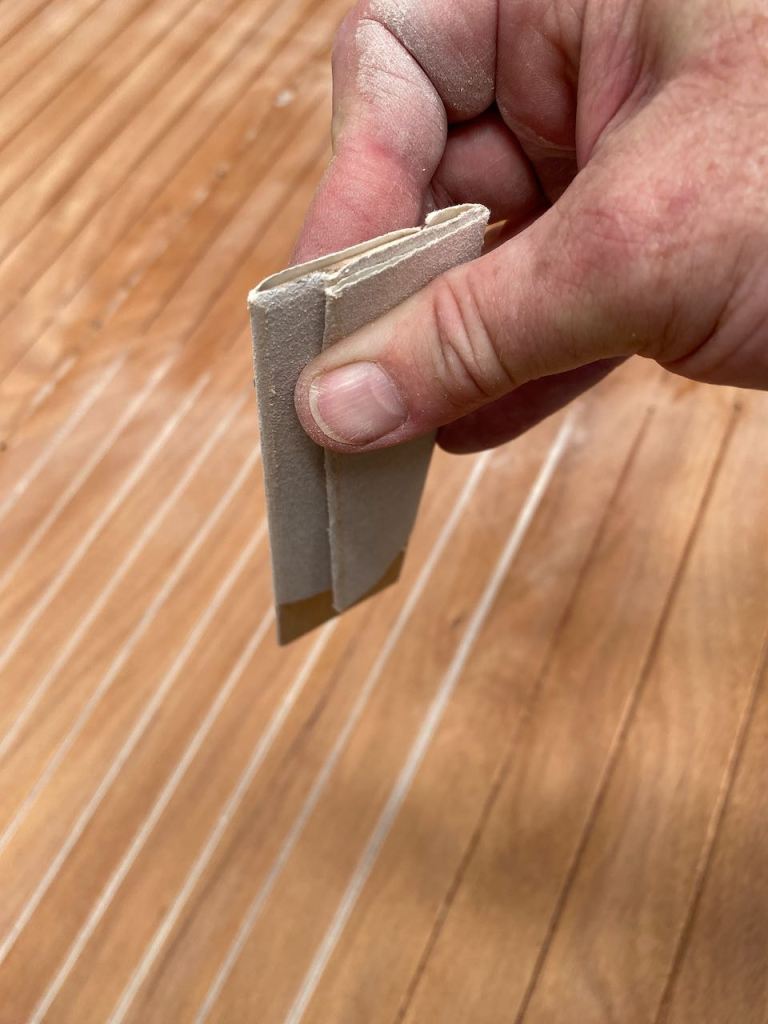
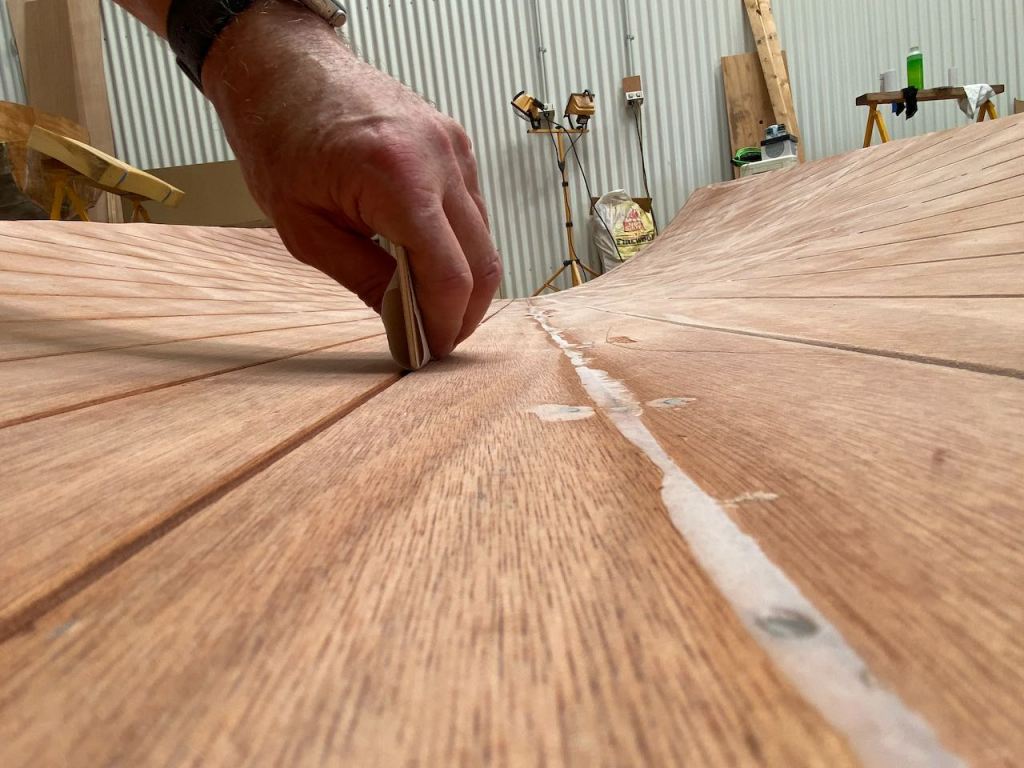
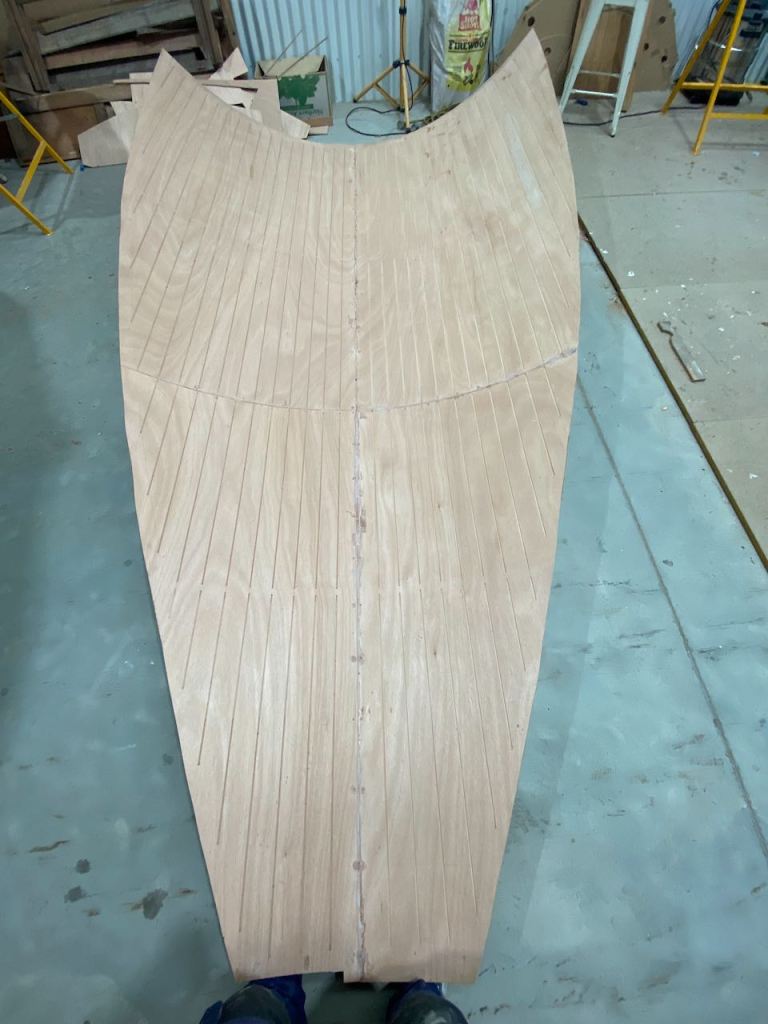
To truly test my resolve and stamina, I’ve been tackling sanding and epoxy coating the underside of the cabin top. Thankfully Troy had laminated this and popped it off, upside down on the ground. You may remember that I had the brilliant idea of longitudinal cove grooves to create a handsome effect…well each groove needs sanding and careful brushing, 3 coats of epoxy, 3+ coats of paint.

A true test of the fresh wrists, knees and back.
Categories
Boat Building NIS norwalk island sharpie wood work

The steps.

In taking the baby steps I need to ease into my fresh wrists, I’ve tackled something small and hidden; the mizzen and main mast tabernacle steps.

For those of you unaware, I have planned for my NIS26 to have folding carbon fibre masts, to speed up launch and retrieval, and lessen the weight aloft. These masts pivot on a tabernacle.

The Cambridge Dictionary defines Tabernacle as :

a place of worship for some groups of Christians. For the Jews in ancient times, a tabernacle was a type of tent moved from place to place and used for worship. in a Roman Catholic church, the box in which holy bread and wine are kept.

It’s not one of those.

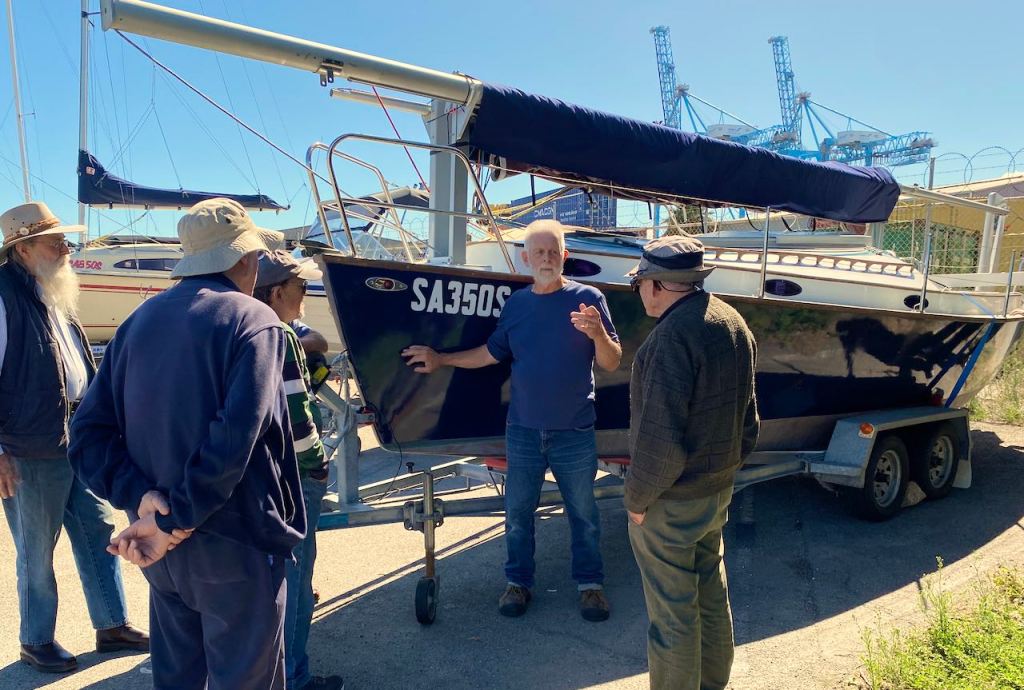
What Robert has developed is a lower mast partner of sorts that the bottom portion of the mast nestles into when it is raised. The partner supports the mast completely, and when needing to lower, it will allow the mast to pivot on a hinge. You can see an aluminium version pictured below, a snap I grabbed on a NIS day out recently.

And here is another aluminium one on “Golden Dream” under sail on the Derwent river, off Hobart:

“Traditional” boat folks all imagine masts needing rigging known as stays to support the mast. But a key to the Norwalk Islands Sharpies is their unstayed rig. The forces that bear on a mast are managed by the tapered mast shape, and its ability to flex. And the introduction of carbon fibre has changed this game entirely, as the mast weight is less than a quarter of an aluminium or timber equivalent.

All this is to say that the forces on a mast step for an unstayed rig, are very different. The force is lateral rather than the downward in a boat with stays, so the design of the step to mate with a carbon fibre tabernacle involves spreading the load, and providing support.

The carbon tabernacle sections are an open horseshoe shaped, so the receiver of the foot, and the deck through point, must fit that.

Another consideration is that it is all centred, vertical and slightly raked aft to the plans. Lots of mocking up, and double checking.

Pictured finished, is the mizzen, which steps onto the aft of the centreboard trunk, and the main is still a work in progress.

Categories
Boat Building Epoxy norwalk island sharpie Uncategorized wood work

Progress by Troy.

It’s five months after surgery and the right wrist is beginning to be useful. It is a great feeling.

Thankfully I’ve had the funds and Troy has had the time to see some progress in my down time. He has completed the cabin top, it is fully laminated (one layer of 5mm with groves to simulate panelling, and two diagonal 4mm x 200mm strips. Now its all dry and trimmed, Troy has removed it off the boat to enhance access as we move into the next stages.

Next was nutting out the cabin sides and deck relationship, something that is not overly obvious. Do the sides sit on the deck, or does the deck push up to the sides? Turns out the CnC cut pieces fit best with they sit sitting on the deck. Not wholly traditional, but when ‘glassed up with fillets, it won’t matter.

Troy joined the cabin sides to make single pieces, and his join is exquisite. I had planned a simple butt join, but he has rebated and ‘glassed the joins into invisibility.

Categories
Boat Building Epoxy Friends NIS norwalk island sharpie Uncategorized wood work

Wrist and Roof and more.

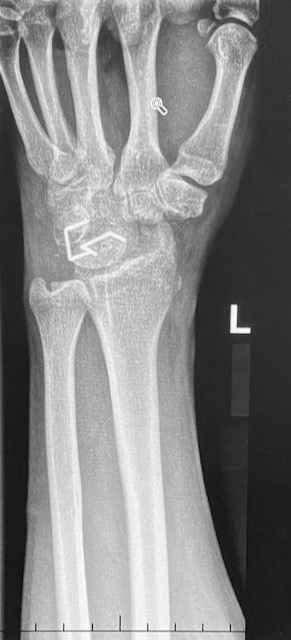
My after my two times tangle with the surgeon last year, having my left (dominant) wrist fused to stabilise it and manage pain, he promised me my right will need some attention sometime. He was right. It may have deteriorated in sympathy, been a hereditary feature or from overuse as my left was recovering, but late last year it was rattling like a bag of dice.

Regardless, I wasted no time on this one as the success of the left’s procedure has inspired me to get the right sorted.

The other key driver was the sweet smell of a finished boat… Not to say I am close, but I feel I can reach for it. Especially with two strong, pain free wrists.

Not since I spread out the plans have I felt so close to having a boat.

Looking at the below photos, you may not feel as I do, but having the Troy factor on side changes the odds .


Troy and I decided to embellish the coach roof headliner with longitudinal grooves. It’s a look I’ve always admired. I realise that we are imitating tongue-and-groove paneling and I don’t want a ‘twee’ look, but it creates a pleasant, embracing traditional feel.

Troy developed the technique, but apart from using actual timber strips, had no idea how to execute. He used a router on 5mm ply and it turned out a treat.

This first layer of 5mm will be added to with two layers of 4mm x 200mm diagonal ply strips laminated on top. The shell can then be popped off for finishing, and reattached when the decks and cabin sides are ready.


I’ve been chewing over the door to the head. It began when Troy suggested the head was a bit large for the size of boat. That got me thinking as I’m very receptive to opinions from those I respect. Four counter arguments sit with me on this:

  • I have two daughters and a wife, all fans of comfort.
  • I am not getting younger and a comfortable loo is a thing.
  • There is the potential to have a shower in the head.
  • Bruce designed it that way.

Troy understood these points, but he is worried about movement around the galley. Specifically, the end of the centreboard case is a perfect perch for the chef. Also when nosing through the galley, your bum juts into the head area.

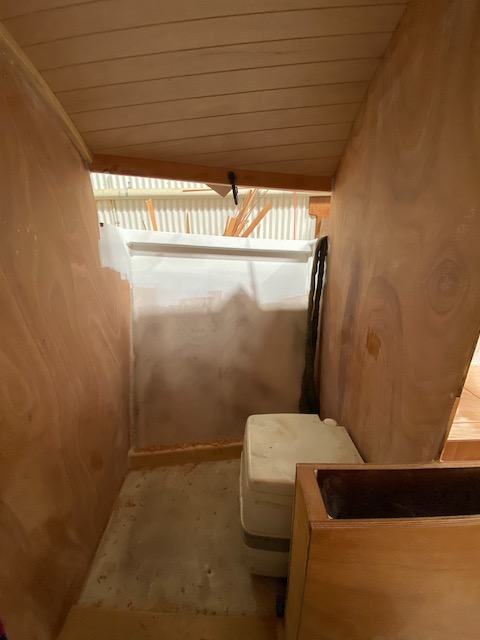
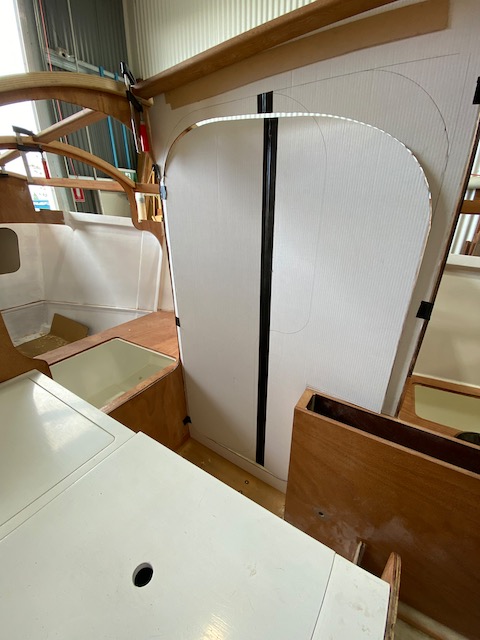
The solution I am working on is a bi-fold door that can leave most of that head area open, and in combination with a cased-in ‘porta potty’ should make the space more usable.

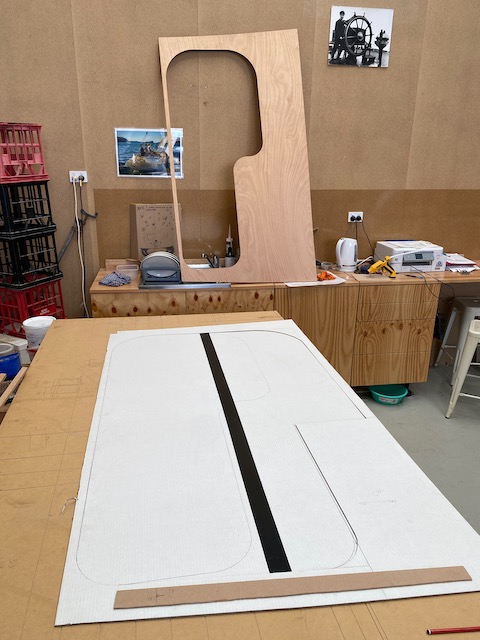
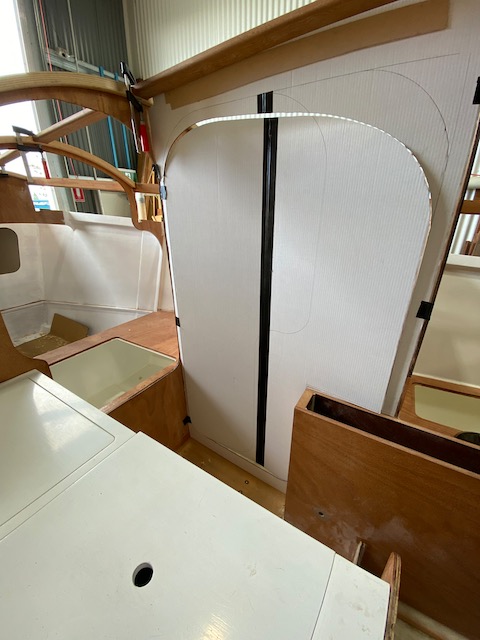
In the background you’ll see the designed, pre-cut bulkhead for the head. The foreground is my mockup.
Note how the proposed door’s top is low to fold against the lower, arched, outboard cabin top, and the centreboard case top ‘perch’ will be left clear.
It’s tight, but it seems to work. I’ll make a 3mm MDF mockup next.

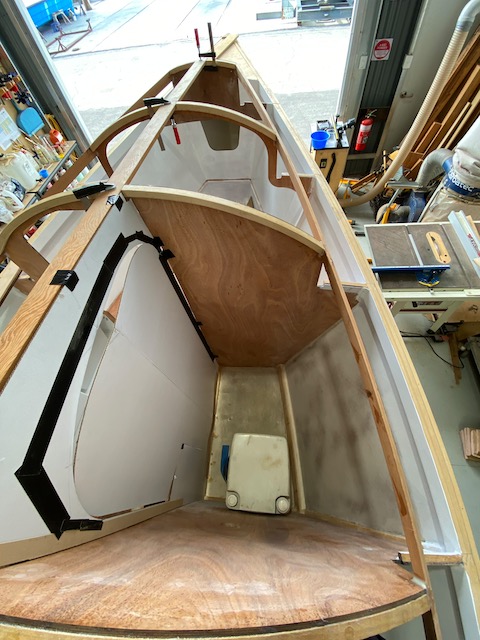
What do I mean when I write “cased-in porta potty”? I am contemplating a box that contains the porta potty toilet that can be closed over it, keeping it out of sight, and possibly venting it to the outside. This will allow for the head door to remain mostly open without the loo featuring in the view and possibly allowing the scent to escape the ‘tent’. More on this as I think it through.

Categories
Boat Building Epoxy norwalk island sharpie Tools wood work

Working inside and out

Troy and I have a bit of a routine going on where he and his crew will work on the bigger external items while I fiddle and fart over the internal details.

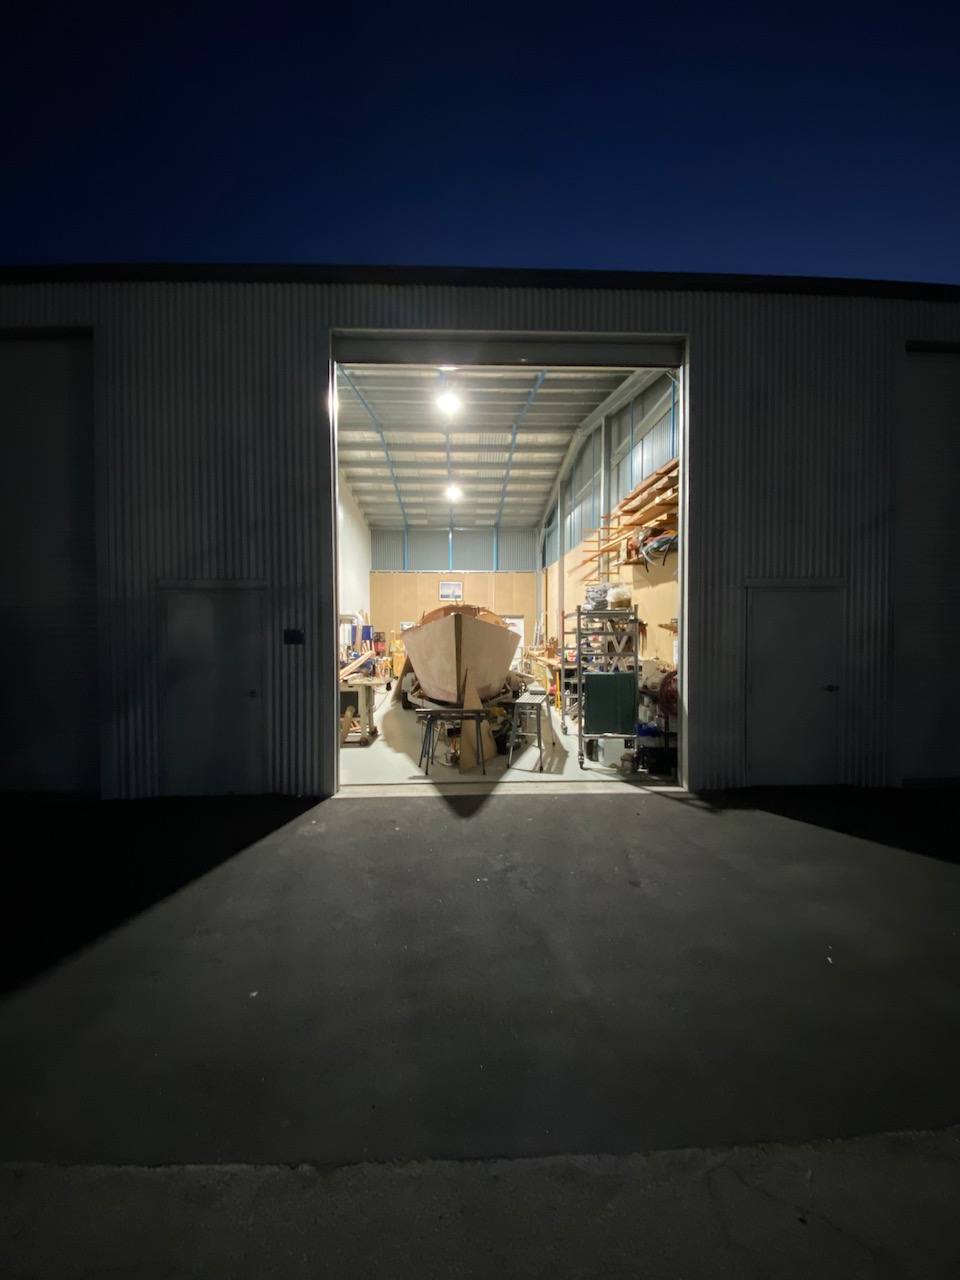
Troy’s first project, the motor well, is almost finished, it is just needing some filling and fairing before paint. The fuel lockers are mostly in place and the back deck when fitted will lock it all up. However the lack of a back deck is providing an excellent access route into the boat. This is a surprisingly important consideration as getting in and out of a boat on a trailer requires stair-master effort. And having an easily distracted disposition, I’m in and out like a fiddler’s elbow.

Troy is currently working on the cabin sides and top, yay! and it’s really stating to tie up the top of the boat. The tops of those bulkheads are unsupported and have been at risk the entire build. Amazingly I’ve only broken one in the ten years and that was when the boat was being turned over!

Deck carlins fitted and faired ready for the cabin sides and top

Meanwhile, I’ve been working on the quarter berths and settees. The process involves fitting the risers and tops, designing and cutting the hatches then painting out the insides. I’ve been spiling like a real boatbuilder as they all are complex fits.

Painting out the lockers
Quarter berth foot wells

I believe I have tried every spiling method; stick and board, 6mm MDF template fit by tracing, and lastly, hot glue gun and 3mm MDF strips. Every single method has produced mistakes no matter how careful I am. The fastest has been the MDF strips, but it also made the poorest fit. Perhaps the MDF is too floppy, perhaps it is just tricky.

Templating with 3mm MDF and a hot glue gun

I’ve been using a dumbbell set as clamps, plus the neat trick of reversing the Quickgrip clamp ends to make them push instead of pull.

Quickgrip and dumbell at work
Seat risers in!

One little piece of magic that happened occurred when working out the settees. The prime consideration is the distance from the hull outside to the front of the settee. It’s important because it juggles comfort for sitting and sleeping, foot well functionality and storage optimisation.

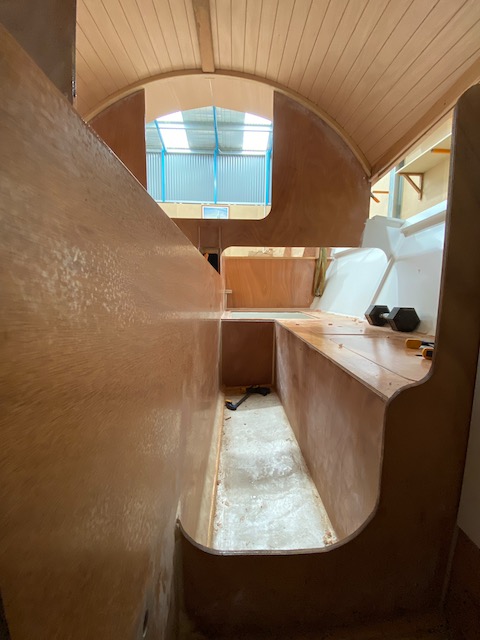
I began looking at the foot well, I wanted to be able to turn with a size 10 shoe (and not get jammed and bust a knee). I chose to make the risers dead vertical, and not tucked in at the bottom, to maximise storage and simplicity. This dictated the gap to the centreboard case. The next step was to see how comfortable the settees would be.

I mocked up a settee expecting the thigh support to be suitably deep, but the back to be weird. I say weird because the back of the settee is the hull side and at shoulder height the deck comes inboard, then the cabin sides rises from there. I fully expected to feel hunched sitting there.

Not only was the seat top, depth and height sweet, but Bruce Kirby’s settee back worked perfectly! The deck and cabin side all magically works as a back rest. God it felt good. I’ll post some pictures when I remember to take them!

Categories
Boat Building Epoxy Fibreglass Friends NIS norwalk island sharpie Uncategorized

Serious Solid Steps

Those of you with children older than 5, do you remember those first off-to-school days? Do you remember how you felt letting them go? They are still your children, but someone else is now messing with them.

Worry. This is my default position. I worried about both of my daughters and their disembarkation from the mother ship. They are now 18 and 19, and while that gangplank is verrrry long, that same worry is still there. Or at least has been replaced by some other tantalising concern .

This is how it has been over this year as my beloved Sharpie has been in the hands of Troy Lawrence of Adelaide Timber Boatworks.

Troy kindly stored my Sharpie until he and his crew could get clear of their work on the South Australian training vessel One and All. This meant I had storage for much of the first part of the year, and a promise of progress to come.

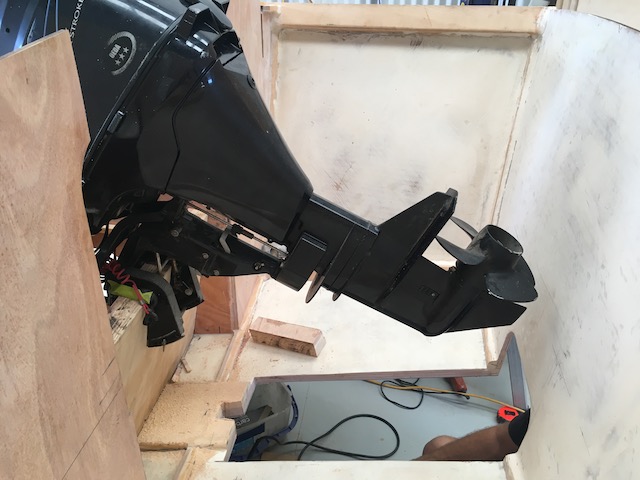
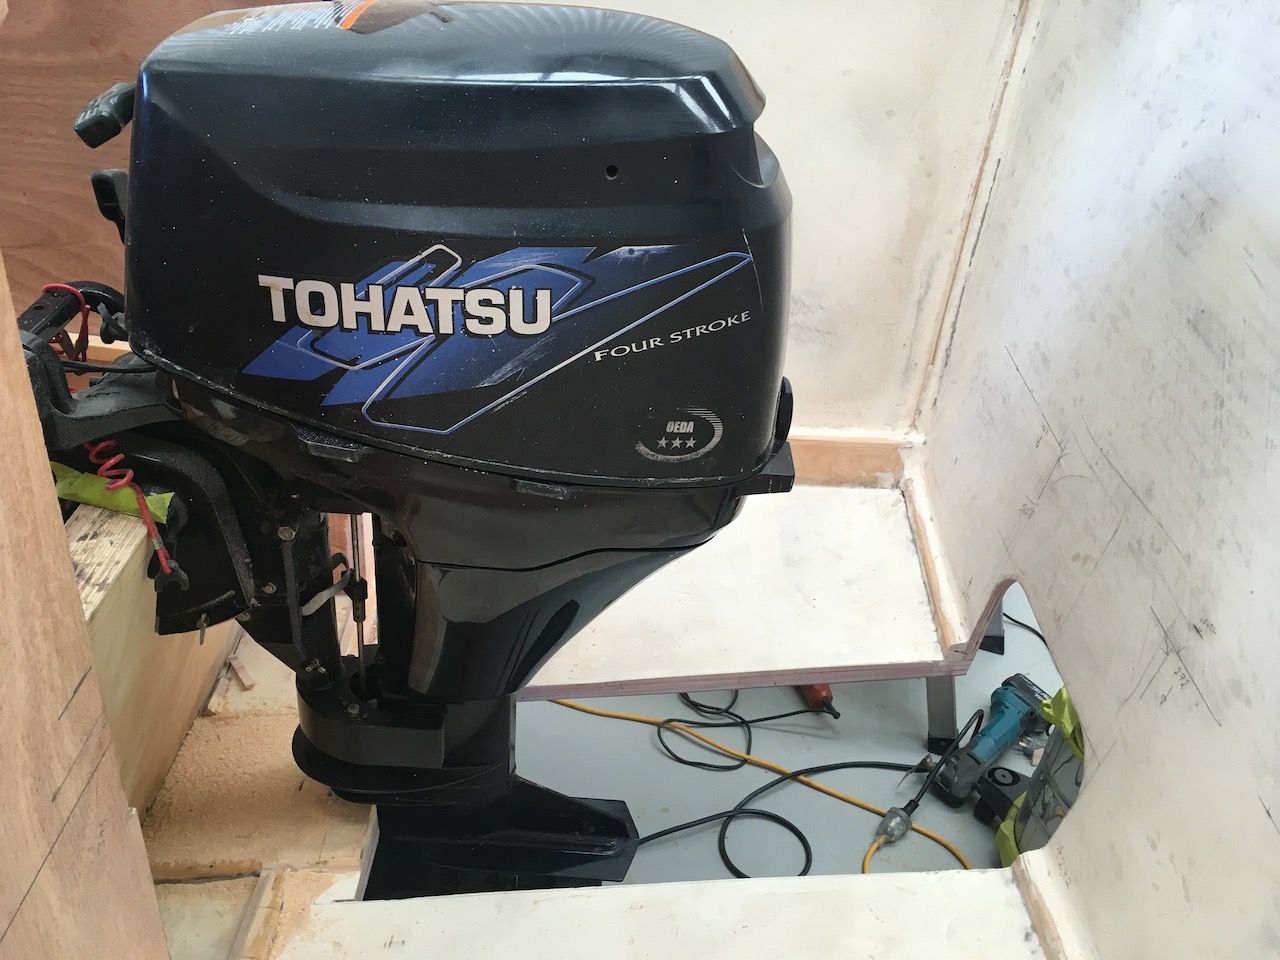
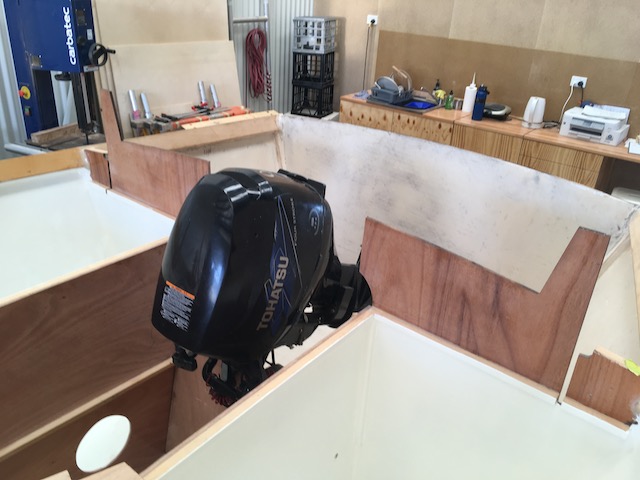
Troy and his team jumped into puzzling out the motor well. It is a puzzle because each motor has slightly different dimensions and the available space is limited. It must be neat, out of the way and function well.

Cutting that hole in your own hull is anxiety inducing. I am sure it has stolen good progress and sleep! But in the hands of another, and that other is a professional with a can-do attitude, it just happened.

It reminded me of a time building my Whilly Boat when I needed to cut the centreboard slot in the keelson. I must have stared at it for weeks. Then one day, another builder in the shared space who was sick of my faffing, grabbed a 12″ circular saw, mounted the up-turned hull and plunge-cut the slot in minutes. I was swept away with his daring-do.

I learned nothing, I still measure fifty three times before cutting.

So yet again, a hole is cut for me. And following on from this bravery, the motor mount is perfectly angled and epoxied in, the cheeks either side of the slot are heavily glassed, the fuel tank lockers are sized and set up and the cockpit sole is in…wow.

Troy is working to what I can afford, so the progress is not blitzkrieg, but is solid progress. I go down most Fridays and the odd Saturday to potter on the internals, making my own kind of headway, more like Slocum trying to get through the Strait of Magellan.


Update: I should have mentioned my wrist situation (as a bit of an excuse): things are improving, the stamina is limited, but recovery pain from use is mostly fading overnight without the need for painkillers. 🙂

Categories
Boat Building norwalk island sharpie

The boat gets moved.

Before my recent surgery I was urged into moving the boat so the business could claim some of my extravagant space back.
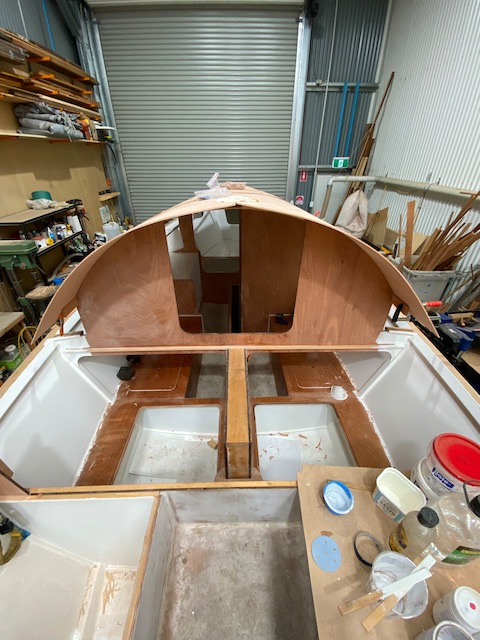
I towed the boat with my 1966 SII Landrover, we made such a spectacle I was stopped twice to answer questions.

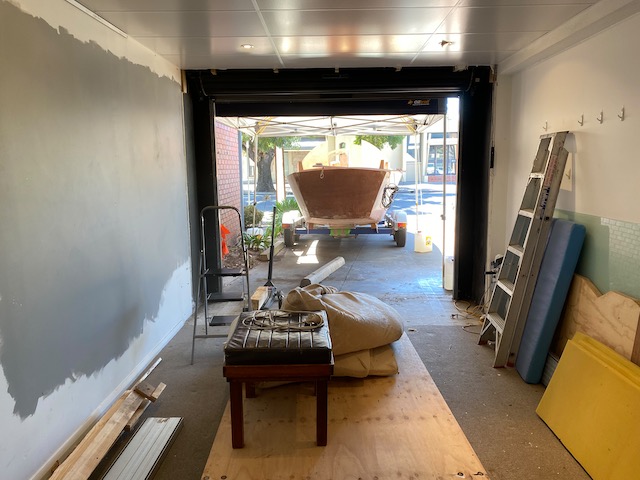
I was pretty excited as the destination was Adelaide Timber Boatworks. Troy Lawrence, the principal at ATB, is a well known shipwright and has recently leased a shed at the Royal South Australian Yacht Squadron opening up the ability to welcome in such projects as mine.

I knew I had a long recovery from surgery, and I was tired of progress to the boat only happening in my mind, so we’ve scraped together some money and engaged Troy on a project by project basis.

First up, the motor well.

The tight fit we had.
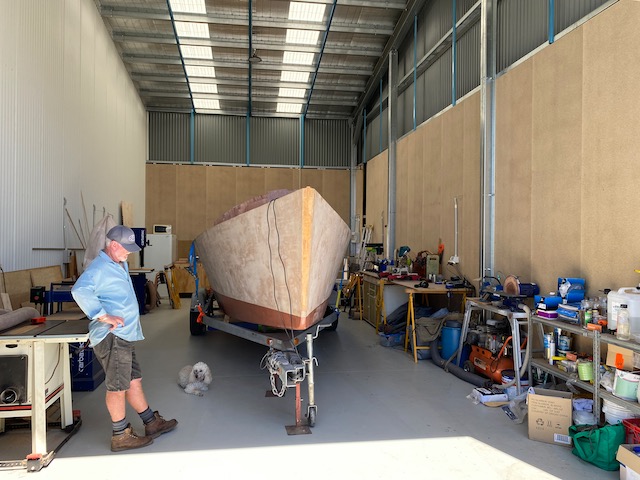
More space for work work.
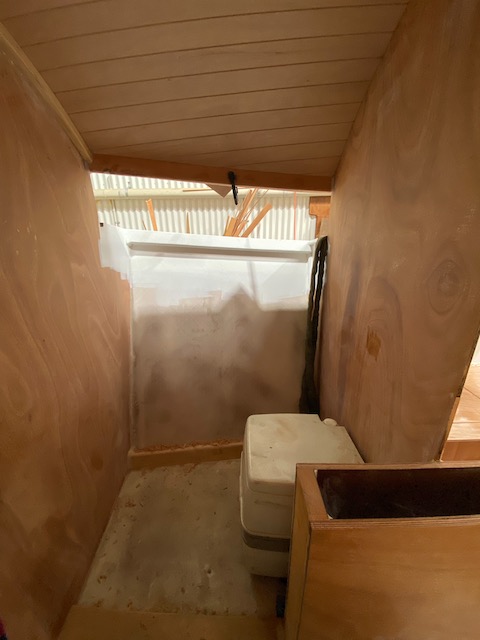
Luxurious amount of space at Adelaide Timber Boatworks.
Categories
Personal Tools

Back in for a refit

Another uninteresting medical update on my wrist.

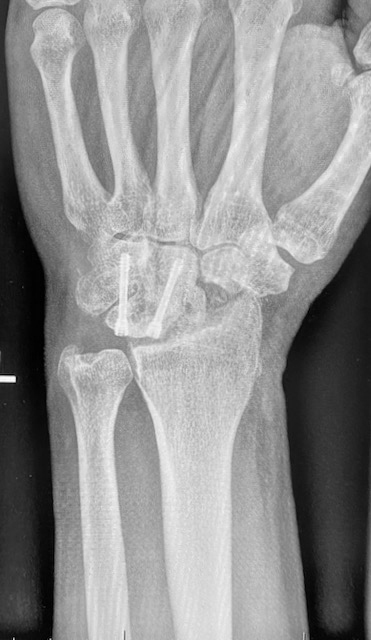
The previous procedure failed to fuse my left (dominant) wrist, so my stoic surgeon Prof Bain, went back in with screws and it seems to be holding well.

That first surgery, recovery, and revision and recovery took close to a year. More frustrations for a boat builder, and the second, in both diagnosis through to surgery and near recovery, has taken longer.

I’m not sure it has the stamina and strength yet, but it feels good. The best it has felt in years.

Categories
Boat Building Epoxy NIS Uncategorized wood work

Cockpit lockers

I am avoiding working in the cabin because I still need to trim down the centreboard trunk to accomodate the new narrower chord centreboard, so I moved aft to tackle the cockpit lockers.

The kit’s pre-cut panels slotted in nicely demonstrating both the router robot and I are in harmony. Yay!

Dry fitting of the portside locker

Knowing under the cockpit sole will be inaccessible, and effectively a sealed buoyancy tank, I chose to put an access hatches in from the sides from each of the four lockers so I can inspect under there. I considered how awkward it will be, hanging in the locker upside down and having to worm in an arm, so I attempted to plan for this in the placement of the holes. I considered forearm length, elbow movement and where I’d want to get to. I picked up a four screw-fit hatches from BCF (Boating Camping Fishing) and a set of brass nuts and bolts from The Wood Works.

The cleats will give plenty of surface area for the seat tops and sides and cockpit sole to bond and form a structure that takes some of the most abuse in a boat.

Then it’s in with the cleats and fillets to lock it all up. Next the entire area got a good sanding and several coats of clear epoxy. Under the sole got extra attention with epoxy, it’s like hard toffee in there.

You can really see the structure of the lockers building strength

The lockers themselves will suffer from being dark caves of lost gear, so I chose to paint them heartily with white Aquacote to bring in the light. I am worried about the pounding they will take over time, so I intend to put rubber matting on their soles.

It was a rewarding part of the build because I felt less precious about the visual finish, and called “done” based on it’s feel. They now glow optimistically awaiting their hatching-in and dark future of servitude.

Cockpit Lockers ready for their tops
Starboard lockers
Under the sole

As an aside, the situation with my damaged wrist four years ago has not improved. It’s not that it is horribly worse, but these past four years have meant no more than a few hours work can be done at a time before I have to stop, and a good days work on the boat can mean a week recovering. Finishing out these lockers really highlighted the problem. After standing back and admiring my work, I booked and appointment with the surgeon to get a fusion.

Categories
Boat Building NIS norwalk island sharpie wood work

Galley complete

Complete? As far as any prototype can be.

When assembling the design, I realised it is likely something will need changing, whether it be the magnetic catches, or the smooth white finish, or the gray water holding. Regardless, I am pleased with it, and it is serviceable as a galley.

At present I am trapped in recovery from surgery to fuse my wrist and keen to keep the boat build rolling. Part of the build is this blog, so enjoy the video, I made it long after completion of the galley. Better late than never!