Categories
Boat Building Epoxy Fibreglass Friends NIS norwalk island sharpie Uncategorized

Serious Solid Steps

Those of you with children older than 5, do you remember those first off-to-school days? Do you remember how you felt letting them go? They are still your children, but someone else is now messing with them.

Worry. This is my default position. I worried about both of my daughters and their disembarkation from the mother ship. They are now 18 and 19, and while that gangplank is verrrry long, that same worry is still there. Or at least has been replaced by some other tantalising concern .

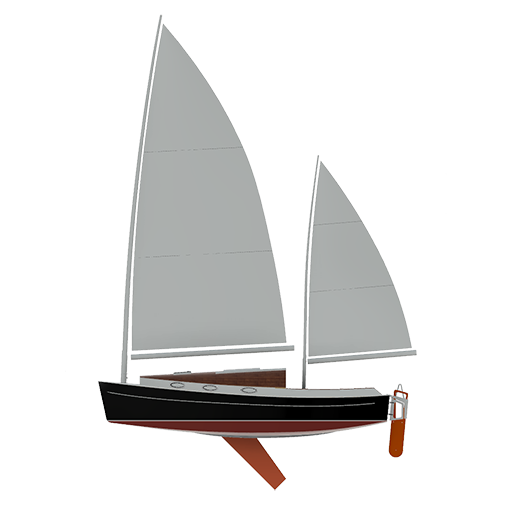
This is how it has been over this year as my beloved Sharpie has been in the hands of Troy Lawrence of Adelaide Timber Boatworks.

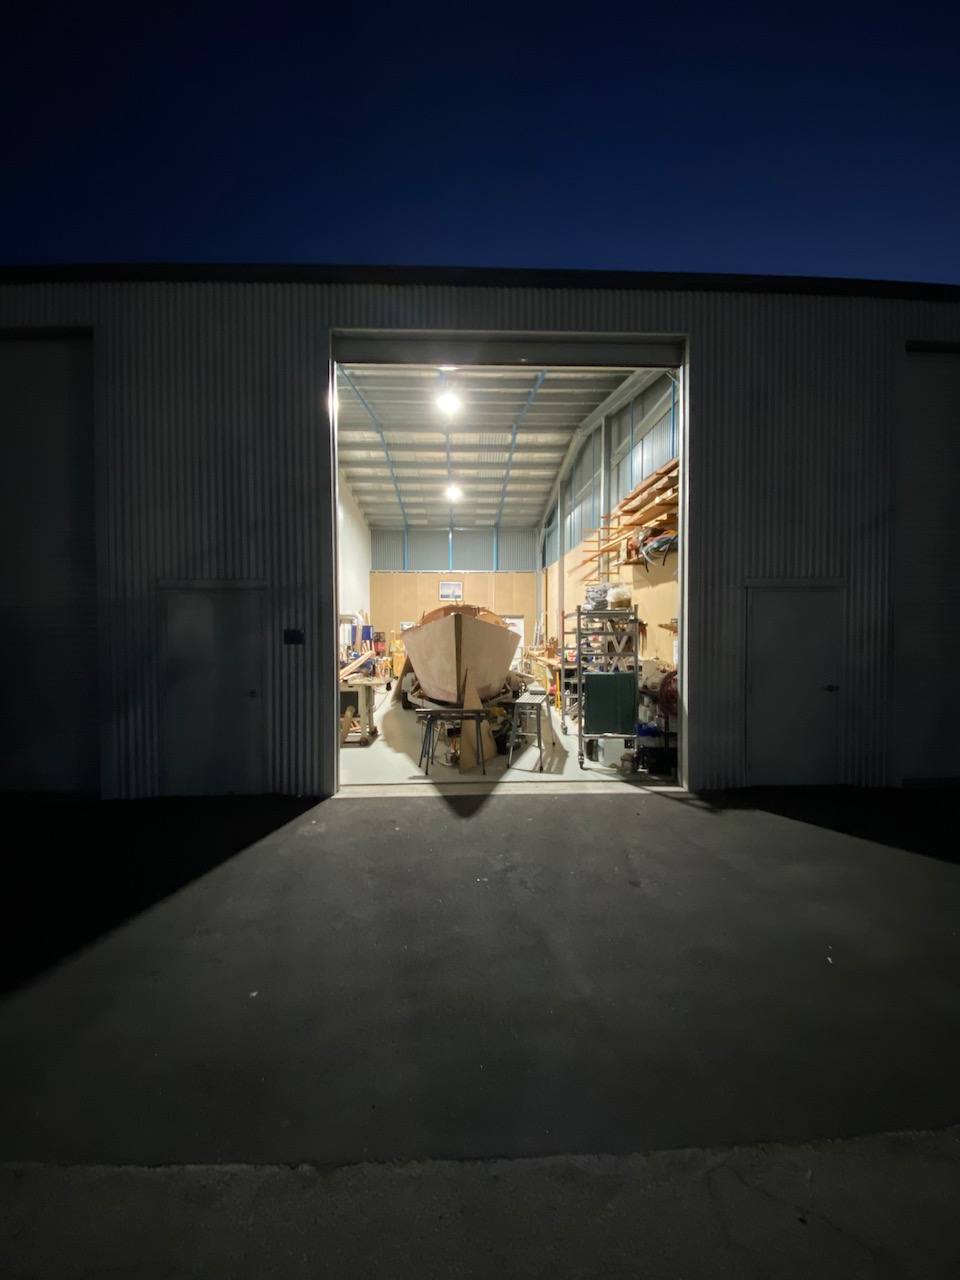
Troy kindly stored my Sharpie until he and his crew could get clear of their work on the South Australian training vessel One and All. This meant I had storage for much of the first part of the year, and a promise of progress to come.

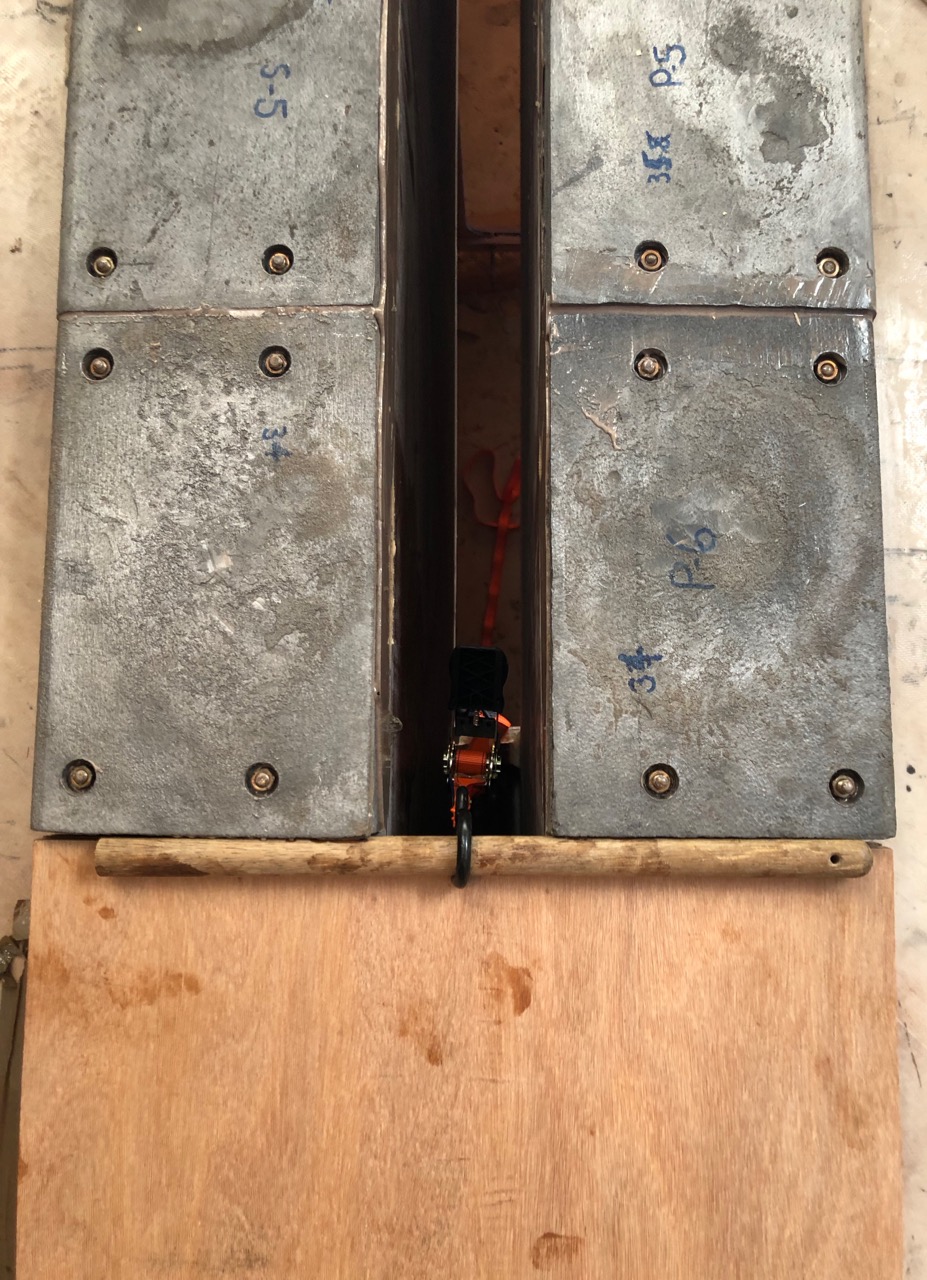
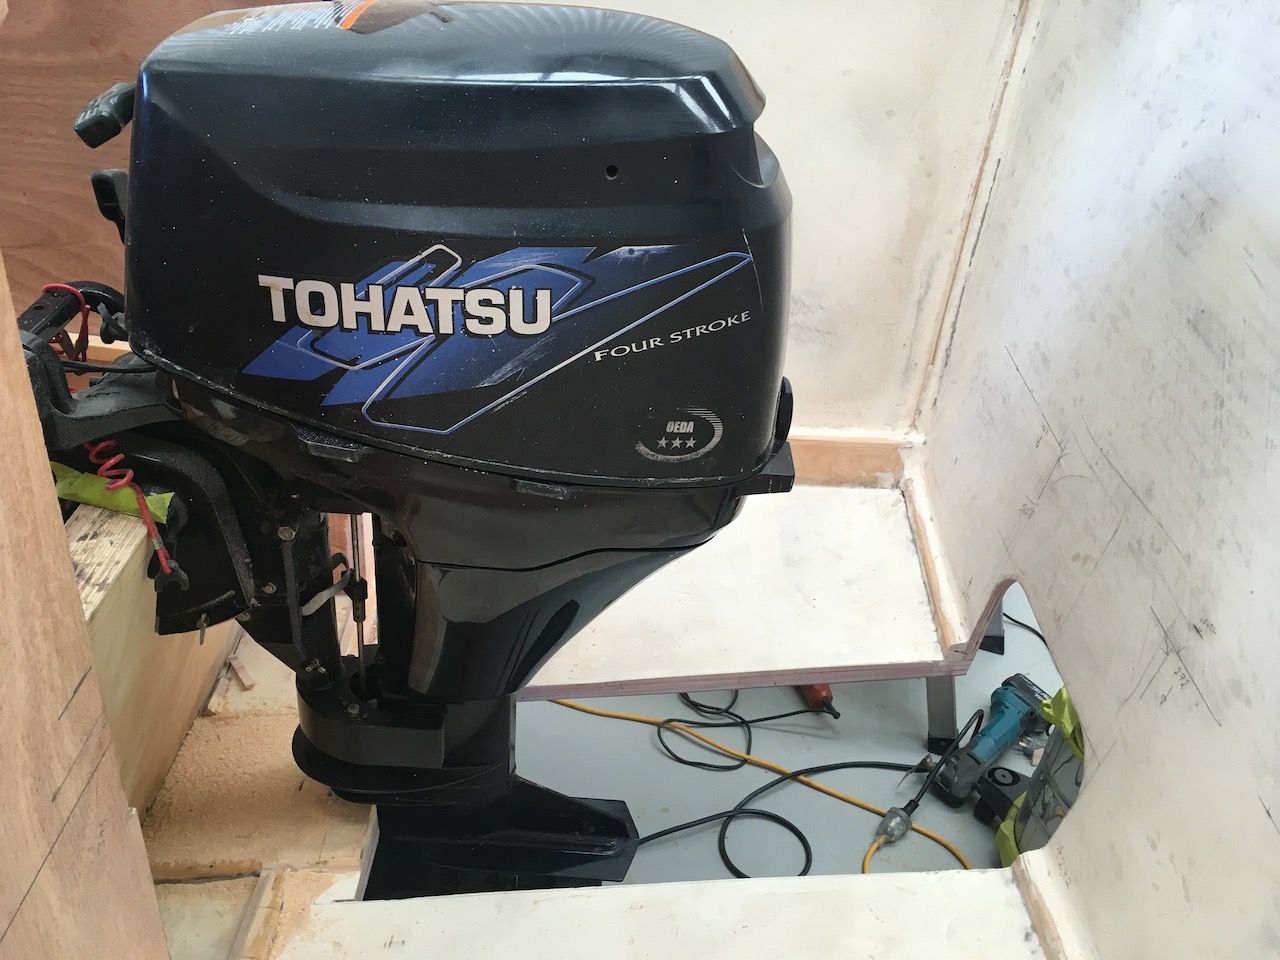
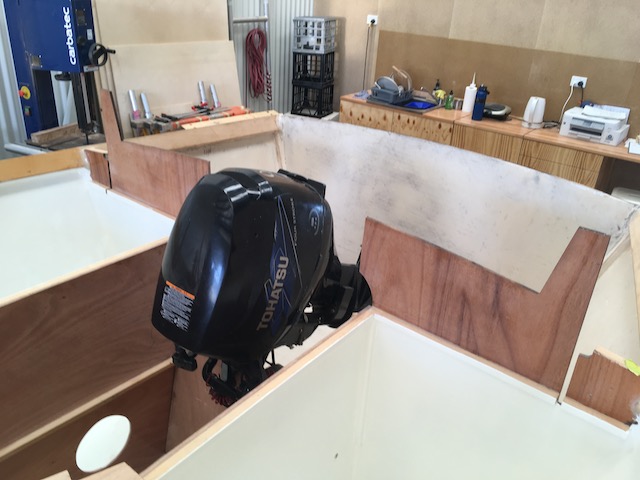
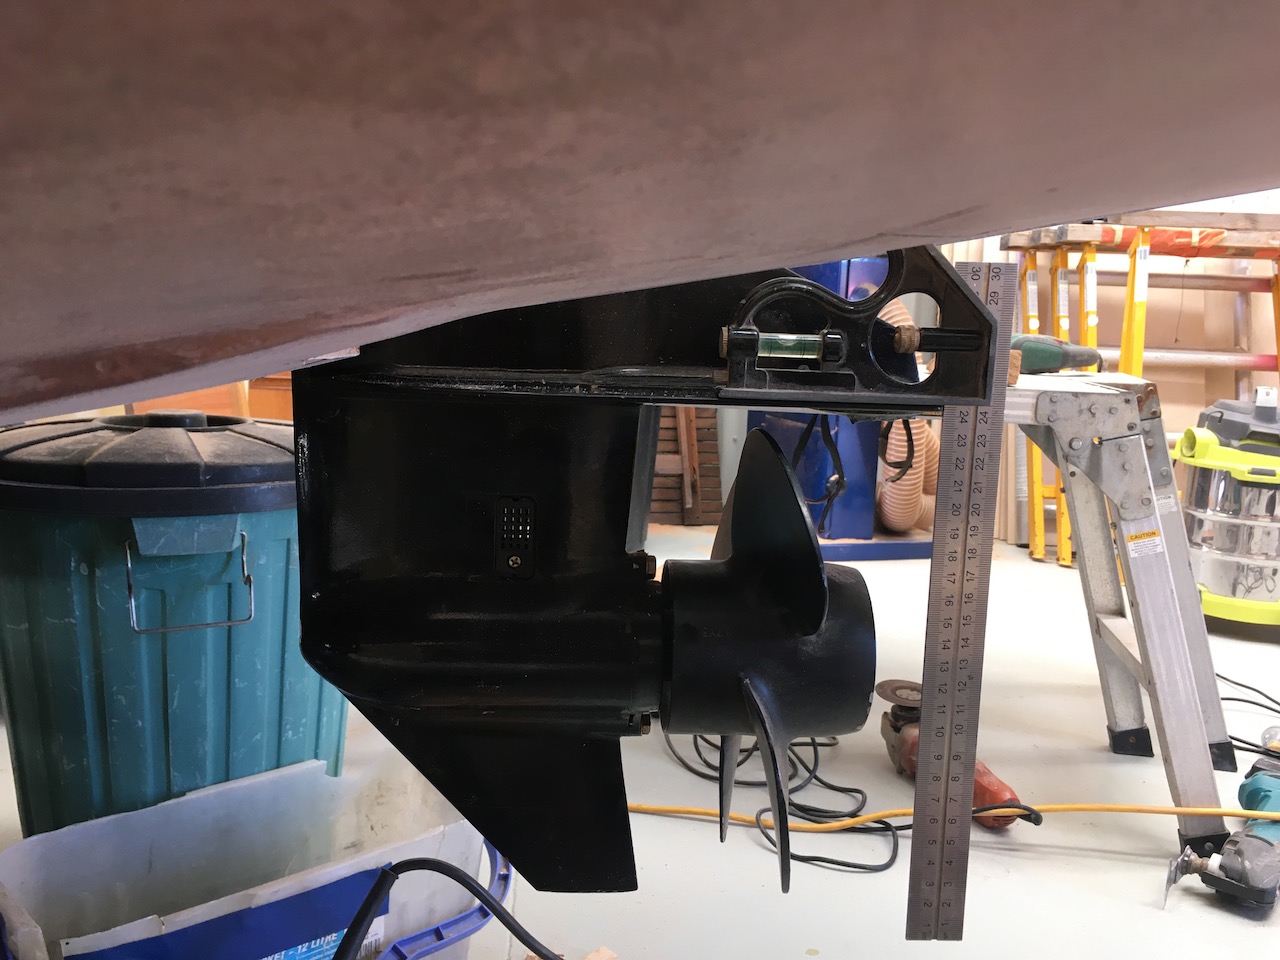
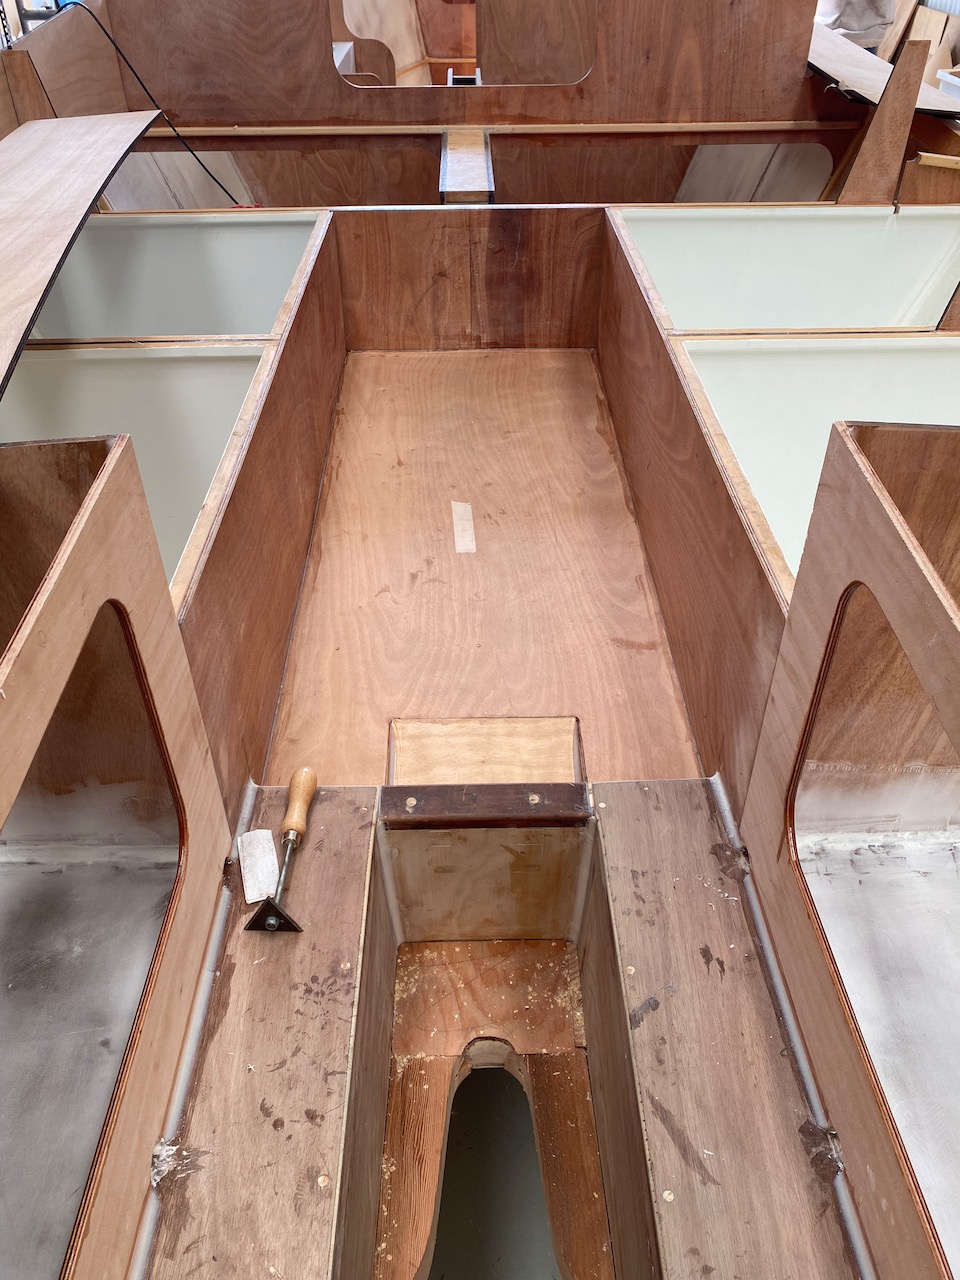
Troy and his team jumped into puzzling out the motor well. It is a puzzle because each motor has slightly different dimensions and the available space is limited. It must be neat, out of the way and function well.

Cutting that hole in your own hull is anxiety inducing. I am sure it has stolen good progress and sleep! But in the hands of another, and that other is a professional with a can-do attitude, it just happened.

It reminded me of a time building my Whilly Boat when I needed to cut the centreboard slot in the keelson. I must have stared at it for weeks. Then one day, another builder in the shared space who was sick of my faffing, grabbed a 12″ circular saw, mounted the up-turned hull and plunge-cut the slot in minutes. I was swept away with his daring-do.

I learned nothing, I still measure fifty three times before cutting.

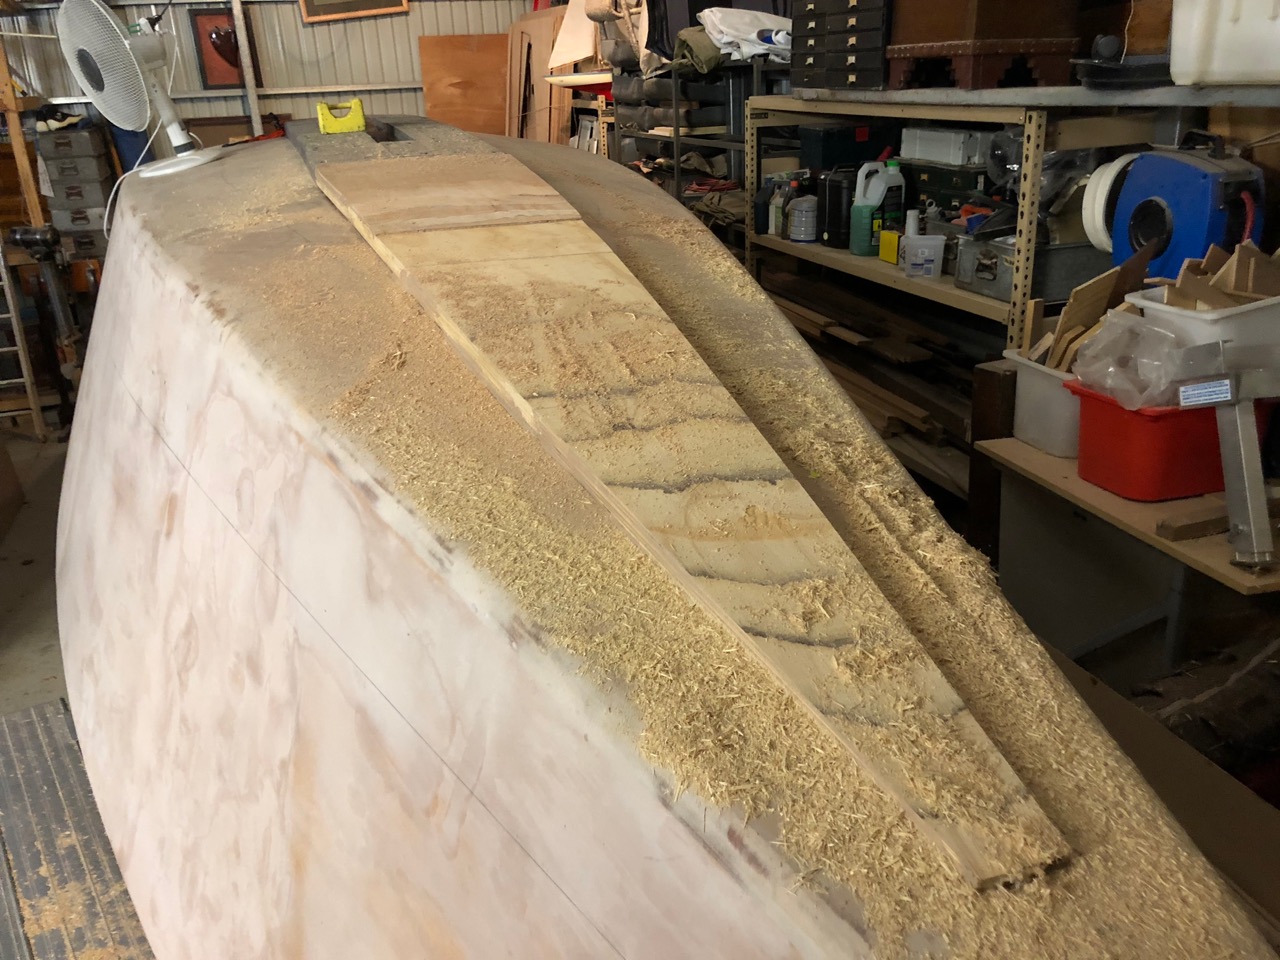
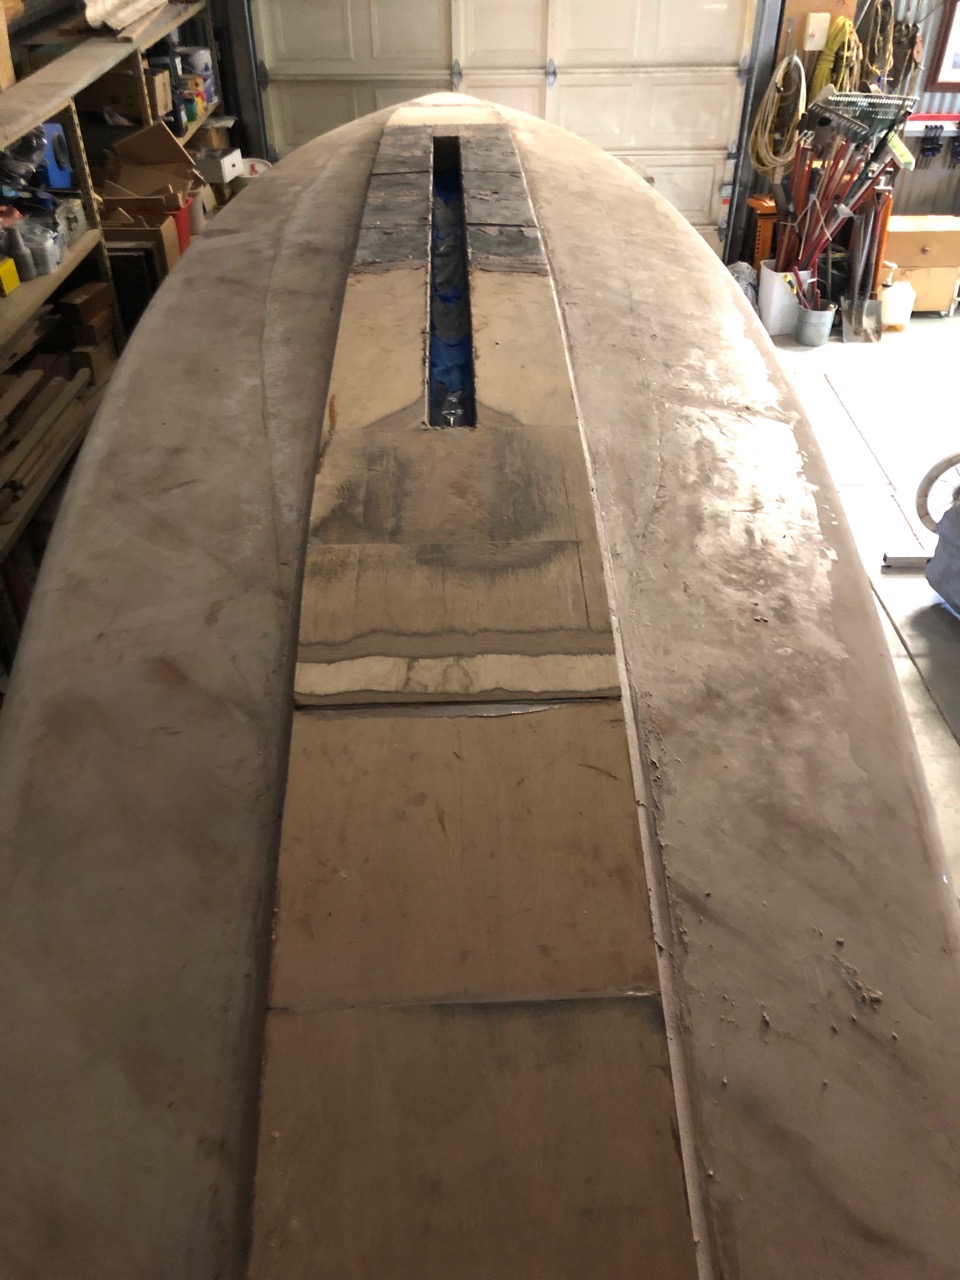
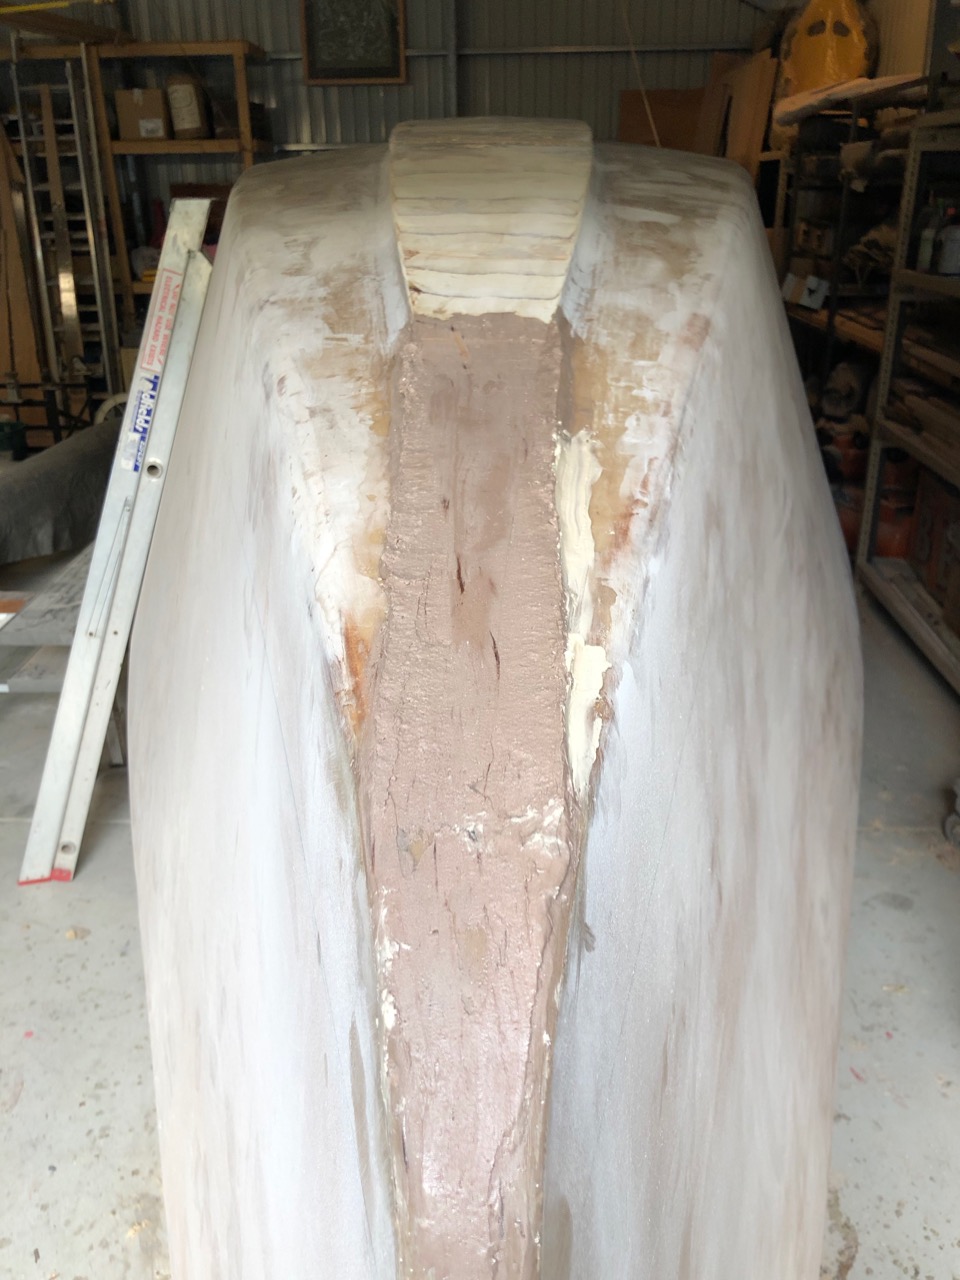
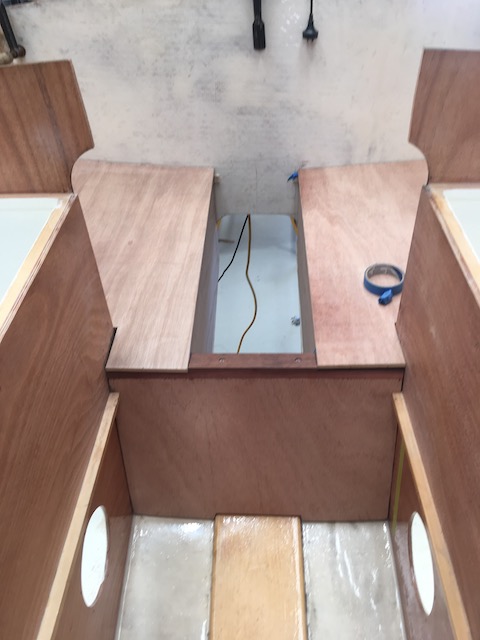
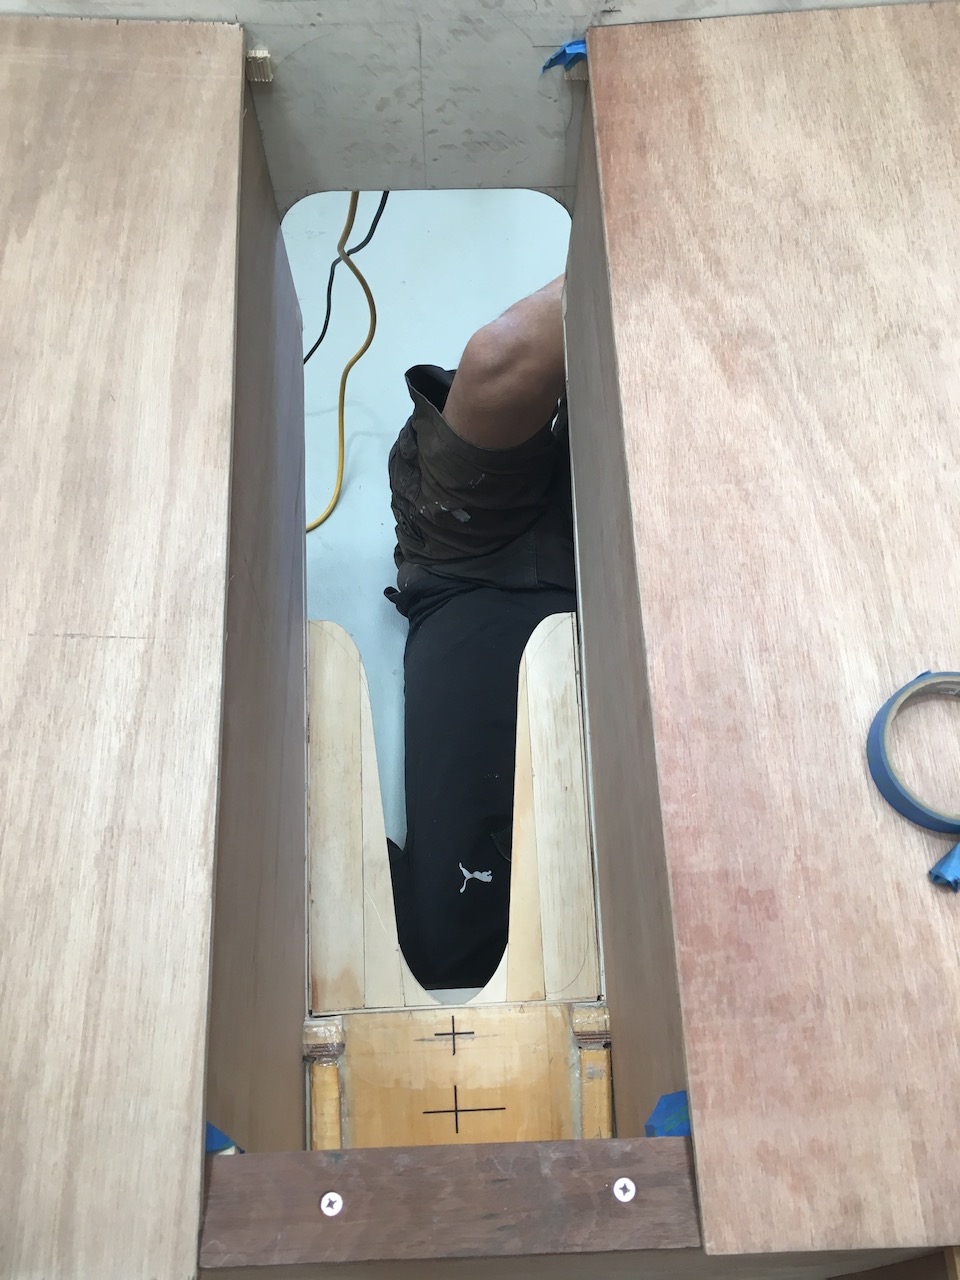
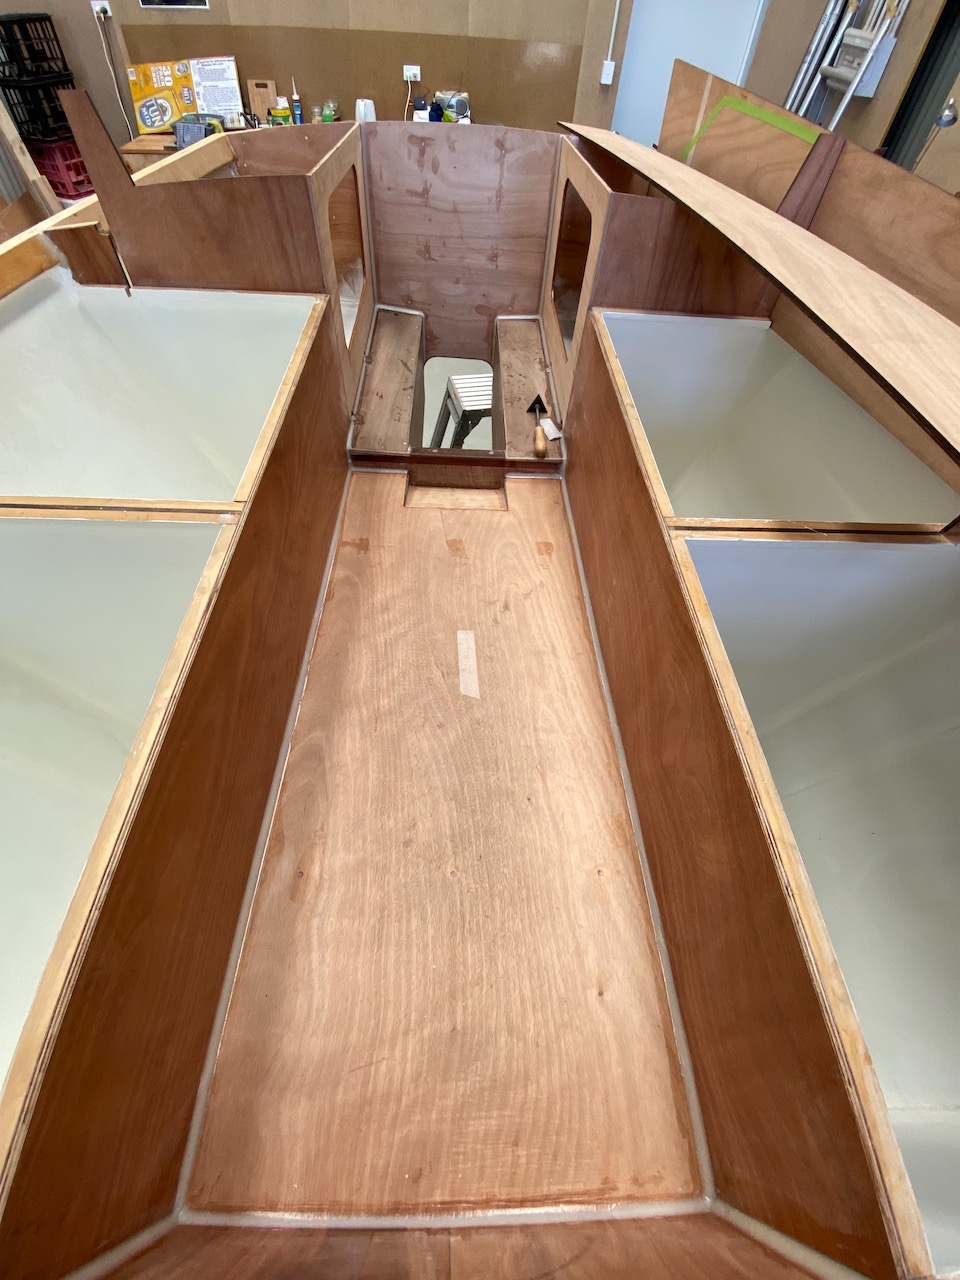
So yet again, a hole is cut for me. And following on from this bravery, the motor mount is perfectly angled and epoxied in, the cheeks either side of the slot are heavily glassed, the fuel tank lockers are sized and set up and the cockpit sole is in…wow.

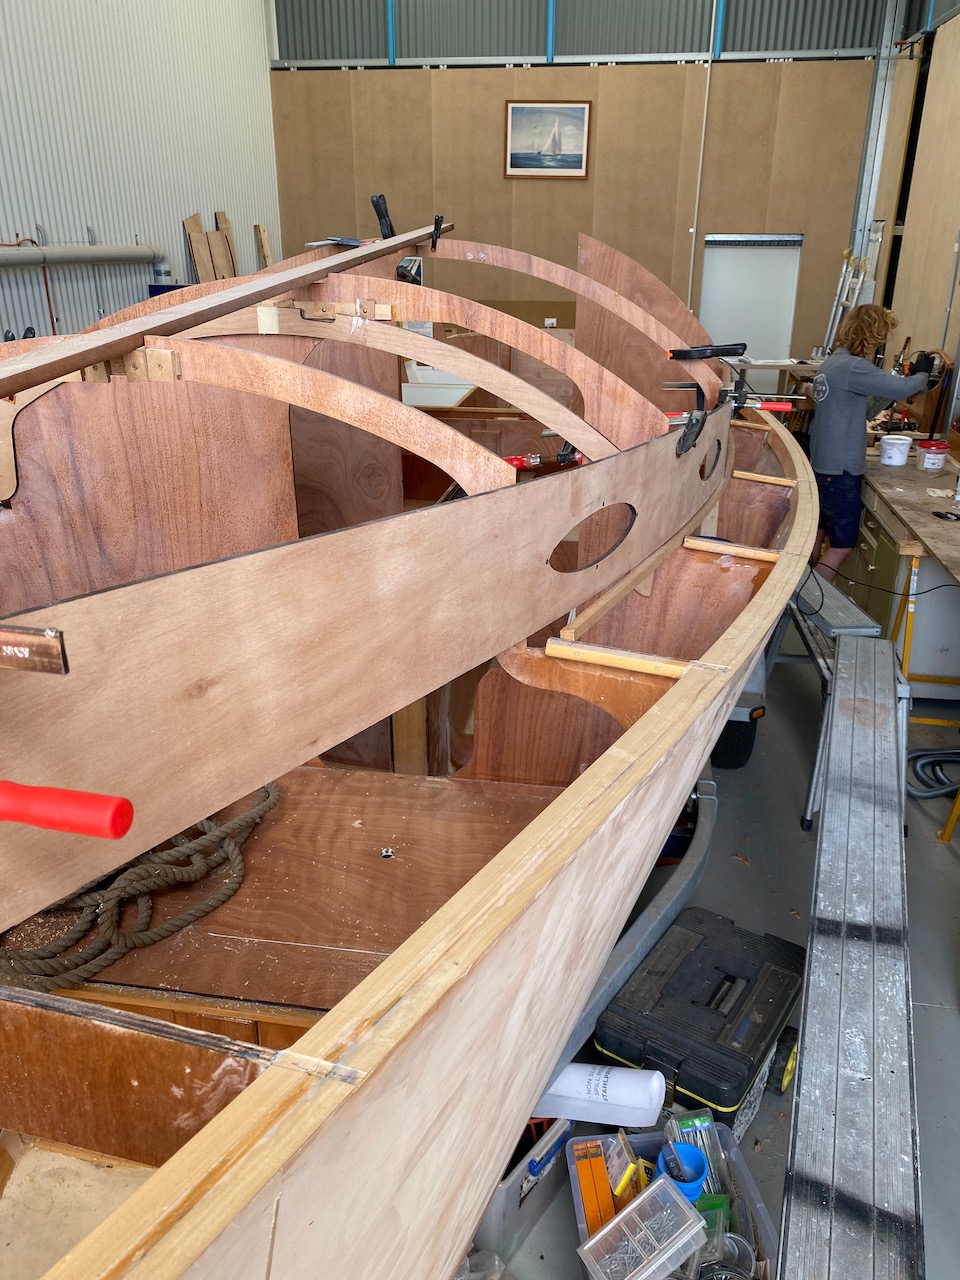
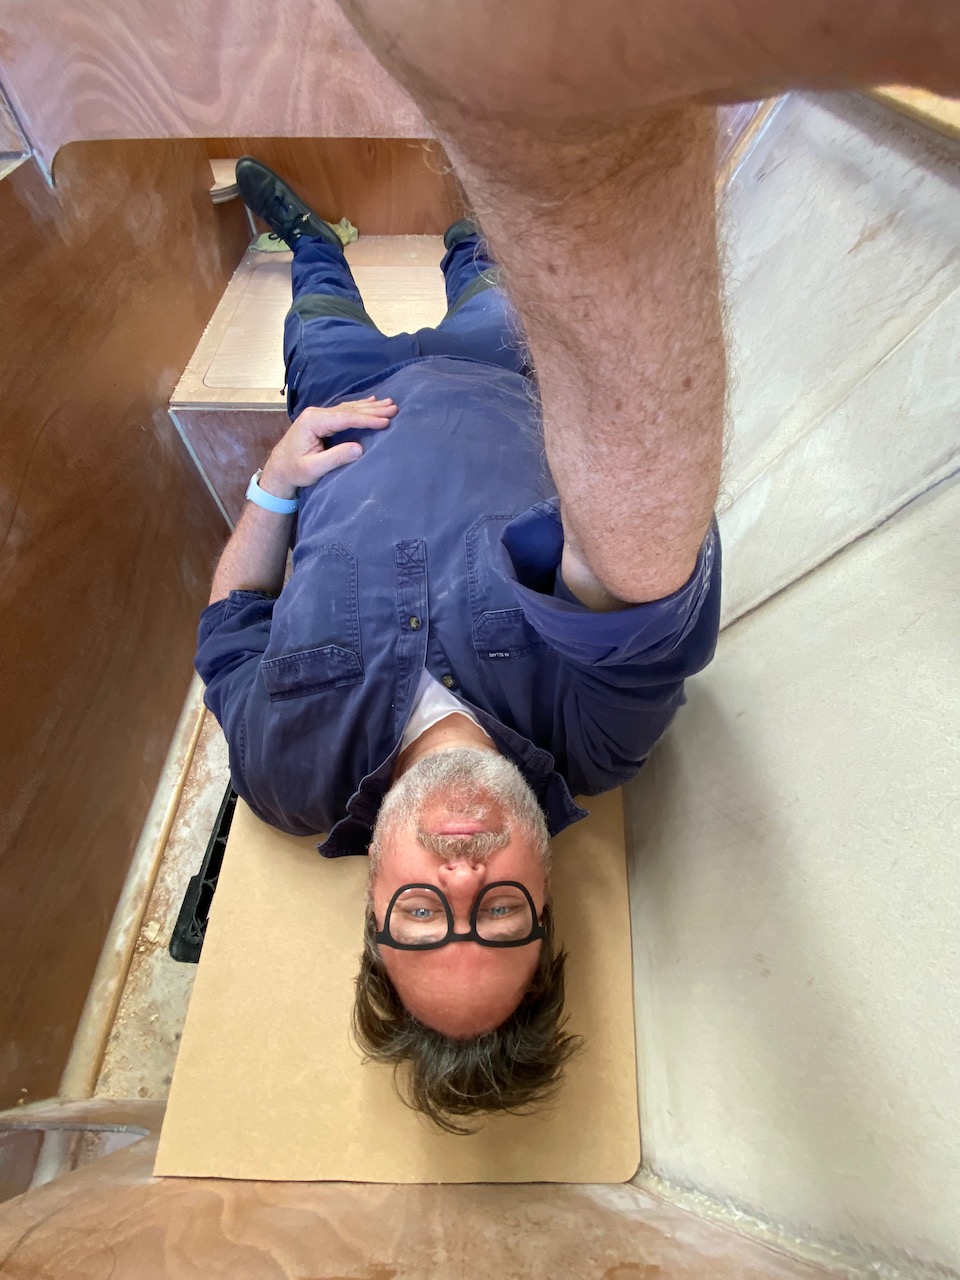
Troy is working to what I can afford, so the progress is not blitzkrieg, but is solid progress. I go down most Fridays and the odd Saturday to potter on the internals, making my own kind of headway, more like Slocum trying to get through the Strait of Magellan.


Update: I should have mentioned my wrist situation (as a bit of an excuse): things are improving, the stamina is limited, but recovery pain from use is mostly fading overnight without the need for painkillers. 🙂

Categories
Boat Building Epoxy Fibreglass Robert Ayliffe Uncategorized

Leading in to the lead and out

With the lead securely fitted, I had to make a ‘shoe’ that would lead the water into the lead and back out the stern, making the bottom hydrodynamical sound.

I chose to use 16mm ply and laminated it on the hull. Because of the significant amount of rocker (longitudinal curvature), the plywood would need to match the curve. After setting out some plastic sheeting to prevent it prematurely glueing to the hull, I held the layers down with straps and cross bars while the glue cured. This went well.

IMG_1847
The dowel is being used to clamp the ply shoe down as the laminating cures

I then attempted to glue the forward shoe down in one go…which I rapidly realised was a huge mistake.

Not only is the hull curved longitudinally, but it also has a gentle cross curve, which is a part of the Mark 2 design refinements. This cross curve meant the ply would need to be made to curve in a second dimension, which is effectively impossible when dealing with thick ply. Therefore, the ply would need bedding in a significant amount of thickened epoxy to support it. And, you cannot mix up that much epoxy at once without it curing in your hands.

After throwing away the first litre of mix, by scraping it off the hull as it hardened, I cut the sections in quarters, with 3:1 scarf joints, and set about fixing them one at a time. This worked well, and progressed quickly because it wasn’t delicate work.

Within a few weeks, all the shoe was attached, and fairing and filleting had begun.

Just after I attached both fore and aft sections, Robert, Morgan and Seb stepped in and began the push to getting the boat turned. It was their filleting, fairing, fibreglassing and finally antifouling that got it turned and in the new home.

IMG_1862
The bow section being shaped by a planer

IMG_2122
Looking forward pre-fairing

Bogging in the bow
The bow knuckle added to with epoxy mixed with high strength filler


Categories
Epoxy Fibreglass Tools wooden boat

More snot and disco skirts

Starboard side sheathed

Oh joy I am back on the fibreglass!

Wrapping the forefoot with nasty pointy stuff

A mixed blessing fibreglass is. The unarguable protection it provides makes it a necessity, but dealing with it is not fun. The cloth is so slippery it slides out your hand like a wet fish, yet it jags on anything and distorts the weave requiring a stroking session to realign. Applying such large areas of it makes you stir crazy mixing the epoxy, and your wrist gets hammered squeegeeing it. That is all before we consider the health benefits!

The join of two sheets of fibreglass, still to be sanded

My process is to mark out as much as I can handle by myself, which is about two to three meters of 1500mm wide cloth, drape it on the boat and position it, then mark out the area to be covered. I have two objectives in mind, making best use of the cloth and keeping straight-ish edges.

If I had a few more people who could keep my odd and un-planned hours, I would attempt the entire side at once. But by myself, I am leaving gaps between the cloth panels and filling with epoxy mixed with light weight filler.

With the cloth off the boat and the area marked out, I then roll on a coat of epoxy to fill the area, then approach it gingerly with the cloth and drape carefully to my marks, paying attention to straight edges. Then it is into the squegeeing in more epoxy, pushing the cloth into the epoxy against the hull.

It takes two to six mixes of epoxy to fill the cloth sections and any extra goes towards rolling on the adjacent cured area, filling the weave.

Wet 'glass on the bow
Wet ‘glass on the bow

The result is a lean fit with no lifting of the cloth, but the weave will need more epoxy, and this can be achieved whilst it is still tacky, (but not too green), or later after a light sand.

Sanding fibreglass is my big hatred. I desperately dislike the glass fibres that it produces. To combat these nasty, itchy, glassy, sticky-inny shards, I invested in a decent sander that works well with my extractor, and I upgraded the extractor with a Dust Deputy thingo to improve the suck.

The Festo extractor with Dust Devil on top
The Festo extractor with Dust Devil on top, ungainly but it sucks!

The Dust Deputy adds a cyclonic action to any extractor, or regular vacuum cleaner, much like Dyson has built into their celebrated vacuum cleaners. With my Festool extracter, I have done away with the bag, and just let the Deputy’s bin fill up. With the small amount of sanding I have done since installing the Deputy, I have filled the tub twice, indicating it is catching more than the bag did!

Kate gave me a Festool extractor four years ago, and it was the best thing she could have purchased me. Minimising dust is so critical with these modern materials, I don’t want anything to get in the way of enjoying this boat.

The Festool Rotex sander I purchased is amazing, it has two settings, a random orbit and a direct drive. So with the same 120 grit paper, I can remove material very quickly with the direct drive, and finish off with the random orbital setting. All with the twist of a setting on the head. To add to this, they are very quiet, almost not needing hearing protection.

The 90mm Festo Rotex sander

I chose the small Rotex (90mm) because I wanted it for detail sanding, but now I really want the big 125mm unit. Now I want both. But at $900 each this will not happen soon.

Off to the glass fibre work I go, I’m itching just thinking about it!

Categories
Epoxy Fibreglass NIS Uncategorized

Squeezing snot through a disco skirt

L.Francis Herresshoff, a cunning boat designer and master of the compromise, as well personal hero of mine, described epoxy as “congealed snot”. He was not far from the truth. It is not the most pleasant of beasts to work with.

Firstly you need to suit up, (I have developed a sensitivity to the stuff from years of not suiting up), then you need to add barrier cream, gloves, mask etc. Then you get to mix the stuff: pump, stir, pump stir, never being allowed to lose count….blah. The stir stir stir, wait wait wait, pour pour pour, oops getting hot in the hand: new mix time.

Then comes the laying out of the “disco” cloth (fibreglass) – it shines like a metallic rayon skirt from the ’70s. This feels lovely and soft, but you know when it hardens with that epoxy: it will cut you, make you itch, even give you cancer if you sand it unprotected! Holy moses!

The bigger the boat, the more you need.

Aside from the beastly nature of firbreglass, this little gift of modern technology makes the end product so much easier to live with, your boat will be strong, light, durable, easy to maintain and if you have done it correctly, the fibreglass is invisible showing the wood which it protects.

If life was all beer and skittles, we’d be drunk bowlers!

Wetted-out fibreglass cloth for the inside of the centerboard case.

Categories
Epoxy Fibreglass NIS

‘Glassing the centerboard case

The first major fiberglassing is underway, pumping the resin is clearly the most strenuous aspect of this job.

I made a squeegee out of 3mm ply rounded all the edges and poured the mix straight on and wet it from there.

Very excited!