If you have young children you’ll recognise the other meaning of this exclamation. Actually it’s not an exclamation here, I did expect to have to fair this hull, but I didn’t expect to have to do it so soon…
I think I failed when shaping the chine logs, not nearly enough attention to them, plus that first layer of 6mm ply can sag. Thus after the second layer lamination, I saw troughs that need filling before the last layer lands.
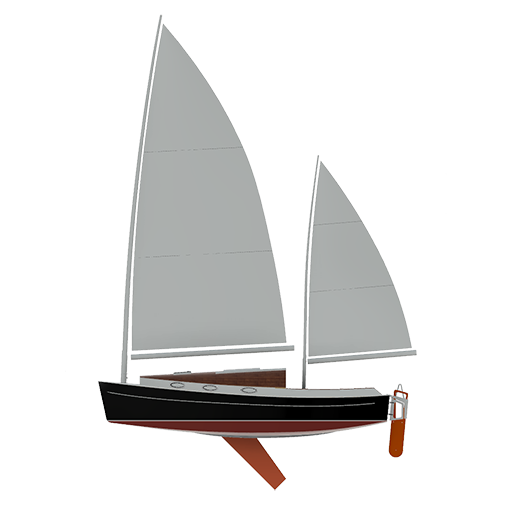
The process involves using epoxy thickened with ‘micro balloons’, they are fine balls that will sand easily but have a good compression strength (See BoteCote Pacific). You first wet the area with normal epoxy, then trowel the thickened epoxy on with a toothed scraper. I chose one with an 8mm tooth. The mix has to be just right, too dry and it is ‘flaky’ and too wet and the peaks sag. Too hot a day and you have no time to work, too cold and it will sag.

The toothed pattern left halves the sanding effort.
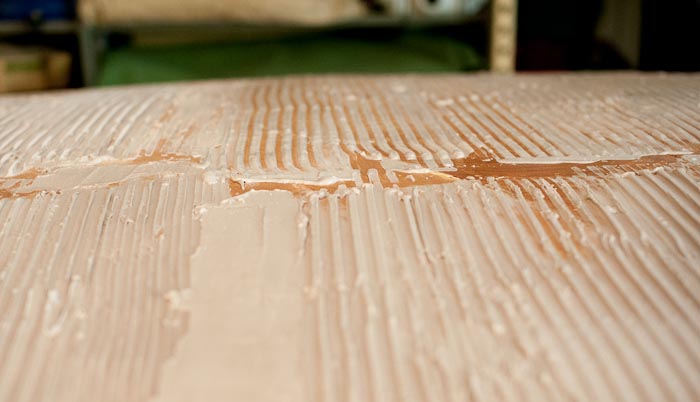
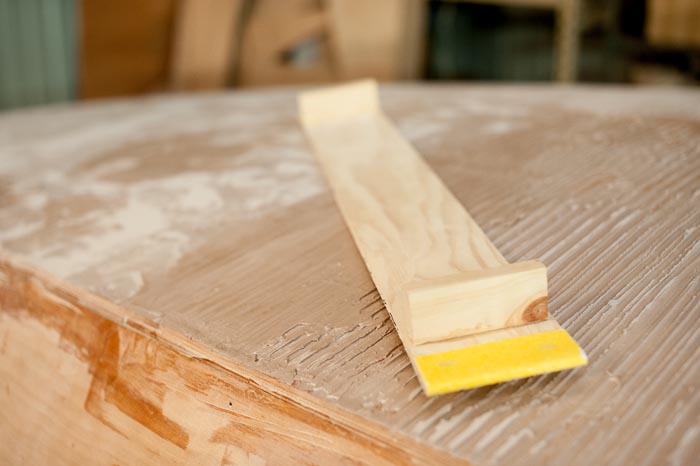
After you make your boat’s bottom super ‘groovy’, you hit it with a sanding board, aptly called a “torture board”. You get tortured and board all at once. If the board is long enough and you are careful, you will reshape the hull to perfection. The grooves are then roughed with a wire brush and filled in with more of the same thickened epoxy. A final sand brings the magic.
Christmas time in Adelaide can be too hot for this palaver, but luckily the season is just right, so I’ve poured time into this. It has been mindless and very physical but rewarding.
I would like to have been prepping for fibreglassing the hull and perhaps painting, and in my wildest dreams, turning the boat, but life got in the way and I am not unhappy.
Forgive the video, it is a bit long, even though I have edited out most of the scenes where I am mixing epoxy. The mixing is laborious, it takes most of the time, even the sanding goes quicker!
