Building not writing.
It’s been a good holiday season for me and the boat, powered by a strongly recovering wrist, a desperation to make real progress, and the inspiring industriousness of Troy’s work.
Thankfully, I’ve been able to afford to have Troy and his assistant Luke working on the boat for longer periods. There is something about professionals, and their detachment from a project, that has a momentum I’ve never been able to hold when boatbuilding. It’s a freedom from all the stifling yet wonderful choices many of us have as owner-builders. The agony and the ecstasy.
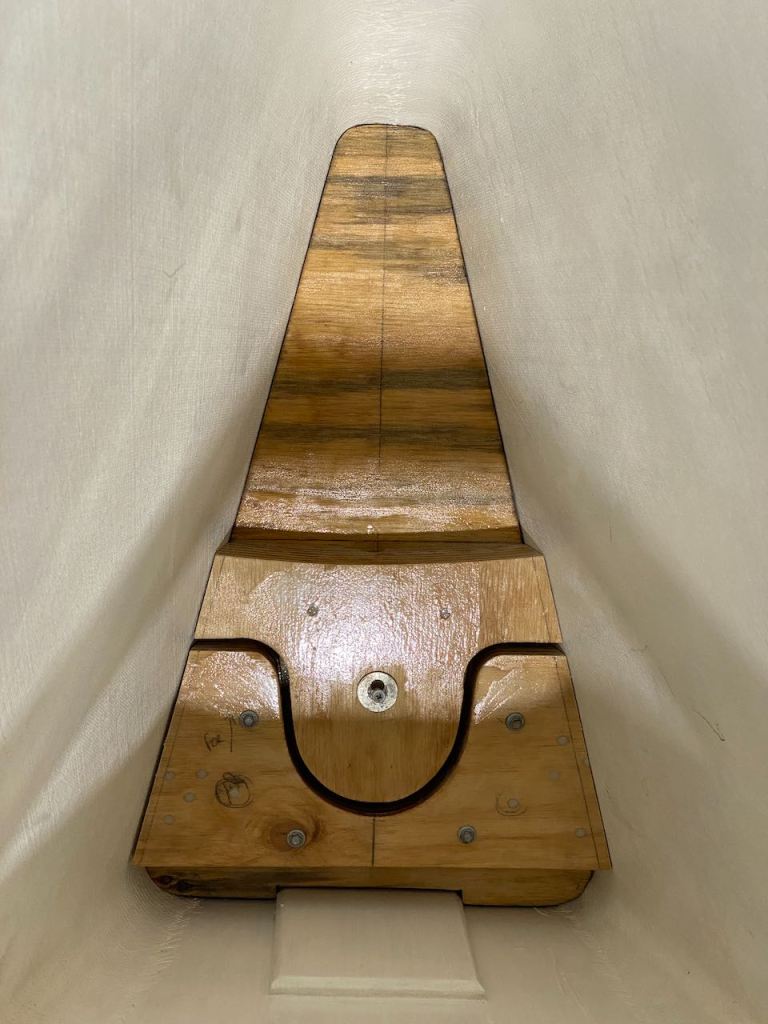
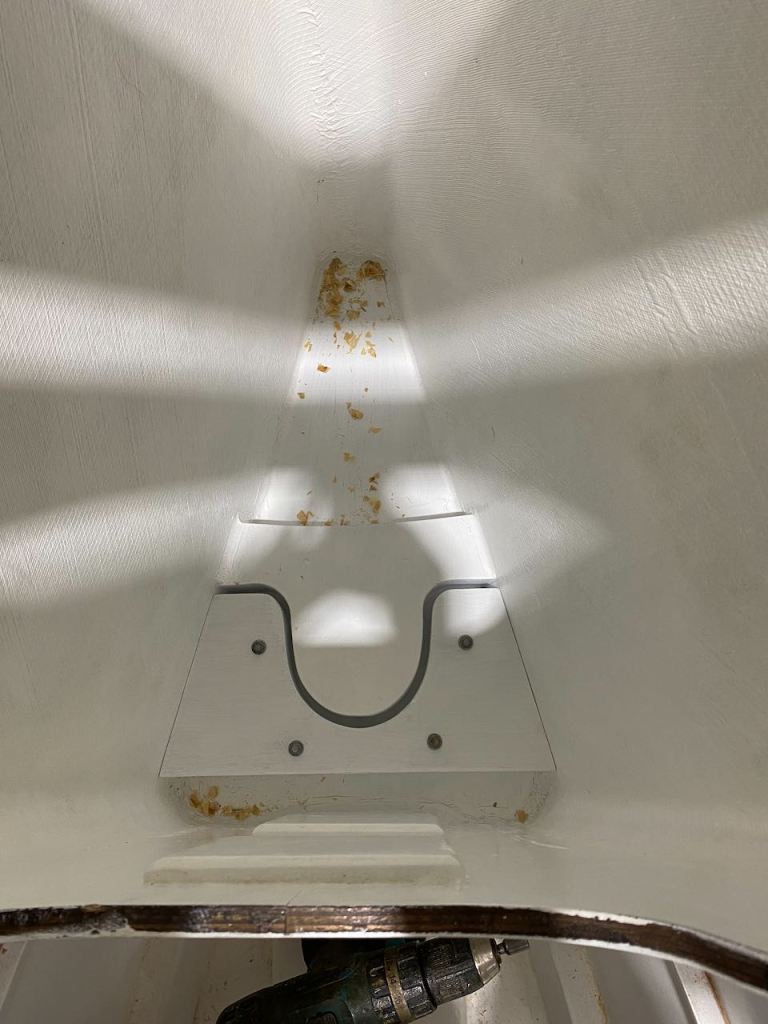
The forward tabernacle step is painted and installed and fits the part like a glove. I had to purchase a cute little angle-o-meter to set the rake, and wow does this work well.
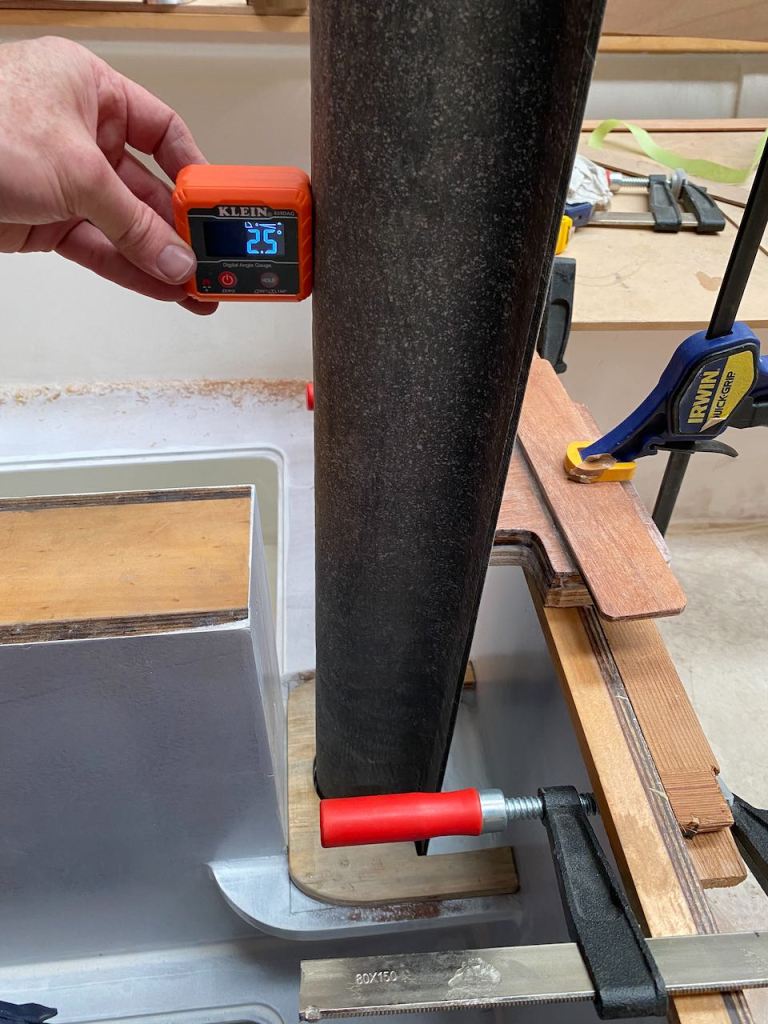
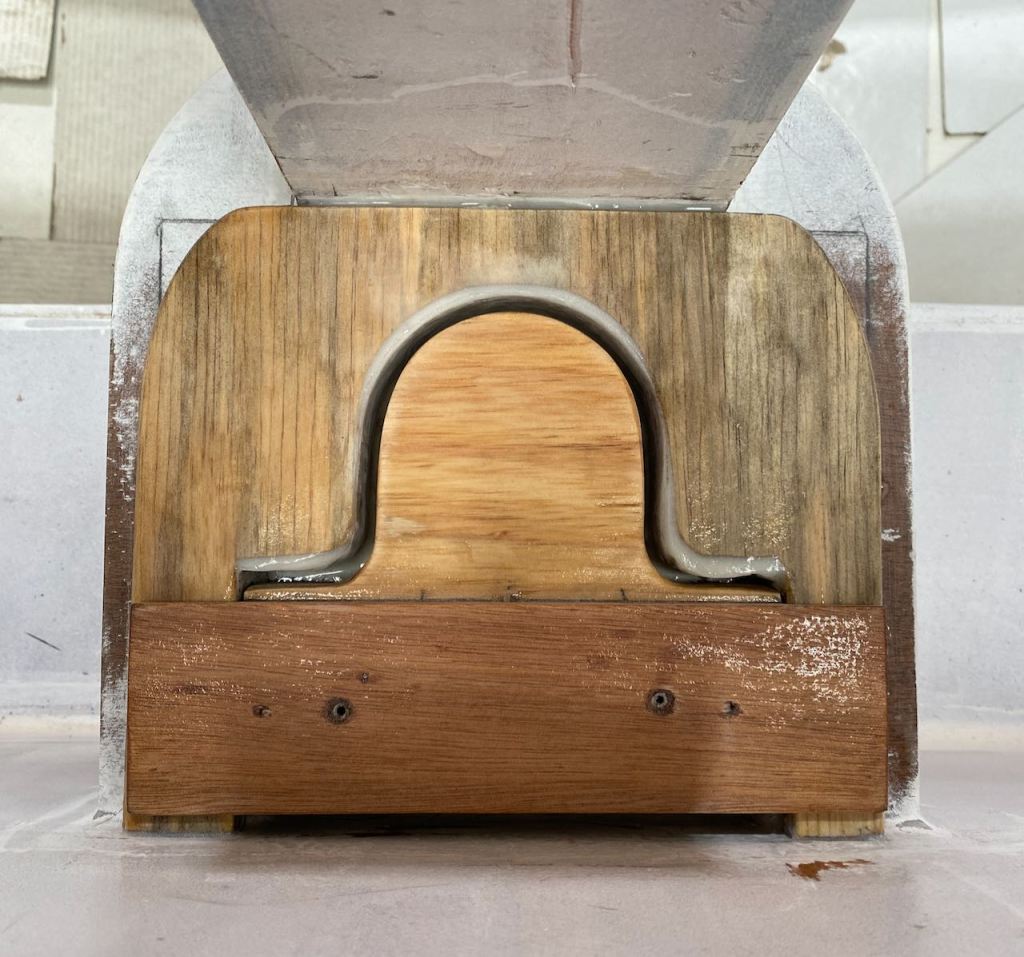
The mizzen tabernacle step had to be beefed up, I realised this when the main was complete, so I set about adding another layer of 16mm ply to the existing fixed ‘socket’. The mating fit of this to the horseshoe curve of the carbon tabernacle is important so the stress load is well shared. I used Botecote Epox-e-glue to perfect the fit as a moulding paste. I protected the carbon tabernacle with slippery packing tape so it wouldn’t stick in there. It worked a treat.
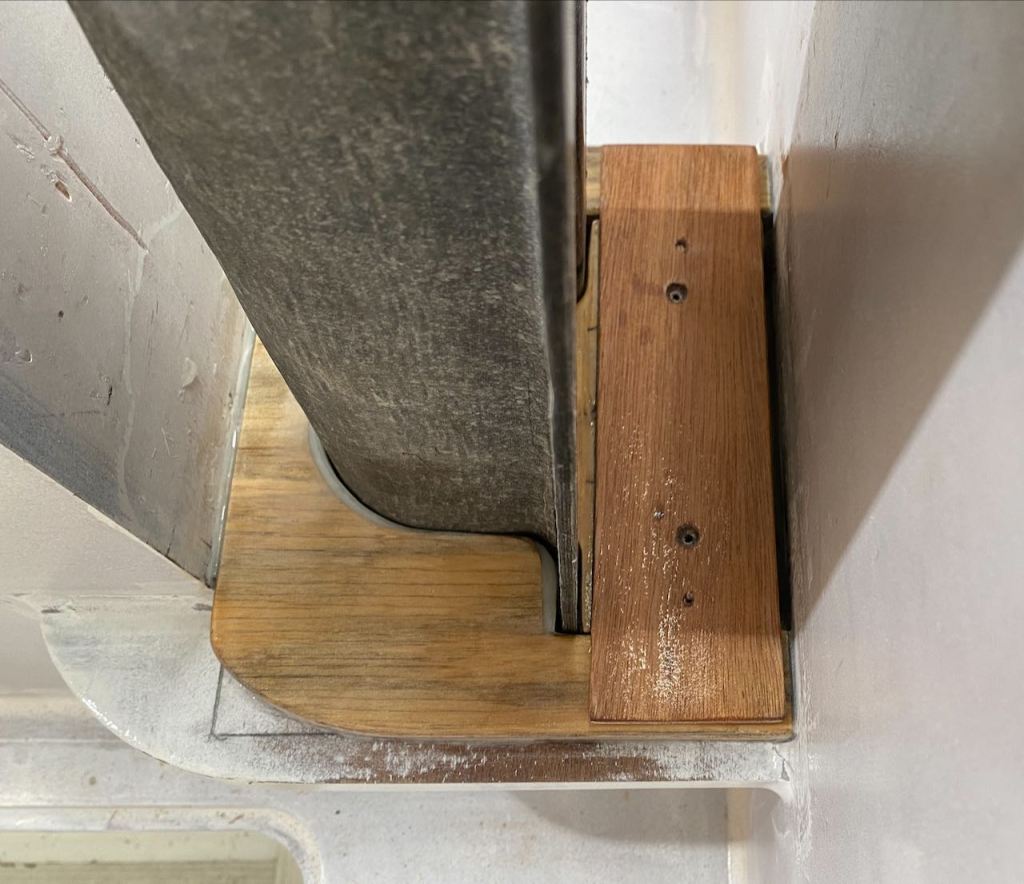
Next the plug, or key had to be made, this is a removable piece of ply that fits the inside of the carbon, and evenly clamps the tabernacle in place. Again the angle-o-meter was employed to ensure a rake of choice could be made. All this needs now is paint, and so it waits until the can is opened for a larger job.
Meanwhile….
Troy and Luke have powered through a final sheer fairing, which I joyfully weighed in on. There is nothing better than contemplating, discussing and tweaking the sheerline. They then set about joining and laying the side decks and cabin sides. Wow this has changed everything. It’s a BIG marker of progress. They did a great job.
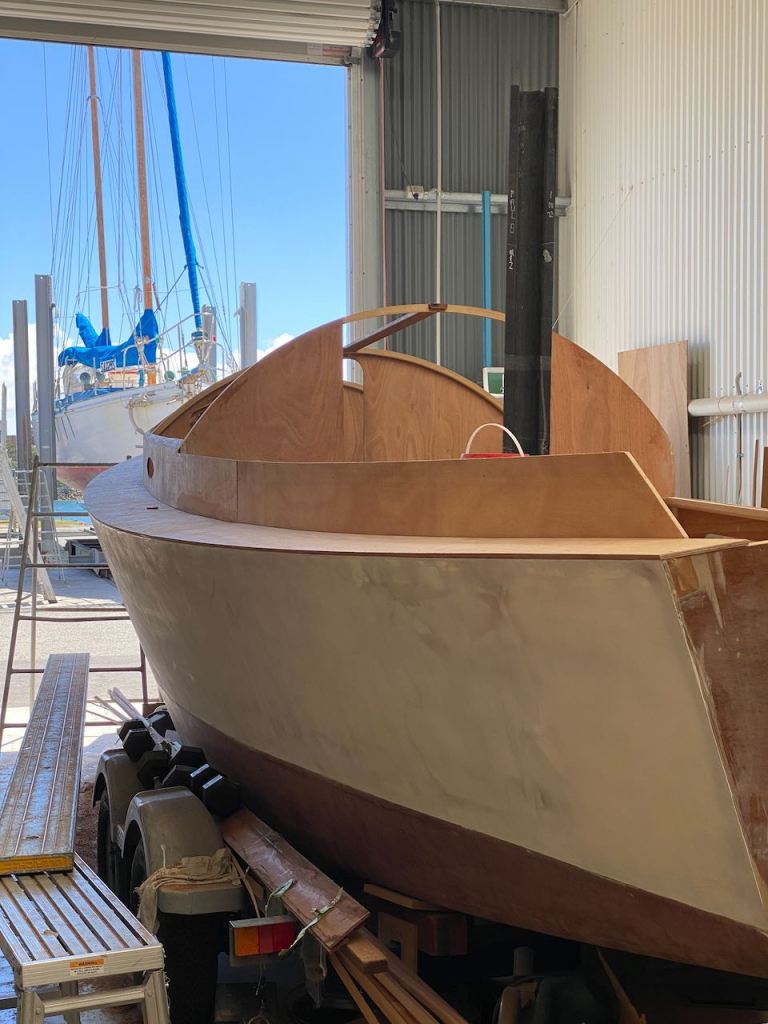
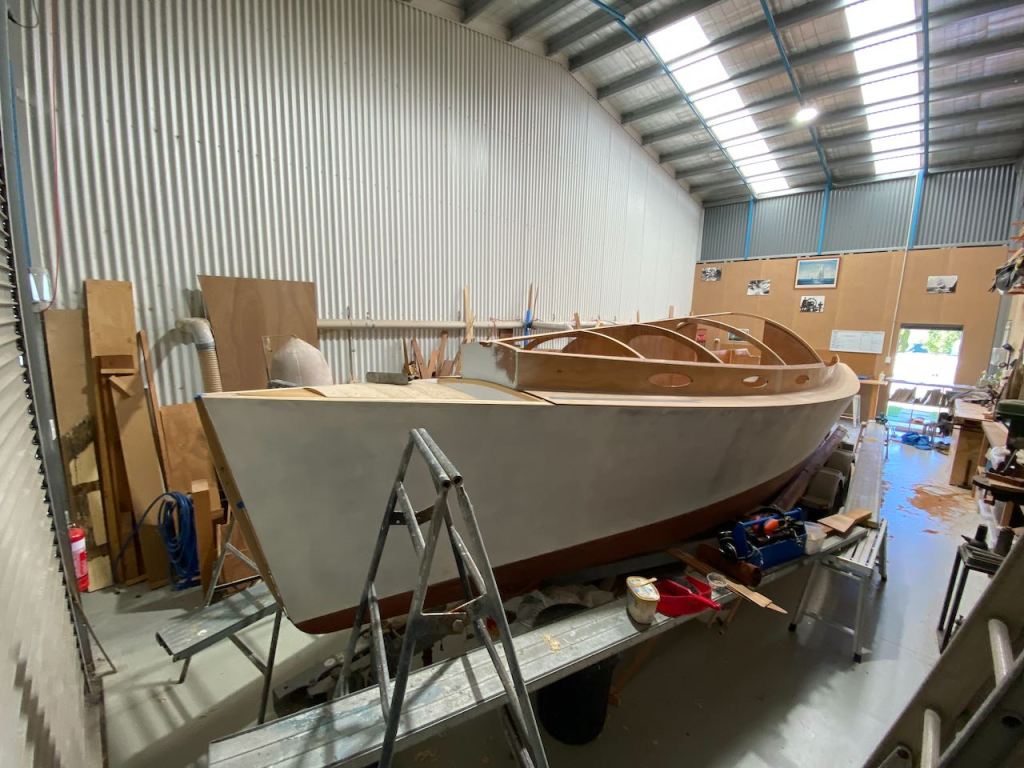

I followed up with a bit of cleanup and epoxy coating of bits of the underside. Troy had pre-coated and pre-painted these, but there were parts needing finishing.
We both missed the critical stern quarter deck doublers (under deck cleat support), and these are complex little shapes, not a square edge in sight. So I set about fashioning these up out of laminated 9mm ply and set them in a mortar of e-glue, oozing everywhere. Access to these is through the wet lockers in the stern, the areas either side of the outboard well. With the central stern decking still off, it didn’t require too much contortion.
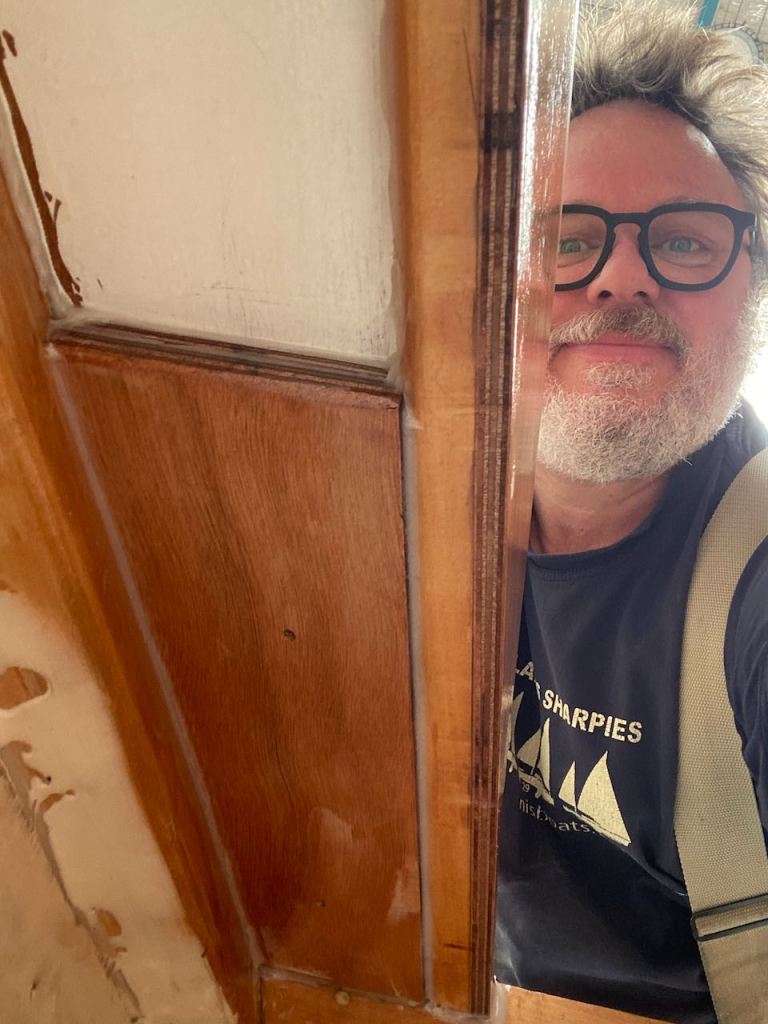
Once the deck doublers were cleaned up and sanded, the lockers begged for several coats of clear epoxy as they are likely to get banged about with fuel tanks other easily forgotten smell sources. This now all done, the next step is more paint, off-white Aquacote, brings in the light and is easy on the eye.
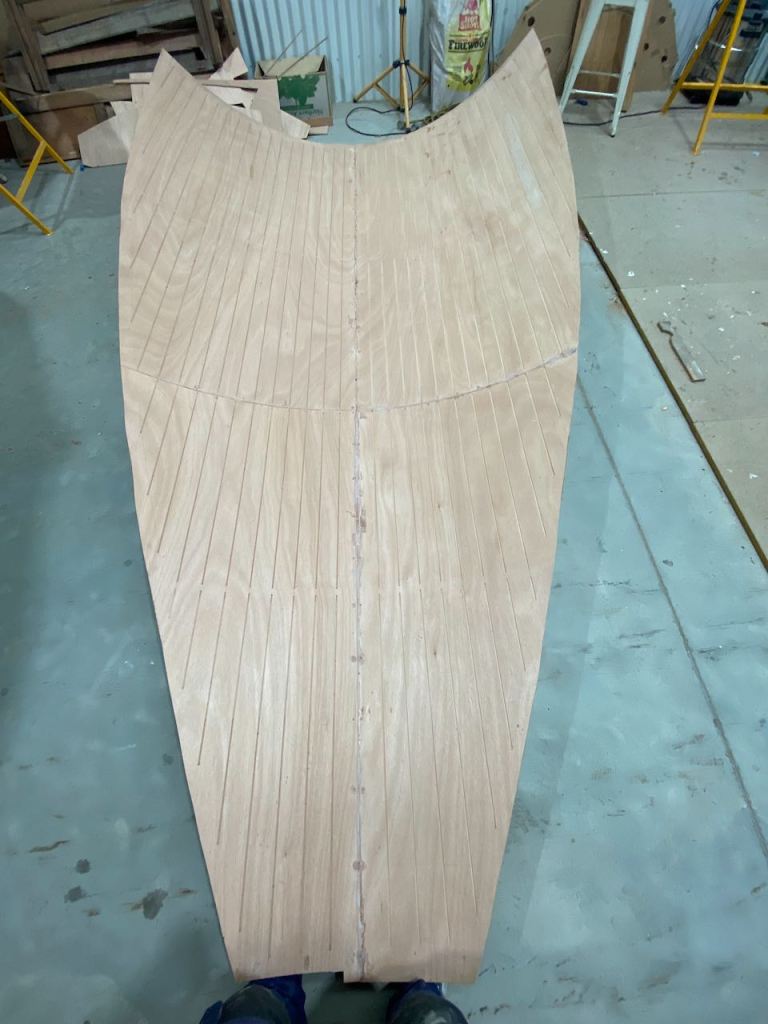
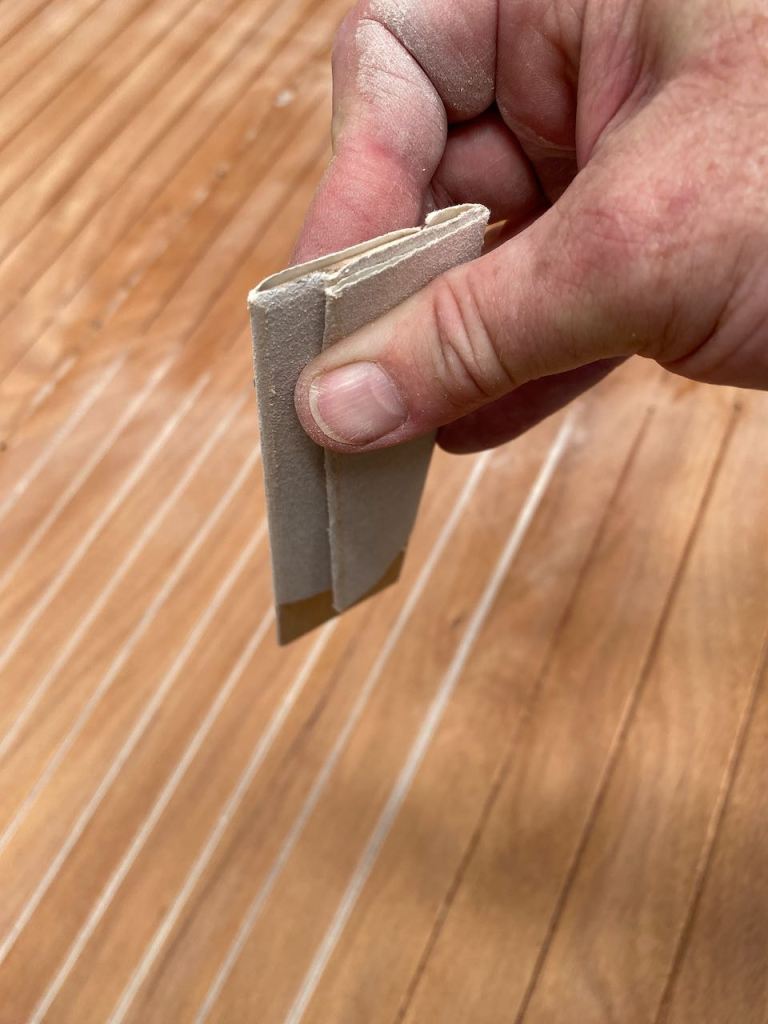
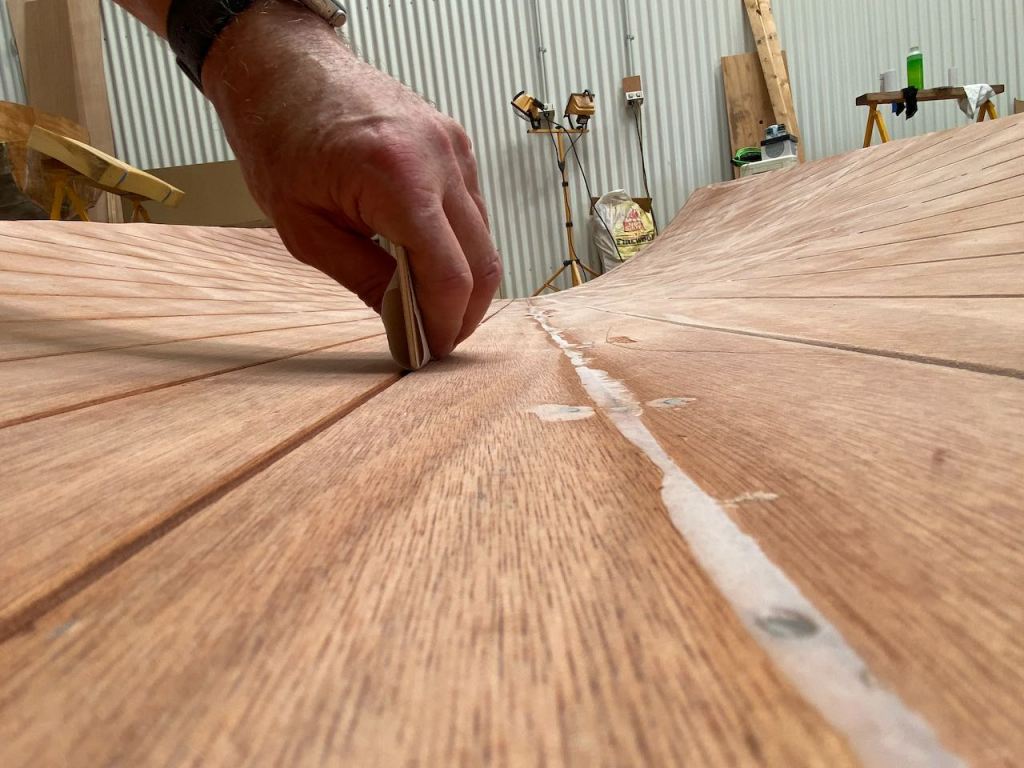
To truly test my resolve and stamina, I’ve been tackling sanding and epoxy coating the underside of the cabin top. Thankfully Troy had laminated this and popped it off, upside down on the ground. You may remember that I had the brilliant idea of longitudinal cove grooves to create a handsome effect…well each groove needs sanding and careful brushing, 3 coats of epoxy, 3+ coats of paint.
A true test of the fresh wrists, knees and back.
