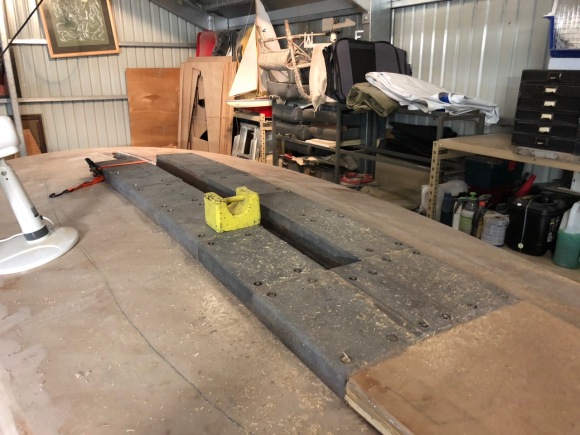
Once the tiles were drilled and positioned on the boat, I could follow the drill holes and drill through to fit the bolts.
I hate making holes in a perfectly nice hull, it runs against the my best instincts!
It went very quickly and flawlessly. With coach bolts, the shaft has a little square section just below the domed head, this is to prevent the bolt spinning in the material when you tighten the nut. In my case, this would need to be forced into the hull timber and I was keen not to round it out because the bolt would need removing and replacing for the final tighten once bedded in epoxy. I was careful to orientate the square shaft with the centreline, so I could replace it precisely when it’s all dripping with fresh epoxy.
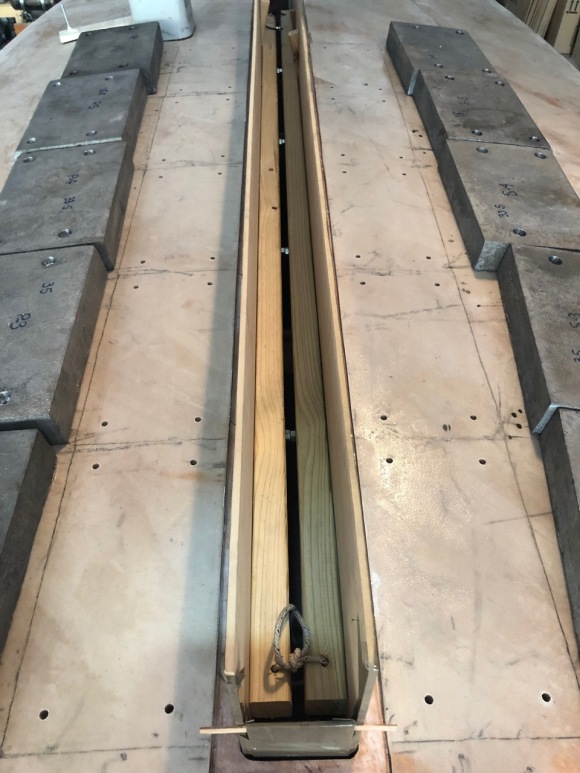
The next challenge is to devise a plug for the centreboard slot, so it would not fill with epoxy when I bedded in each tile. For this I separated 4mm MDF pieces with a wedge-adjustable spreading mechanism. The mdf was then coated in packing take and jammed into the slot.
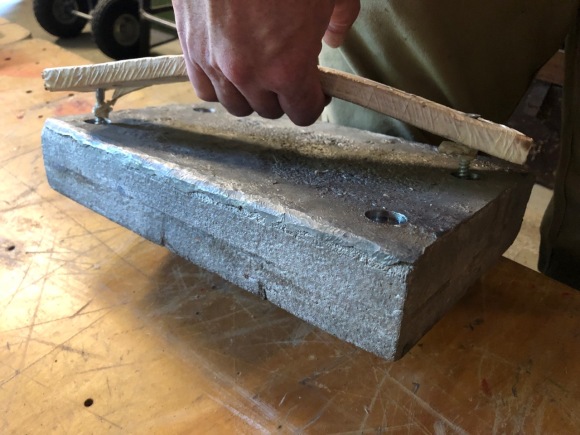
I also needed to devise a way to lift each tile and lower it into the fortified epoxy bedding, it would need to be a direct lowering, so as to maintain as much epoxy under each tile as possible and allow for even squeeze out. Using some 16mm ply wood, with a huge course screw in each end, I could use the bending of the ply to force the angle of the screw so it grips the inside of opposing holes in the tiles, the photo hopefully will show it clearly.
Next step was to mix some epoxy and using a pipe cleaner to wet out the tile’s bolt holes from above and below. From here I could use the rest of the mix and add in the high strength filler (fortifier), and bed in each tile one by one.
When one tile was in place on top, I tapped in a pair of bolts from above to align it with the holes drilled. Then I had to scurry underneath and tap in each bolt, driving out the alignment bolts, then orientate the square parts of the shaft with the centreline, drive them home, then scurry back up on top and fumble the washer and nut, trying not to allow the unsecured bolt to slide back down the hole. Which it did often…
Next is tightening up the nuts with a box wrench, then cleaning up the squeeze out, which by then was beginning to harden in the Adelaide summer.
Phew. I could do two in a session, it was hard on my wrists and nerve wracking.