Categories
Boat Building Epoxy Fibreglass Friends NIS norwalk island sharpie Uncategorized

Serious Solid Steps

Those of you with children older than 5, do you remember those first off-to-school days? Do you remember how you felt letting them go? They are still your children, but someone else is now messing with them.

Worry. This is my default position. I worried about both of my daughters and their disembarkation from the mother ship. They are now 18 and 19, and while that gangplank is verrrry long, that same worry is still there. Or at least has been replaced by some other tantalising concern .

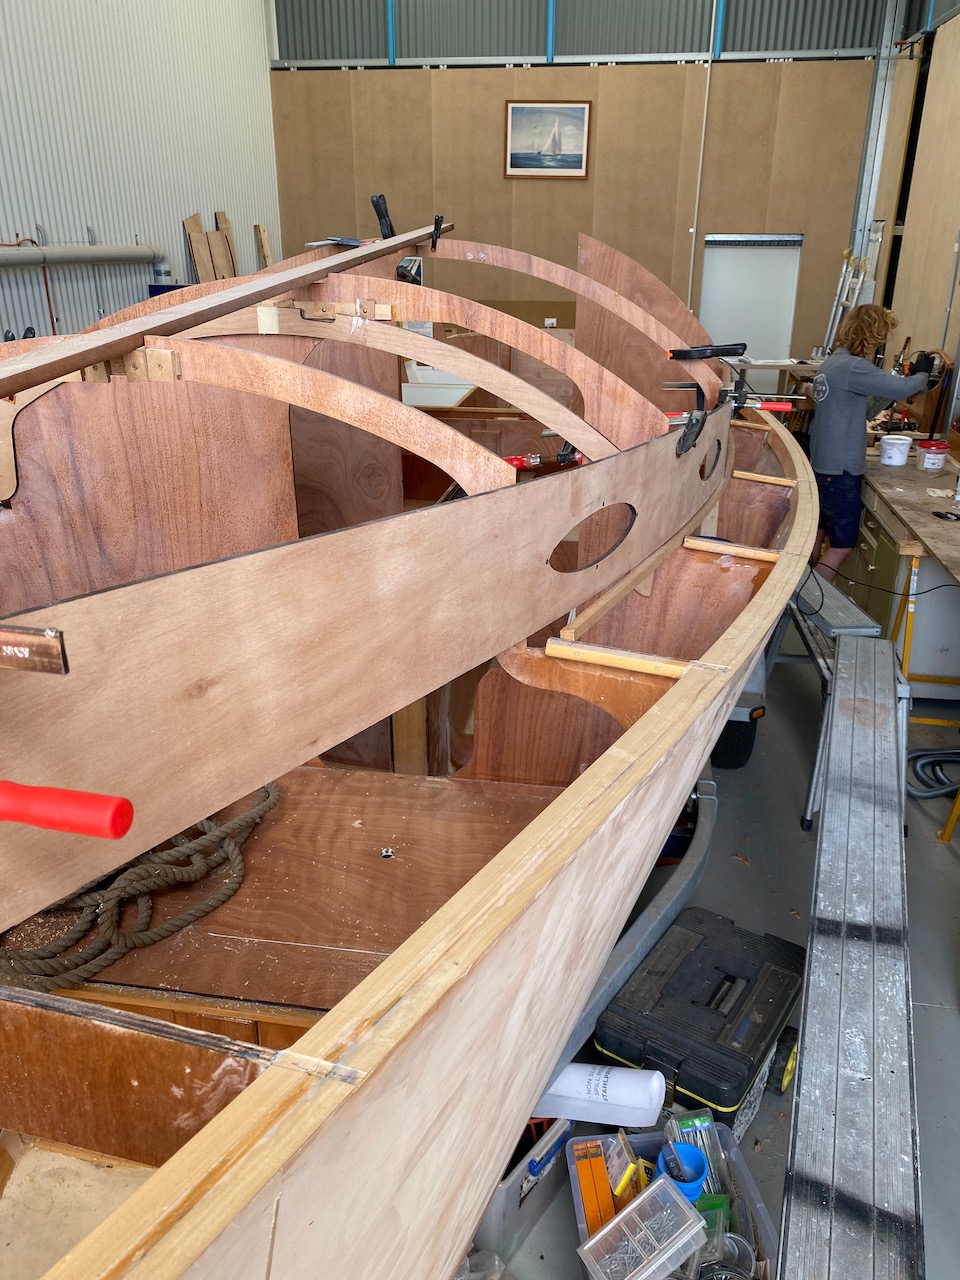
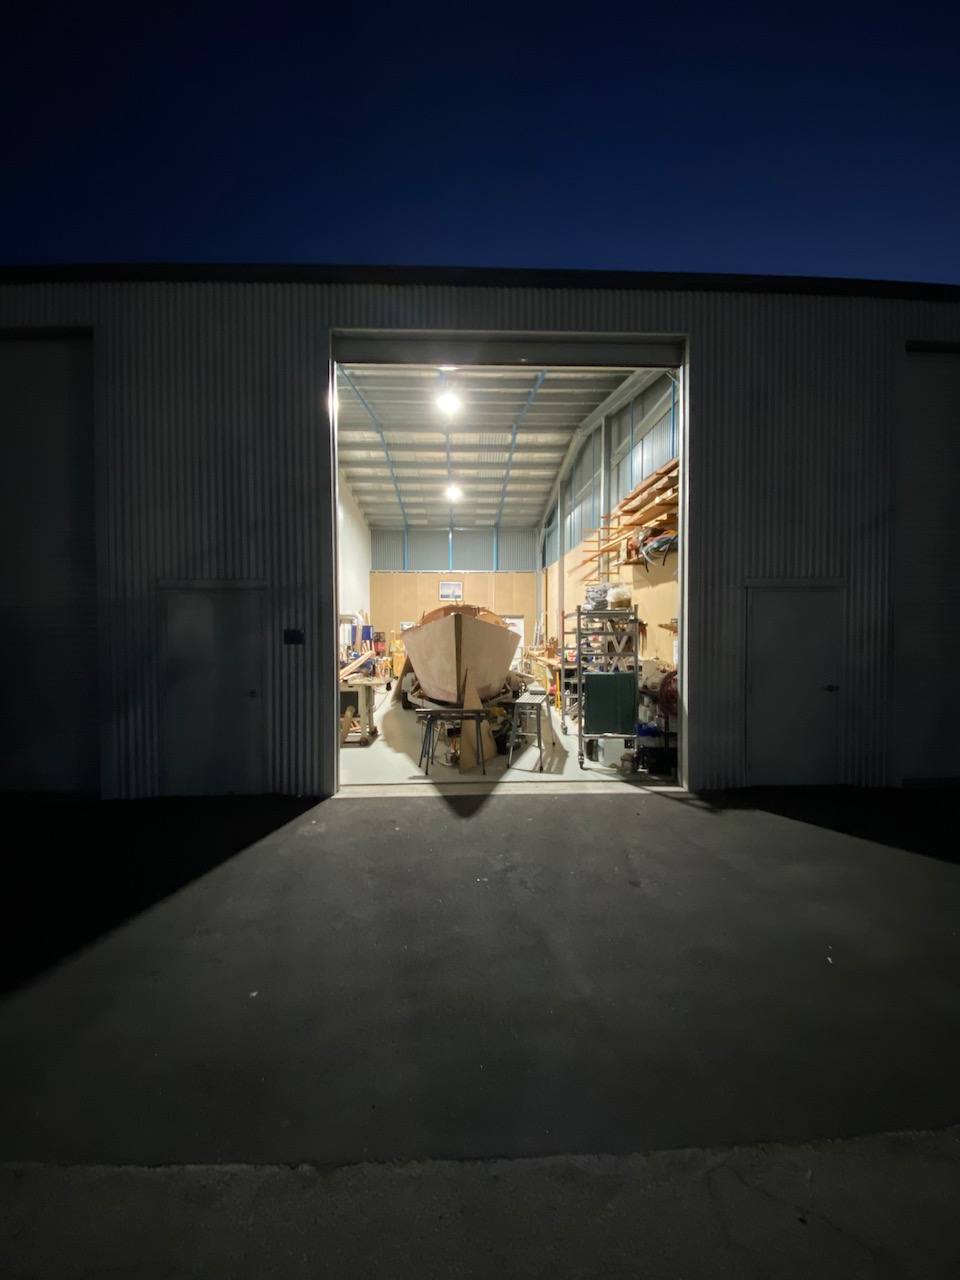
This is how it has been over this year as my beloved Sharpie has been in the hands of Troy Lawrence of Adelaide Timber Boatworks.

Troy kindly stored my Sharpie until he and his crew could get clear of their work on the South Australian training vessel One and All. This meant I had storage for much of the first part of the year, and a promise of progress to come.

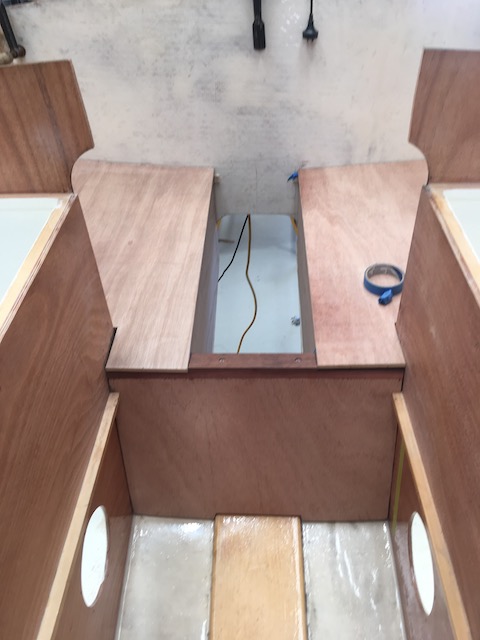
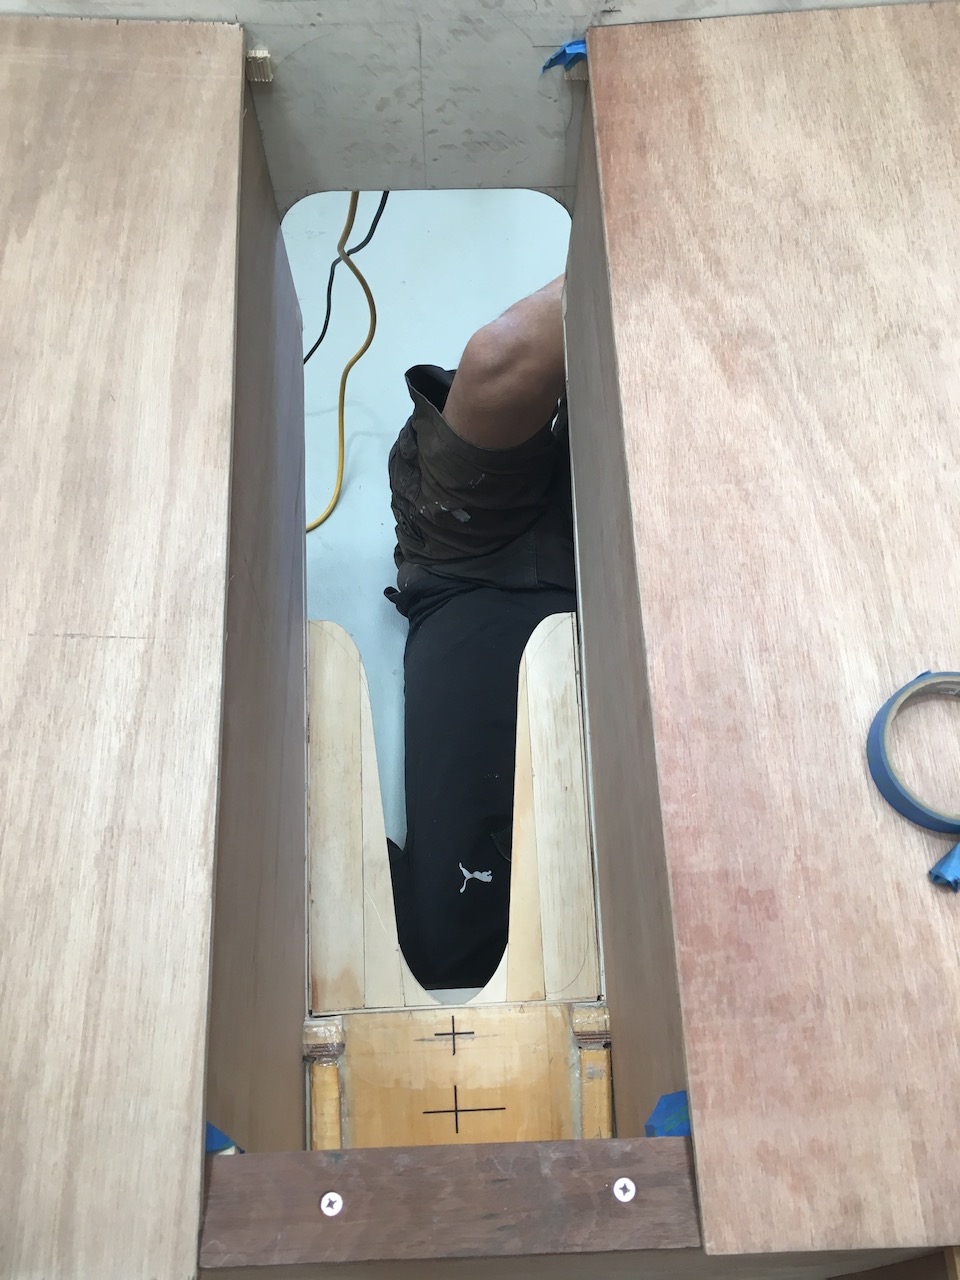
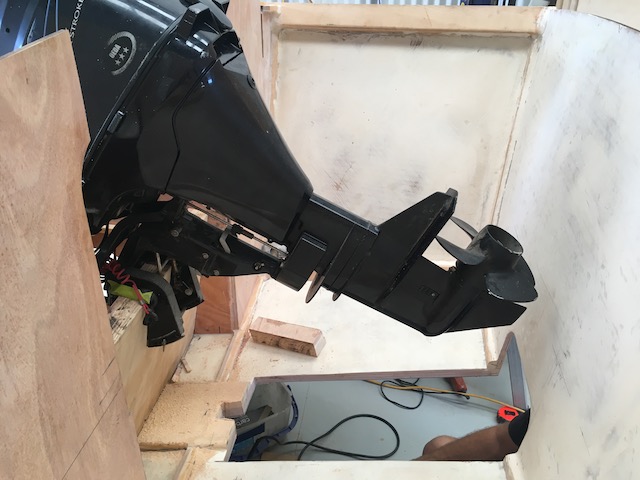
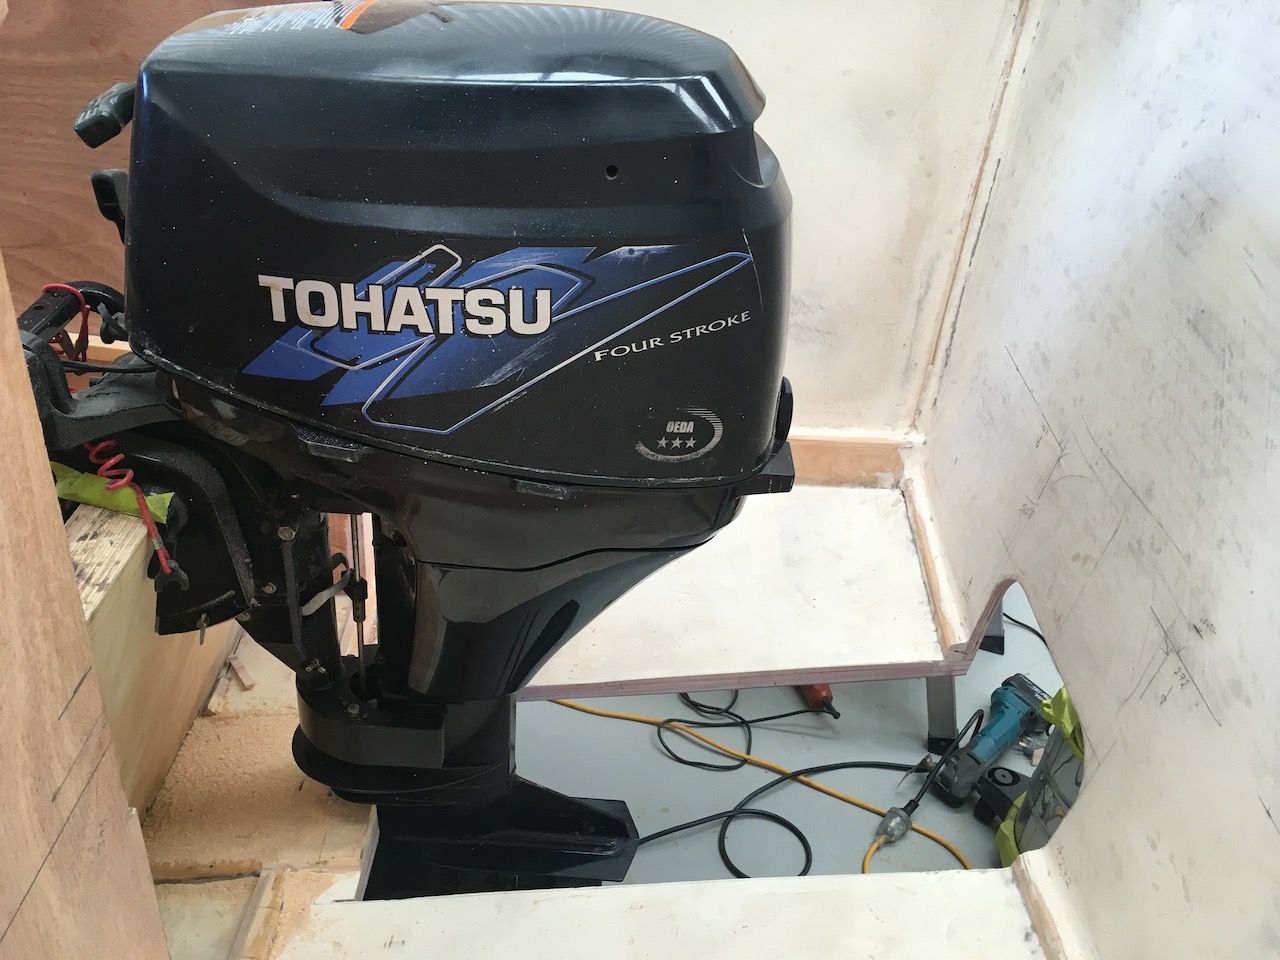
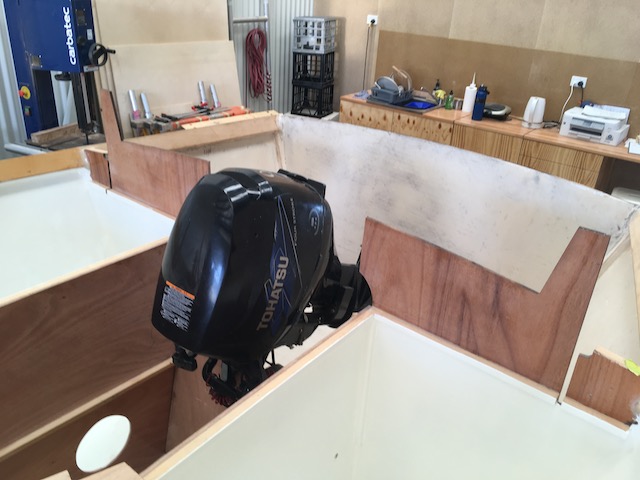
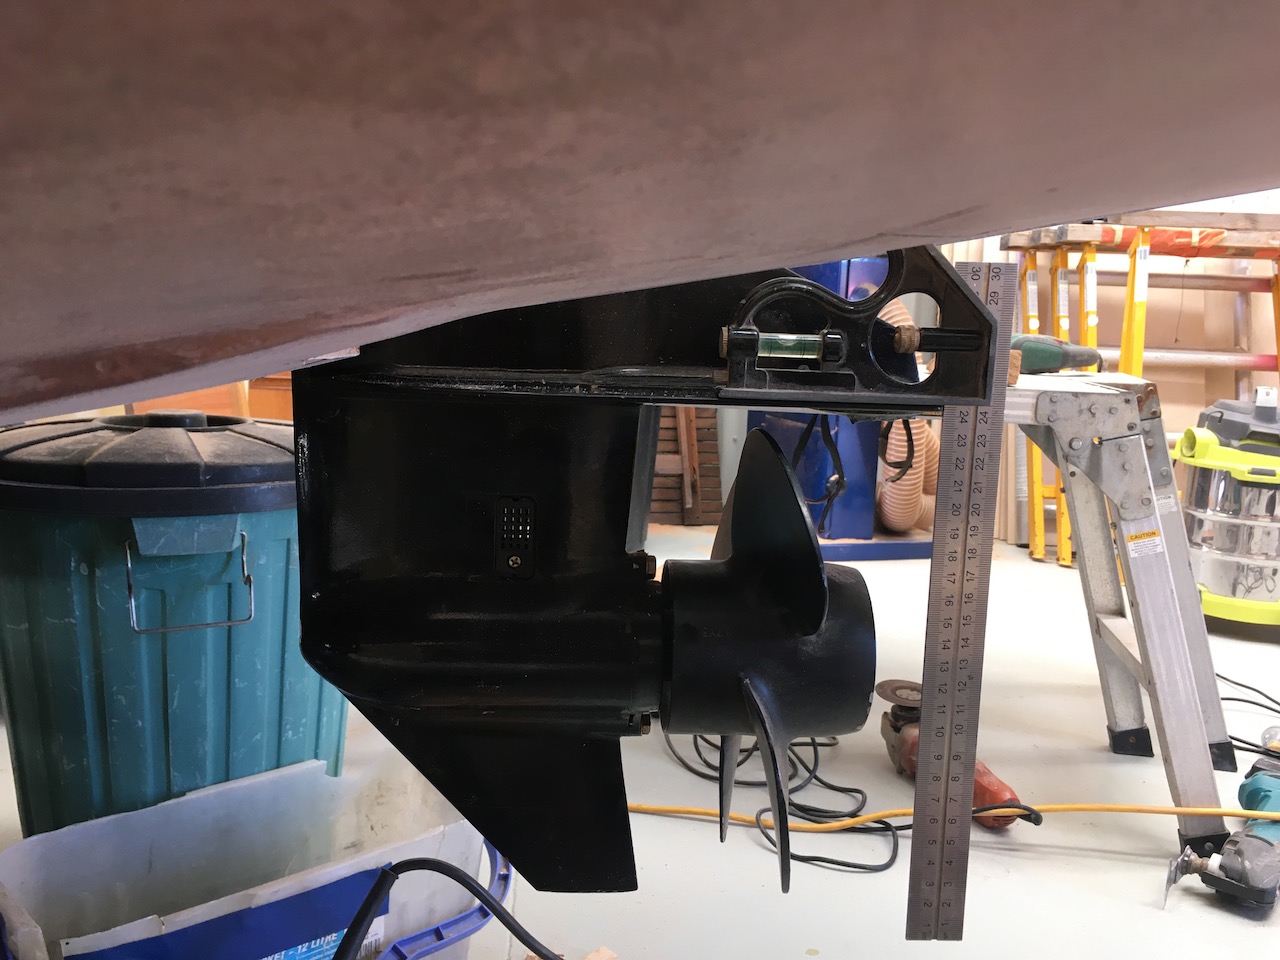
Troy and his team jumped into puzzling out the motor well. It is a puzzle because each motor has slightly different dimensions and the available space is limited. It must be neat, out of the way and function well.

Cutting that hole in your own hull is anxiety inducing. I am sure it has stolen good progress and sleep! But in the hands of another, and that other is a professional with a can-do attitude, it just happened.
It reminded me of a time building my Whilly Boat when I needed to cut the centreboard slot in the keelson. I must have stared at it for weeks. Then one day, another builder in the shared space who was sick of my faffing, grabbed a 12″ circular saw, mounted the up-turned hull and plunge-cut the slot in minutes. I was swept away with his daring-do.

I learned nothing, I still measure fifty three times before cutting.

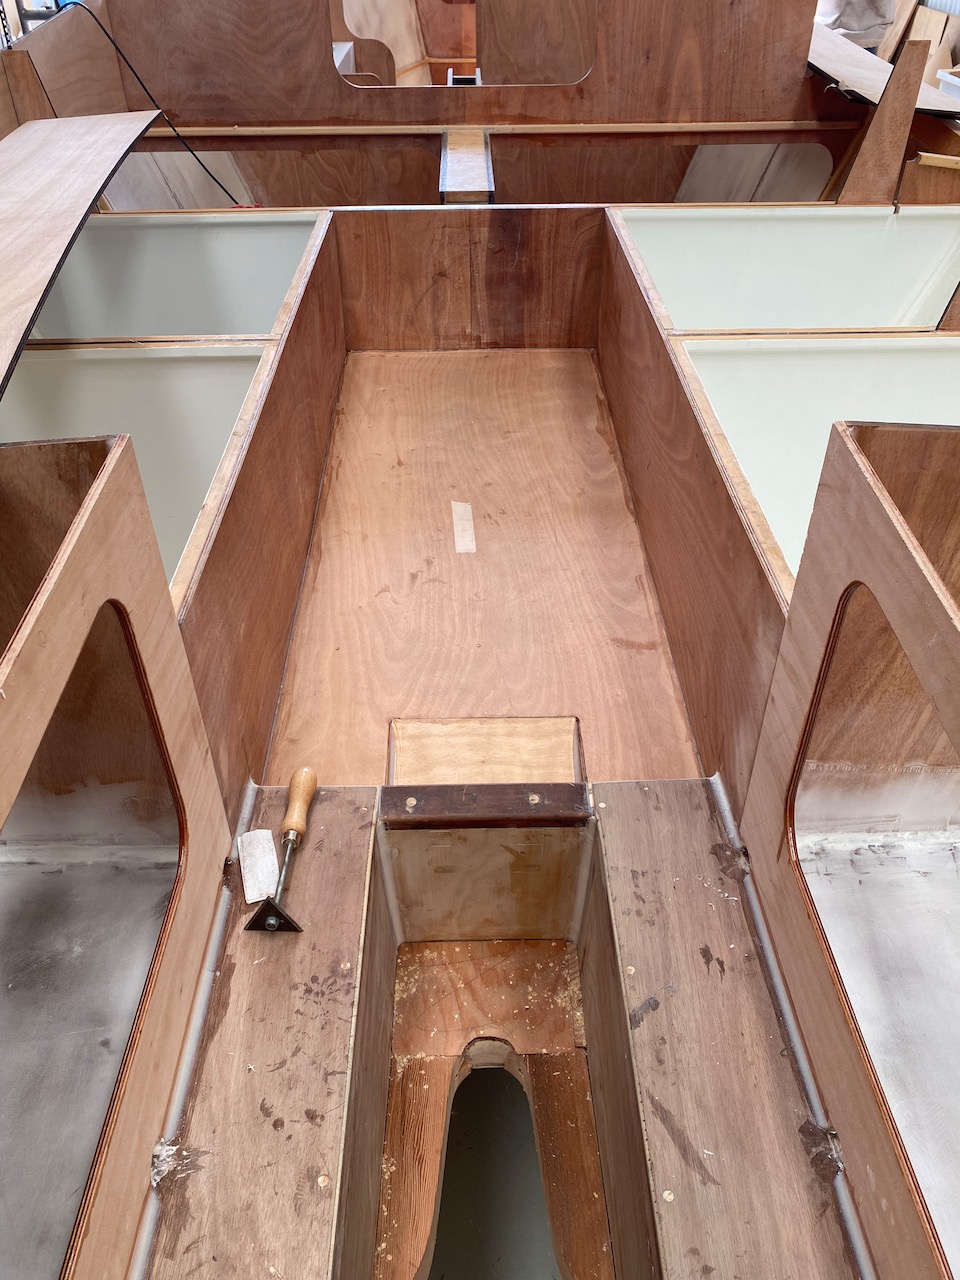
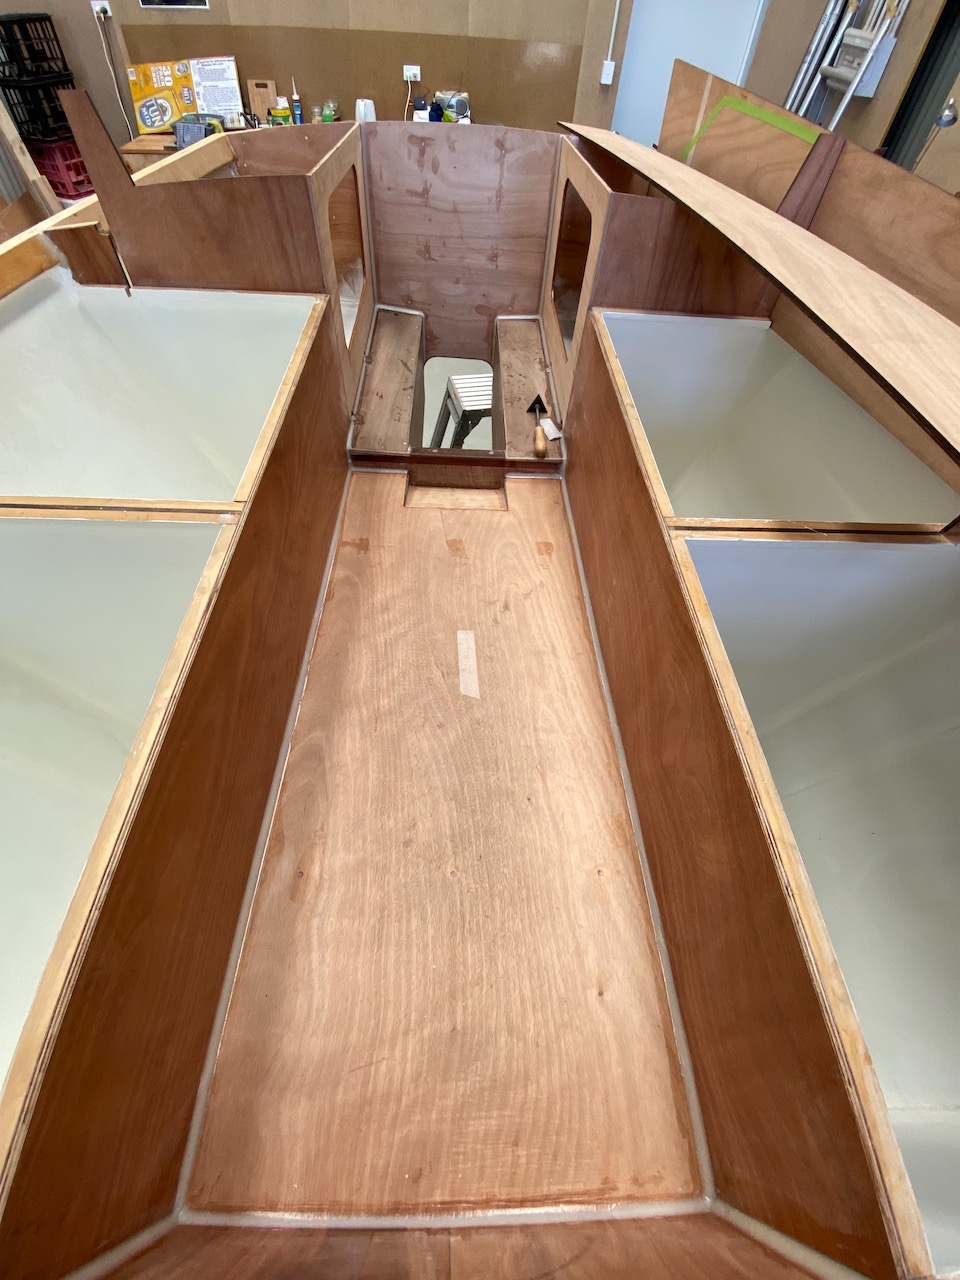
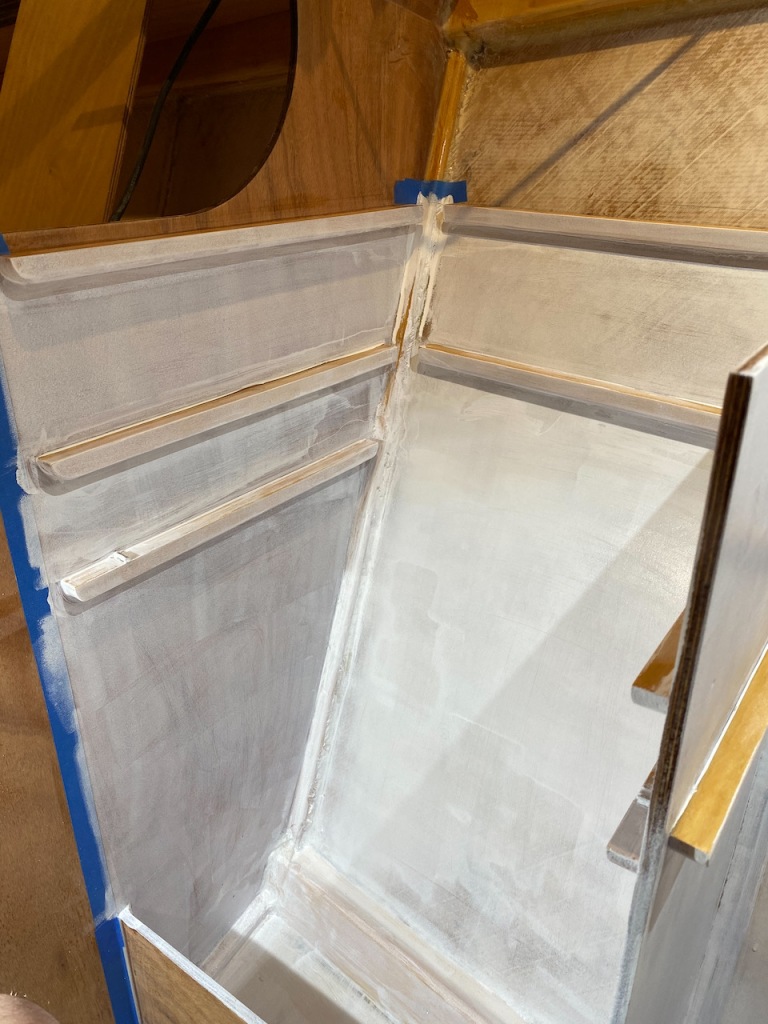
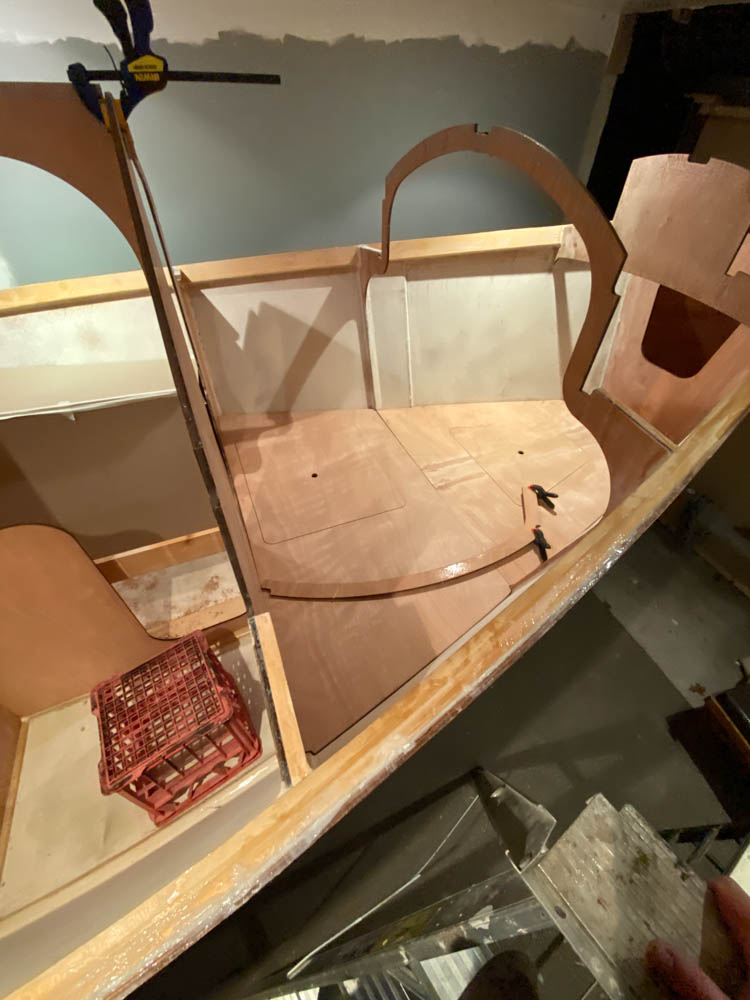
So yet again, a hole is cut for me. And following on from this bravery, the motor mount is perfectly angled and epoxied in, the cheeks either side of the slot are heavily glassed, the fuel tank lockers are sized and set up and the cockpit sole is in…wow.

Troy is working to what I can afford, so the progress is not blitzkrieg, but is solid progress. I go down most Fridays and the odd Saturday to potter on the internals, making my own kind of headway, more like Slocum trying to get through the Strait of Magellan.
Update: I should have mentioned my wrist situation (as a bit of an excuse): things are improving, the stamina is limited, but recovery pain from use is mostly fading overnight without the need for painkillers. 🙂
Categories
Personal Uncategorized

Farewell Dad

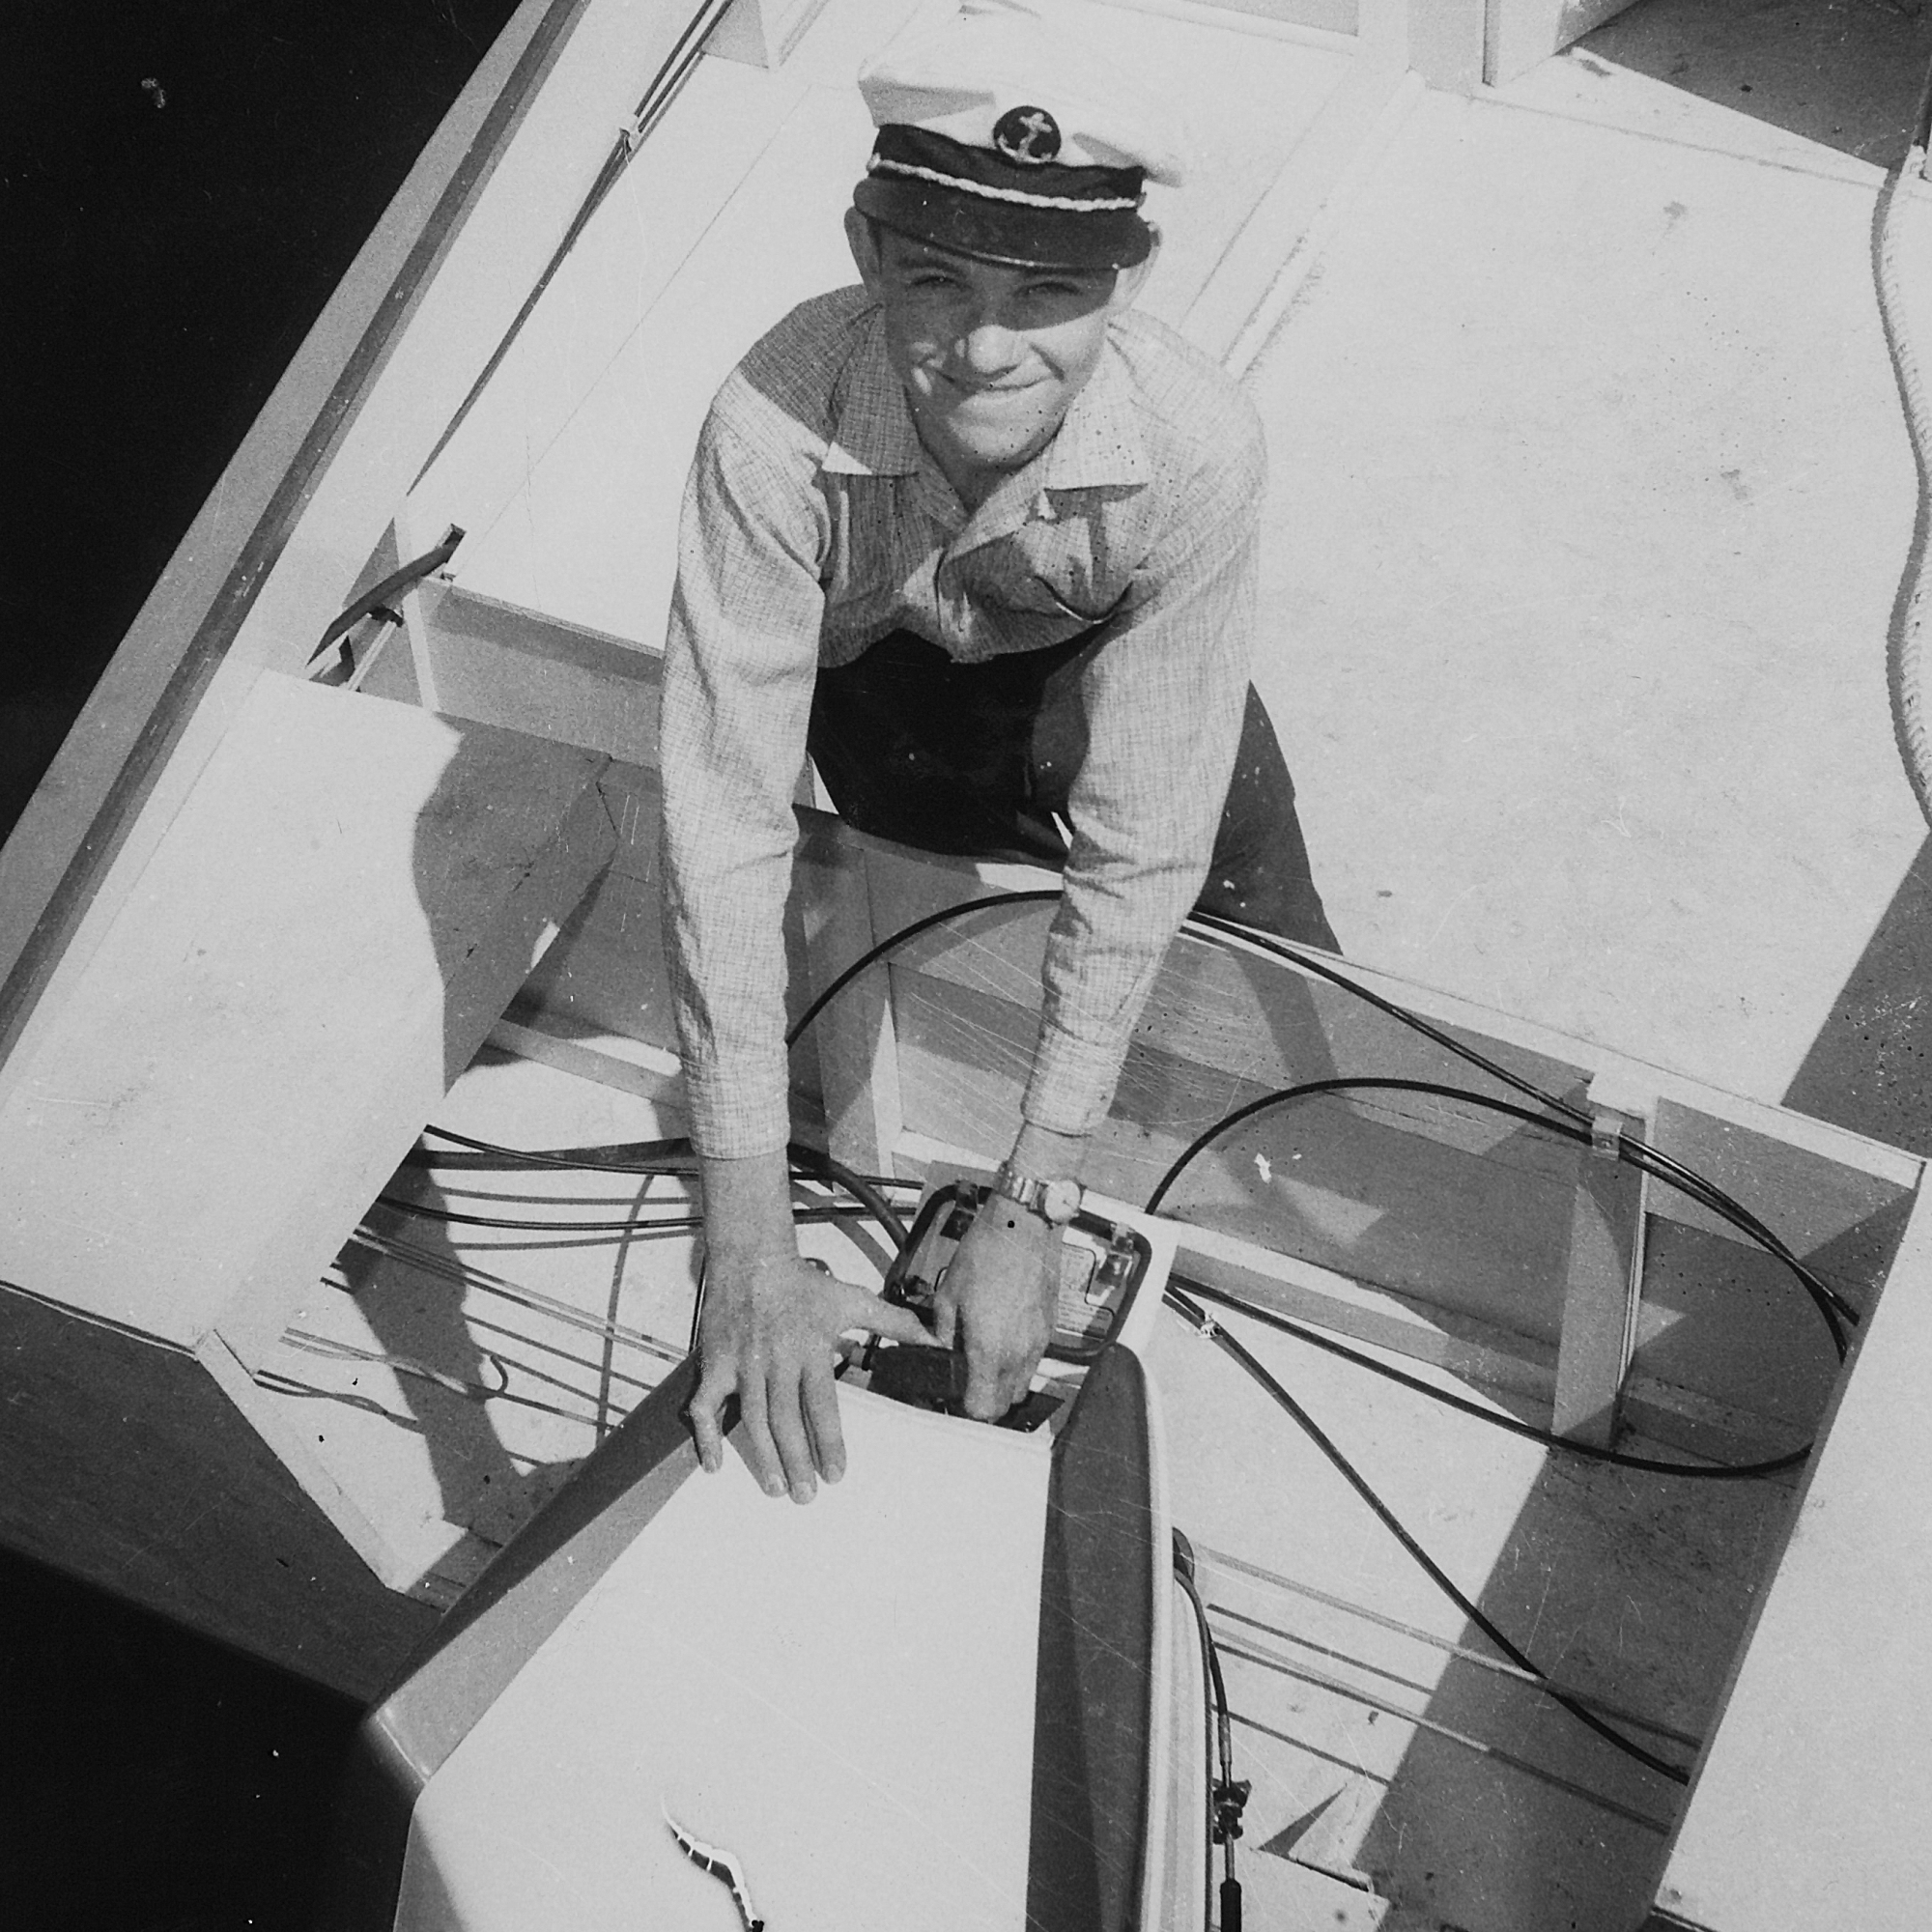
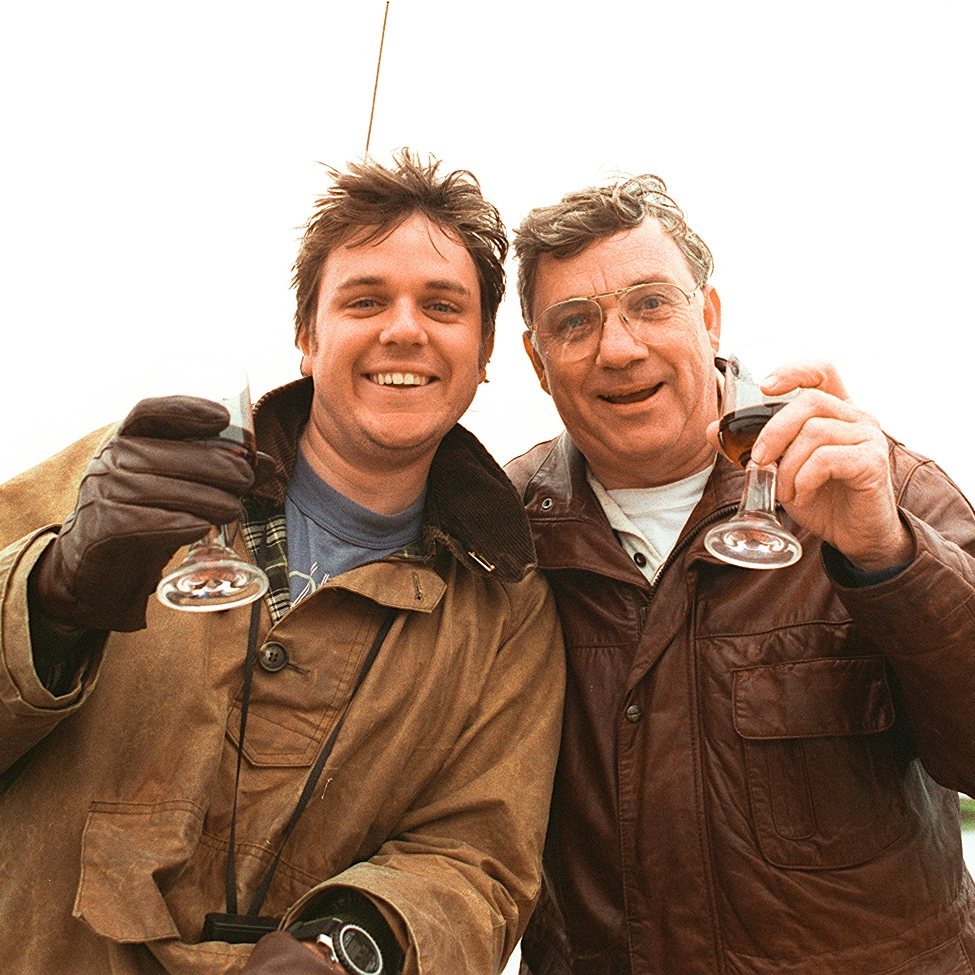
In July this year I went up to Cairns to be with my mum as my father died.

That is a big sentence. That was a big experience.

Dad and I had worked together for my entire life (I was on the payroll at 12), sharing the ups and downs of owner-operator business. We had maintained a family relationship as best as possible, though that’s often the victim in these ventures. I certainly loved and looked up to him my entire life. So it was a big thing.

Leukemia and the inevitable infections that come with no immune system, were the culprits. He had three years with the disease, but I suspect it was present in one form or another many years leading up to the diagnosis, when he seemed overly tired from everything. It was a hard watching him grind to a halt for what felt like ten or more years.

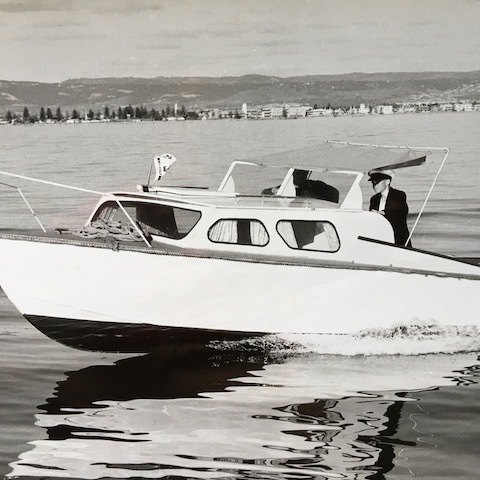
Dad loved boats, he had built a Hartley Pacemaker when he was 16 (and sold it when marrying mum to build our first home), we also had a runabout in my teens, a 16′ Savage Vampire, which we shared such joy in throwing around. I picked up sailing around that time, something dad never connected with. But he supported every boat I loved. He understood.

We made a few trips up river in my 24’ David Payne gaff cutter, motoring and camping. He wasn’t in his natural habitat in a tent, but he always joined in the fun.

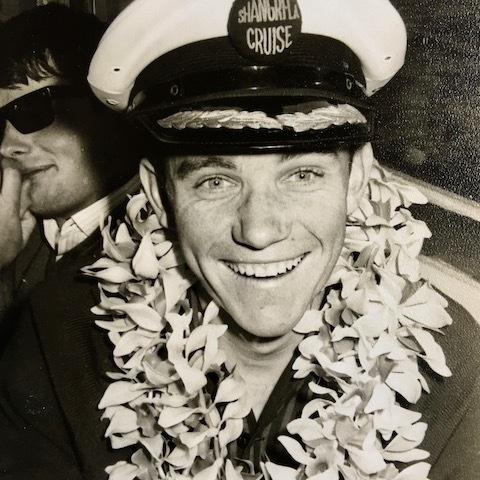
I feel he was owed more time on the water. He did hit the cruise ship circuit with mum, but he was such a natural skipper, such a talented boat handler, he deserved more than a berth with a balcony.

It breaks my heart that he didn’t see this of mine boat built, but as Australia’s favourite crook Ned Kelly once said, “Such is life”.


If you want to read more about Dad’s professional and personal life here are some links:

On the business blog.

On an industry publication, the Imaging Insider.

YouTube video of his Memorial Service.

Categories
Book classic boat Friends Personal Philosophy Robert Ayliffe wooden boat

Log from the Sea of Cortez

Many years ago, Robert Ayliffe told me of this Steinbeck story which theorised mans’ primal relationship to boats, particularly the unnervingly consistent rapping on hulls that we all mindlessly do when up close with wooden boats. You can read the excerpt below, it is well worth a boat-lovers’ minute.

How I came to this quote again? I was reading the latest Wooden Boat Magazine, and they announced the launching of Western Flyer, the boat Steinbeck and friend chartered for scientific purposes, and the beating heart of Steinbeck’s novel. It was found derelict and has been lovingly restored. I grabbed a copy of “Log from the Sea of Cortez”, and drank it down.

Read this and tell me your heart did not skip a beat:

“There is an “idea” boat that is an emotion, and because the emotion is so strong it is probable that no other tool is made with so much honesty as a boat. Bad boats are built, surely, but not many of them. It can be argued that a bad boat cannot survive tide and wave and hence is not worth building, but the same might be said of a bad automobile on a rough road. Apparently the builder of a boat acts under a compulsion greater than himself. Ribs are strong by definition and feeling. Keels are sound, planking truly chosen and set. A man builds the best of himself into a boat—builds many of the unconscious memories of his ancestors. Once, passing the boat department of Macy’s in New York, where there are duck-boats and skiffs and little cruisers, one of the authors discovered that as he passed each hull he knocked on it sharply with his knuckles. He wondered why he did it, and as he wondered, he heard a knocking behind him, and another man was rapping the hulls with his knuckles, the same tempo—three sharp knocks on each hull. “During an hour’s observation there no man or boy and few women passed who did not do the same thing. Can this have been an unconscious testing of the hulls? Many who passed could not have been in a boat, perhaps some of the little boys had never seen a boat, and yet everyone tested the hulls, knocked to see if they were sound, and did not even know he was doing it. The observer thought perhaps they and he would knock on any large wooden object that might give forth a resonant sound. He went to the piano department, icebox floor, beds, cedar-chests, and no one knocked on them—only on boats.

How deep this thing must be, the giver and the receiver again; the boat designed through millenniums of trial and error by the human consciousness, the boat which has no counterpart in nature unless it be a dry leaf fallen by accident in a stream. And Man receiving back from Boat a warping of his psyche so that the sight of a boat riding in the water clenches a fist of emotion in his chest. A horse, a beautiful dog, arouses sometimes a quick emotion, but of inanimate things only a boat can do it. And a boat, above all other inanimate things, is personified in man’s mind. When we have been steering, the boat has seemed sometimes nervous and irritable, swinging off course before the correction could be made, slapping her nose into the quartering wave. After a storm she has seemed tired and sluggish. Then with the colored streamers set high and snapping, she is very happy, her nose held high and her stern bouncing a little like the buttocks of a proud and confident girl. Some have said they have felt a boat shudder before she struck a rock, or cry when she beached and the“surf poured into her. This is not mysticism, but identification; man, building this greatest and most personal of all tools, has in turn received a boat-shaped mind, and the boat, a man-shaped soul. His spirit and the tendrils of his feeling are so deep in a boat that the identification is complete. It is very easy to see why the Viking wished his body to sail away in an unmanned ship, for neither could exist without the other; or, failing that, how it was necessary that the things he loved most, his women and his ship, lie with him and thus keep closed the circle. In the great fire on the shore, all three started at least in the same direction, and in the gathered ashes who could say where man or woman stopped and ship began?”

Excerpt From
The Log from the Sea of Cortez
John Steinbeck

Categories
Boat Building norwalk island sharpie

The boat gets moved.

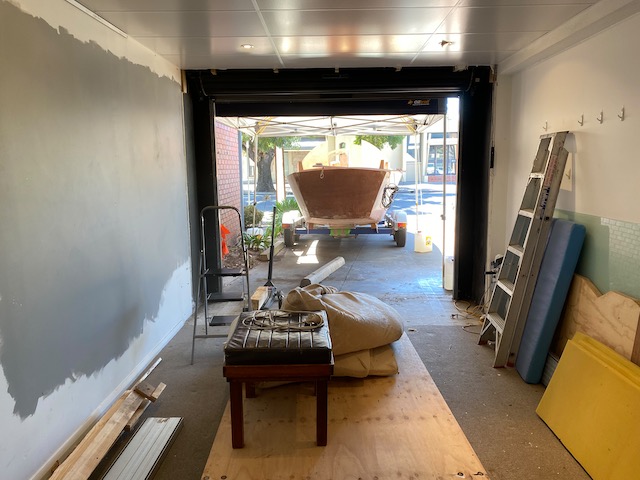
Before my recent surgery I was urged into moving the boat so the business could claim some of my extravagant space back.

I towed the boat with my 1966 SII Landrover, we made such a spectacle I was stopped twice to answer questions.

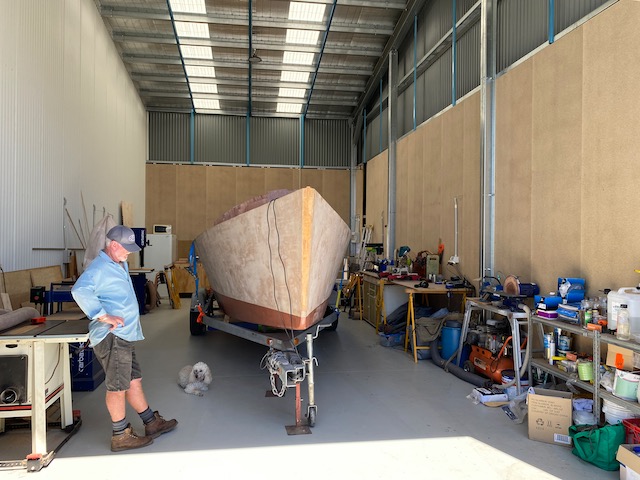
I was pretty excited as the destination was Adelaide Timber Boatworks. Troy Lawrence, the principal at ATB, is a well known shipwright and has recently leased a shed at the Royal South Australian Yacht Squadron opening up the ability to welcome in such projects as mine.

I knew I had a long recovery from surgery, and I was tired of progress to the boat only happening in my mind, so we’ve scraped together some money and engaged Troy on a project by project basis.

First up, the motor well.

The tight fit we had.
More space for work work.
Luxurious amount of space at Adelaide Timber Boatworks.
Categories
Personal Tools

Back in for a refit

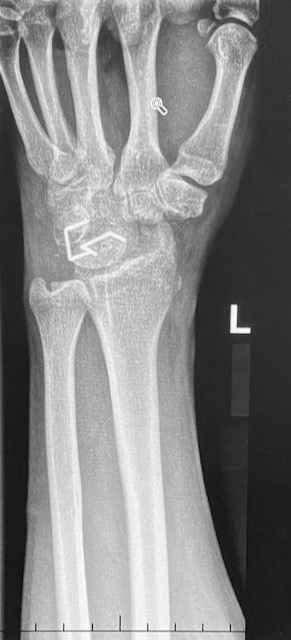
Another uninteresting medical update on my wrist.

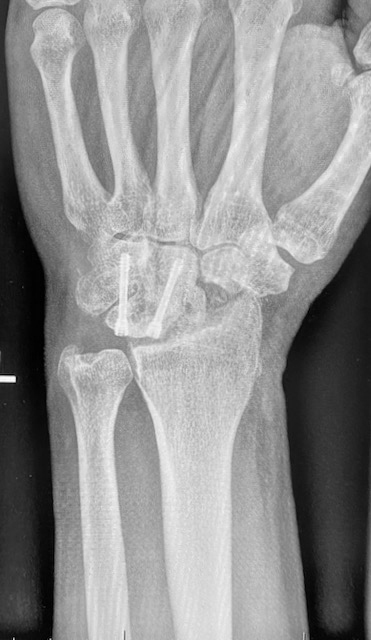
The previous procedure failed to fuse my left (dominant) wrist, so my stoic surgeon Prof Bain, went back in with screws and it seems to be holding well.

That first surgery, recovery, and revision and recovery took close to a year. More frustrations for a boat builder, and the second, in both diagnosis through to surgery and near recovery, has taken longer.

I’m not sure it has the stamina and strength yet, but it feels good. The best it has felt in years.

Categories
Boat Building Epoxy NIS Uncategorized wood work

Cockpit lockers

I am avoiding working in the cabin because I still need to trim down the centreboard trunk to accomodate the new narrower chord centreboard, so I moved aft to tackle the cockpit lockers.

The kit’s pre-cut panels slotted in nicely demonstrating both the router robot and I are in harmony. Yay!

Dry fitting of the portside locker

Knowing under the cockpit sole will be inaccessible, and effectively a sealed buoyancy tank, I chose to put an access hatches in from the sides from each of the four lockers so I can inspect under there. I considered how awkward it will be, hanging in the locker upside down and having to worm in an arm, so I attempted to plan for this in the placement of the holes. I considered forearm length, elbow movement and where I’d want to get to. I picked up a four screw-fit hatches from BCF (Boating Camping Fishing) and a set of brass nuts and bolts from The Wood Works.

The cleats will give plenty of surface area for the seat tops and sides and cockpit sole to bond and form a structure that takes some of the most abuse in a boat.

Then it’s in with the cleats and fillets to lock it all up. Next the entire area got a good sanding and several coats of clear epoxy. Under the sole got extra attention with epoxy, it’s like hard toffee in there.

You can really see the structure of the lockers building strength

The lockers themselves will suffer from being dark caves of lost gear, so I chose to paint them heartily with white Aquacote to bring in the light. I am worried about the pounding they will take over time, so I intend to put rubber matting on their soles.

It was a rewarding part of the build because I felt less precious about the visual finish, and called “done” based on it’s feel. They now glow optimistically awaiting their hatching-in and dark future of servitude.

Cockpit Lockers ready for their tops
Starboard lockers
Under the sole

As an aside, the situation with my damaged wrist four years ago has not improved. It’s not that it is horribly worse, but these past four years have meant no more than a few hours work can be done at a time before I have to stop, and a good days work on the boat can mean a week recovering. Finishing out these lockers really highlighted the problem. After standing back and admiring my work, I booked and appointment with the surgeon to get a fusion.

Categories
Boat Building NIS norwalk island sharpie wood work

Galley complete

Complete? As far as any prototype can be.

When assembling the design, I realised it is likely something will need changing, whether it be the magnetic catches, or the smooth white finish, or the gray water holding. Regardless, I am pleased with it, and it is serviceable as a galley.

At present I am trapped in recovery from surgery to fuse my wrist and keen to keep the boat build rolling. Part of the build is this blog, so enjoy the video, I made it long after completion of the galley. Better late than never!

Categories
Boat Building Epoxy NIS norwalk island sharpie Robert Ayliffe Uncategorized wood work

Galley

The blank canvas that is a NIS galley loomed large on my little horizon.

How much can you achieve in such a small place? Do I follow the L Francis Herreshoff “Cedar Bucket” plan of elegant austerity? Do I get tricky and attempt carpentry magic with little cupboards and clever nooks to retain the vittles?

Reality check: it’s a big boat, but it’s not that big and the degree of meal preparation, cooking, and wash up will be limited by a single burner stove, small sink and imagination. So the priority must be to maximise bench space, facilitate the stove to operate safely, and allow for dishes to be washed or stowed.

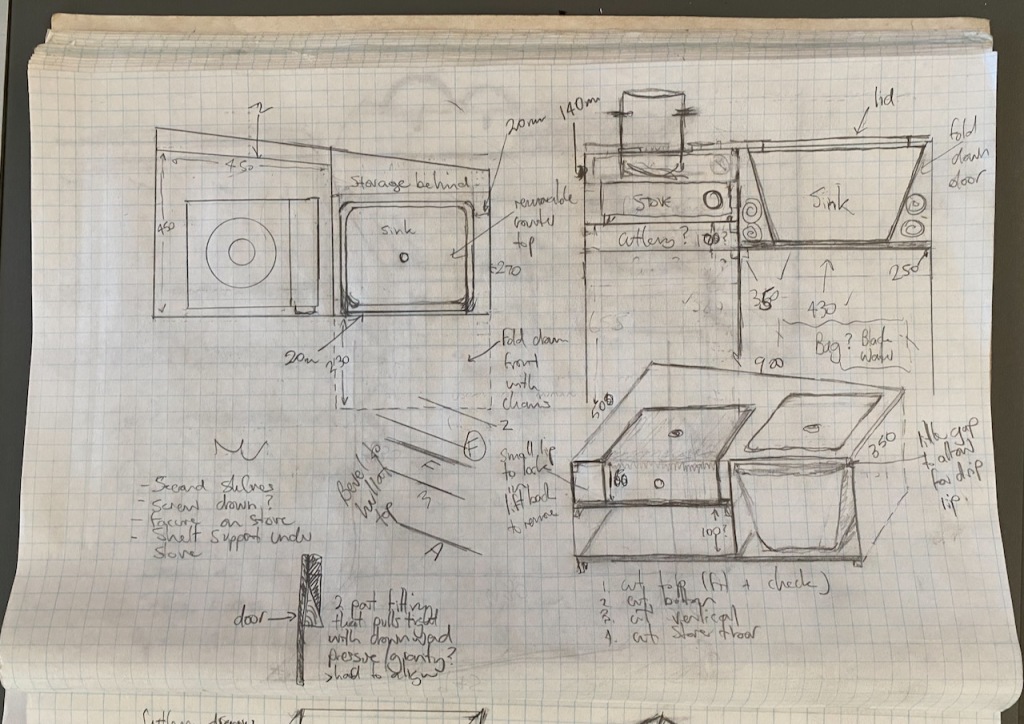
The plan.

The stove choices are pretty slim when space is a priority, I quickly gravitated to the butane options as my old boat Fresh Aires saw many meals made with one. Furthermore, research suggests they are very popular, and while butane is risky indoors, the risk can be managed.

Butane stoves are light, portable and deliver a lot of heat, the fuel is cheap and comes in convenient cans. I also love the idea of taking the stove outdoors to cook when I can, and perhaps having another stored aft to operate as a second burner for more elaborate meals.

The risky aspect is a tough call. The fuel can sink into the bilges and go bang and hot when ignited. So I will install vapour sniffer alarms and use the stove in the cockpit when possible.

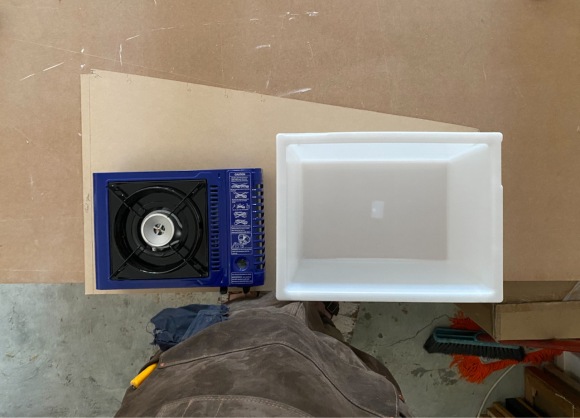
That decided, I rushed out and purchased the most modern, slim lined unit to serve as a template for this part of the galley.

Stove and sink on an upside-down template of the galley counter top. i.e. the limits.

Next the sink. I’ve done a lot of camping and wrestled with washing up. Success in this department relies on two elements, hot water and a good sized bucket. For hot water, we have the stove. To contain the splashy soapy water, the sink should be deep and as broad as a fry pan. A quick trip to the local plastics shop yielded an ideal translucent white tub.

I thus had my two defining elements for the galley area. They both dictated the layout of the counter top and the depth of the first shelves.

I chose to sit these items inside the galley unit with lids to reveal when needed, keeping the surface clear. I contemplated a drain for the sink, and have not settled on that as yet, but for the interim, the tub can be slid out and the waste poured off. The tub really is big enough to accumulate dishes over the day and keep them hidden beneath it’s lid. The lid fits well, so I think this is all fairly practical.

Rough fit up.

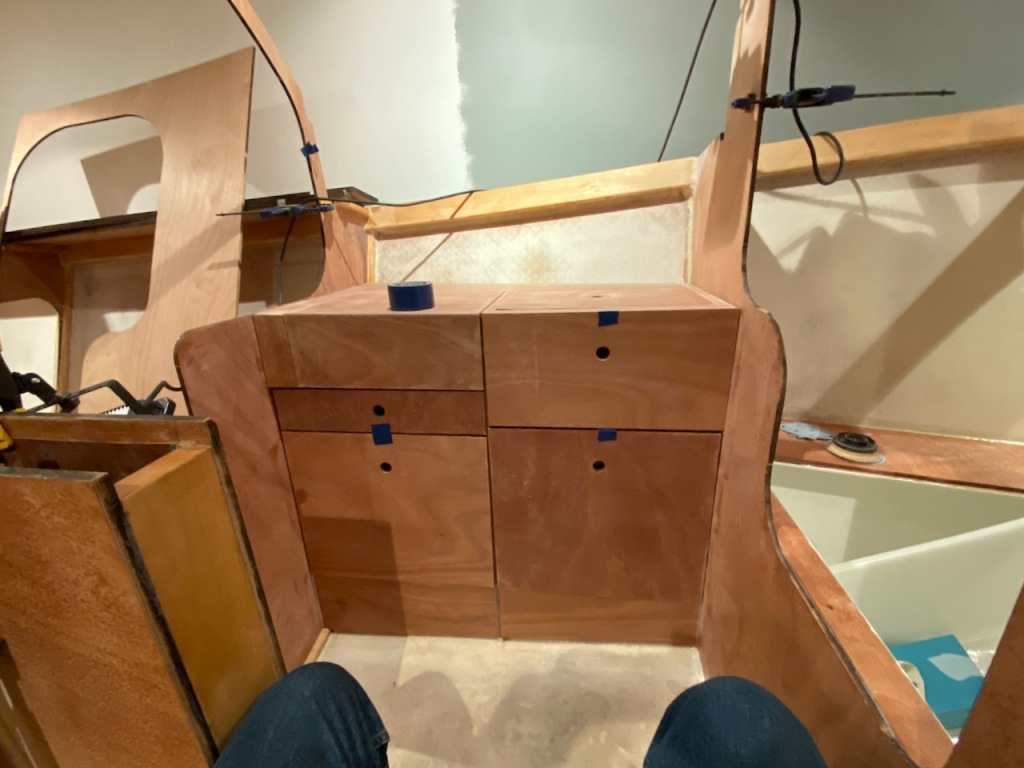
A good sized cutlery draw was next on the plan, and this was spiled up to maximise it’s shape against the hull. The draw runs on Hoop Pine runners and a 6mm diameter brass rod acting against a notch to all hold the draw in when heeling. No further tricky storage has been built, below the sink and stove are big openable cupboards which I expect to divide up depending on how I find myself using it.

Fit check

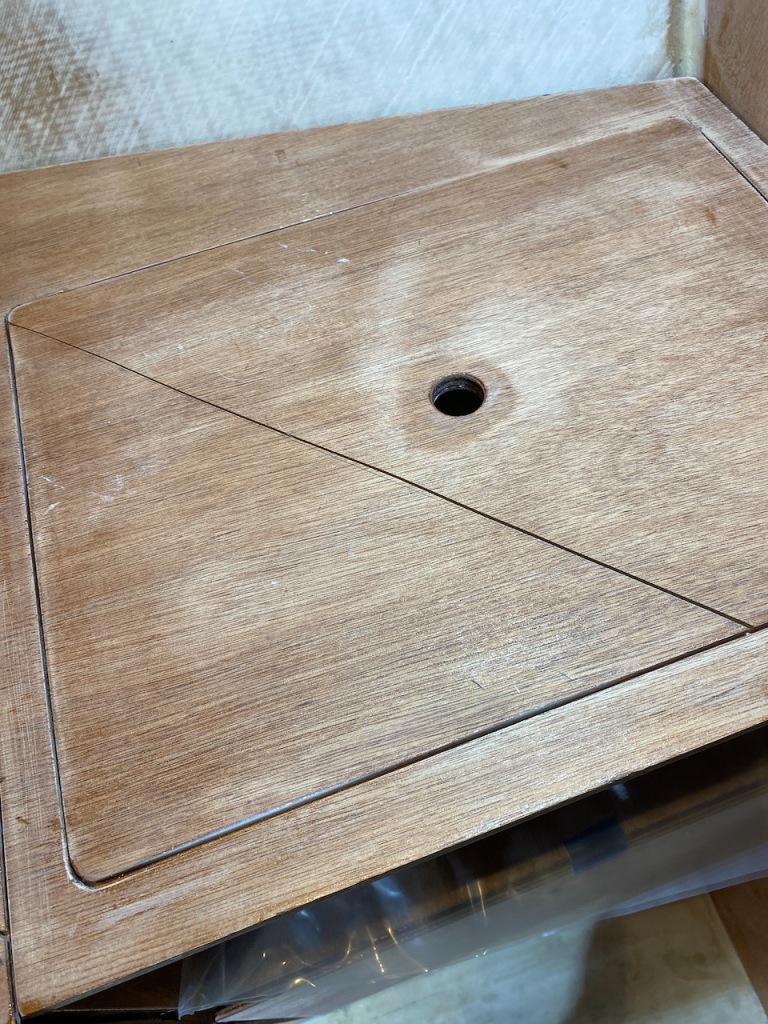
Most of the components were made out of 4 and 6mm scrap plywood, and in most instances disappointingly warped when the clamps came off. A quick call to Robert and he suggested I laminate another layer of ply to the bases where needed and make some surgical cuts at the points of tension which could then be backfilled with thickened epoxy.

Carefully planned cuts to relieve tension and stop the rock.
Sink lid gets a cut too.

These surgical cuts were disturbing to make in my nicely formed lids and draw. But as you watch the wobbly item on a flat surface it was obvious something had to be done. By observing where the rocking piece pivots, you can decide where to cut to relieve the tension. Then with a swift stroke of a Japanese pull saw, some weights to flatten while the fill of epoxy sets, a good sand, and hey presto, flat like an CNC sheer!

Next we paint.

Categories
Boat Building Epoxy Tools wood work

V-berth

The plans place a bulkhead in the middle of the berth, allowing for good support and a natural break up of compartments, it also sets the height and level of the horizontal surface.

My work with the cleating gave a good outline of the shape, and the kit has provided both for and aft panels so it should be a cinch, all I need to decide on is the access hatches’ size and position.

Not quite a cinch as you may have guessed by the flippant nature and my choice of the word. My building has produced some irregularities, nothing more than 7mm out in places, really quite ok, but no cinch.

I found it easiest to split the forward piece in half and remove the excess, to create a regular shaped insert from the centre as the edges made a reasonable fit. Also forming part of my logic, the hatch needs structure supporting it, so the structure can also hold the halves together.

Trimming up plywood lets me use one of my favourite tools, a Number 78 Stanley plane with a guide in place. It is the quickest way to trim rough jigsaw cut edges back to a line.

I chose the openings of the hatches to be big enough to pass down large objects, but not too big as to weaken the structure.

The forward insert has to be left out (it will be epoxied in) as we need to still access the back of the first bulkhead to fit the tabernacle with ease.

The aft panel and it’s hatch required a little more consideration as bunkees need to come and go over it. I decided to make a large hatch over the port side, shaped sympathetic to the entryway, so when working up forward, with the hatch removed, you can step through the hatch to the hull. This will lessen the crawling and generally give more room to swing the cat, if the cat needs swinging. If you get my drift.

It was a treat to splash the paint about in this finished zone, a bright white Aquacote is quite ship shape in Bristol fashion. It feels finished…

Categories
Boat Building Epoxy Tools Uncategorized wood work

Fit out begins

I am loving this stage. So many small non-critical re-makeable decisions to consider, lots of fiddly templates to make, some careful cutting of plywood, lots of Purbond (polyurethane no-mix glue), and best of all, watching the living spaces resolve.

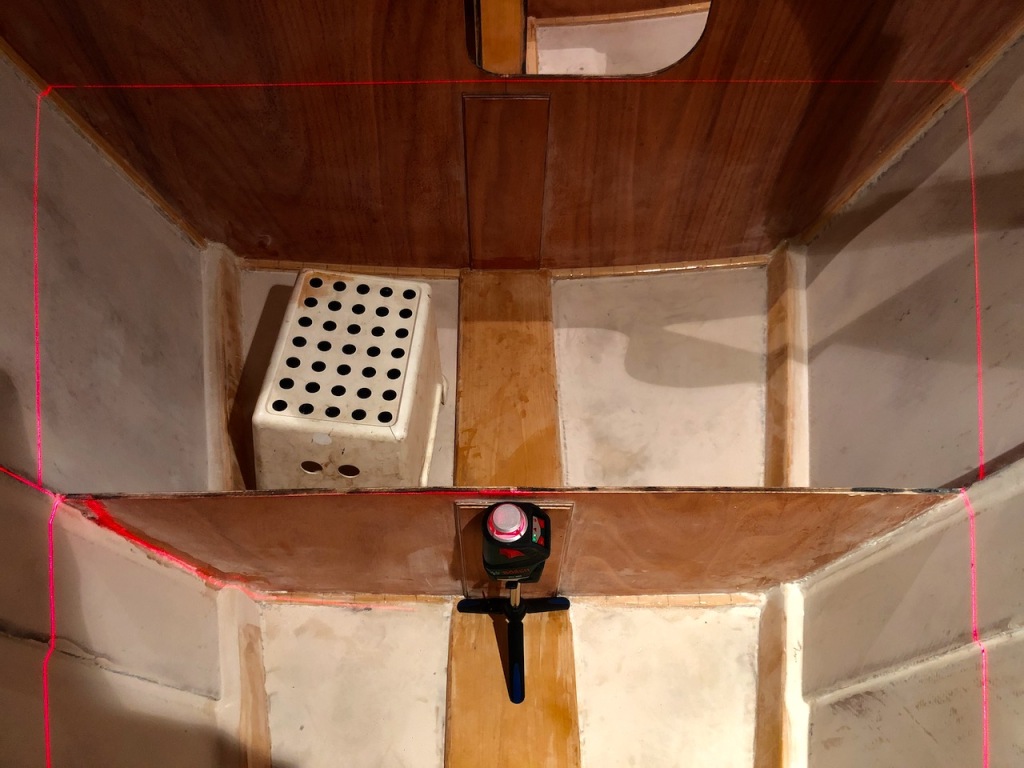
I began by levelling the boat on it’s trailer, fore and aft, port to starboard. This allows the use of a laser level to mark out the interior furniture.

Using a laser to mark out the V-berth cleats

Next I shaped the bevels for the cleats so the v shape hull sides and the flat interior surfaces can be fixed with maximum glue surface. I quickly realised it’s a job for the bandsaw and not a hand plane. Coincidentally, now the boat is housed at work, I get to use some of the workshop machinery we have for our box and frame making, (most helpful).

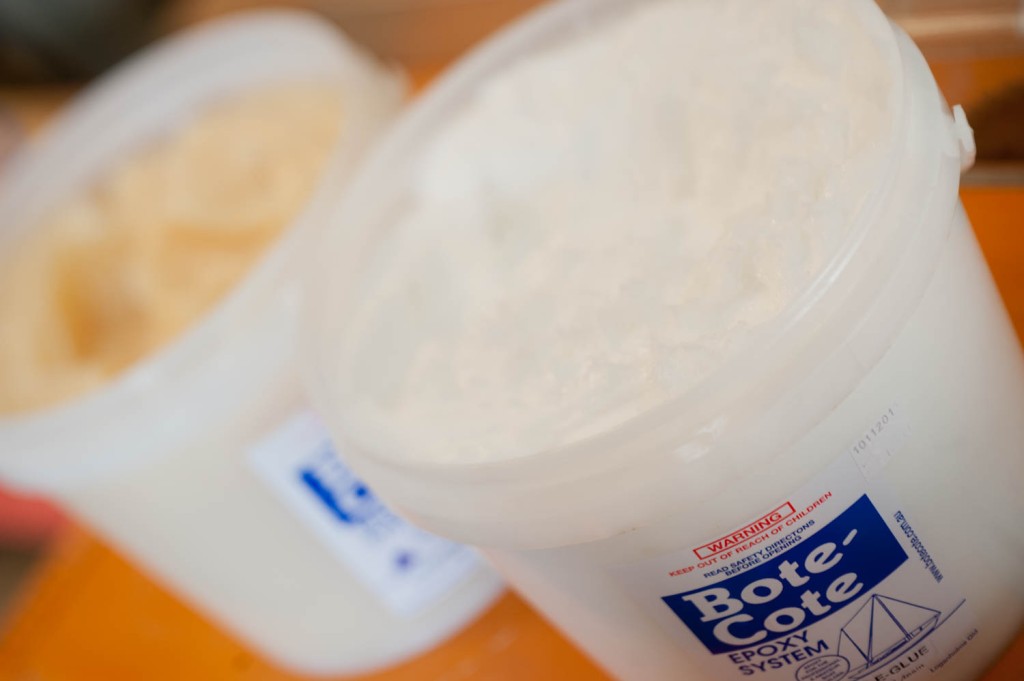
I attached the cleats with Botecote’s E-Glue, which is a dream to work with. An epoxy 1:1 mix that is already thickened, so it comes together rapidly and can fill the gaps created by my average carpentry skills. You spoon it out and mix it on a flat sheet. It’s quick and ideal for the smallest of mixes.

Botecote’s E-Glue

Some of the cleats could be clamped with spring clamps, some needed to be drilled and screw clamped, and some needed a trickier solution.

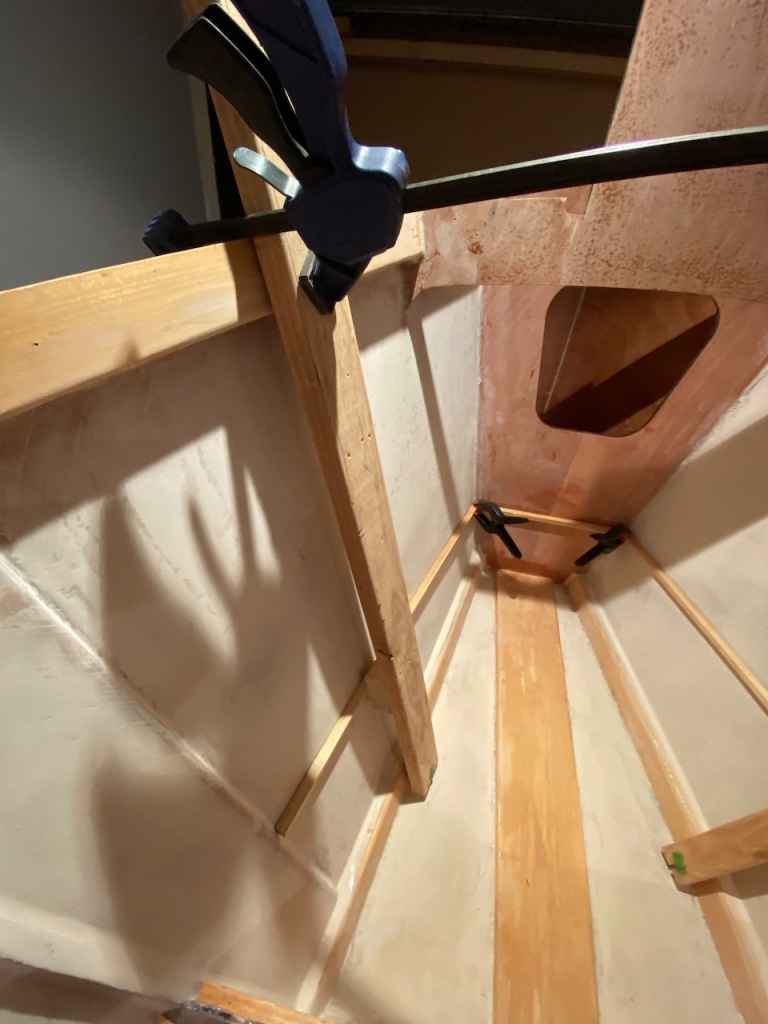
For the cleats that are midway on the hull sides, I didn’t want to drill into the topsides to clamp those cleats, so I set up a long bar that anchored with a loose screw (for quick single handed placement) into the chine logs. This bar could be clamped at the sheer with a Quick Grip clamp.

Note the screw into the chine log sits in an open slot on those clamping bars, this allowed for a dry run, break down, then a quick set up when it got serious.

I also attached the cockpit cleating, and perhaps went a bit too far and have to cut slots in the new cleats to fit in cabin sole sides and decking. I was very excited and really should have thought it through first.

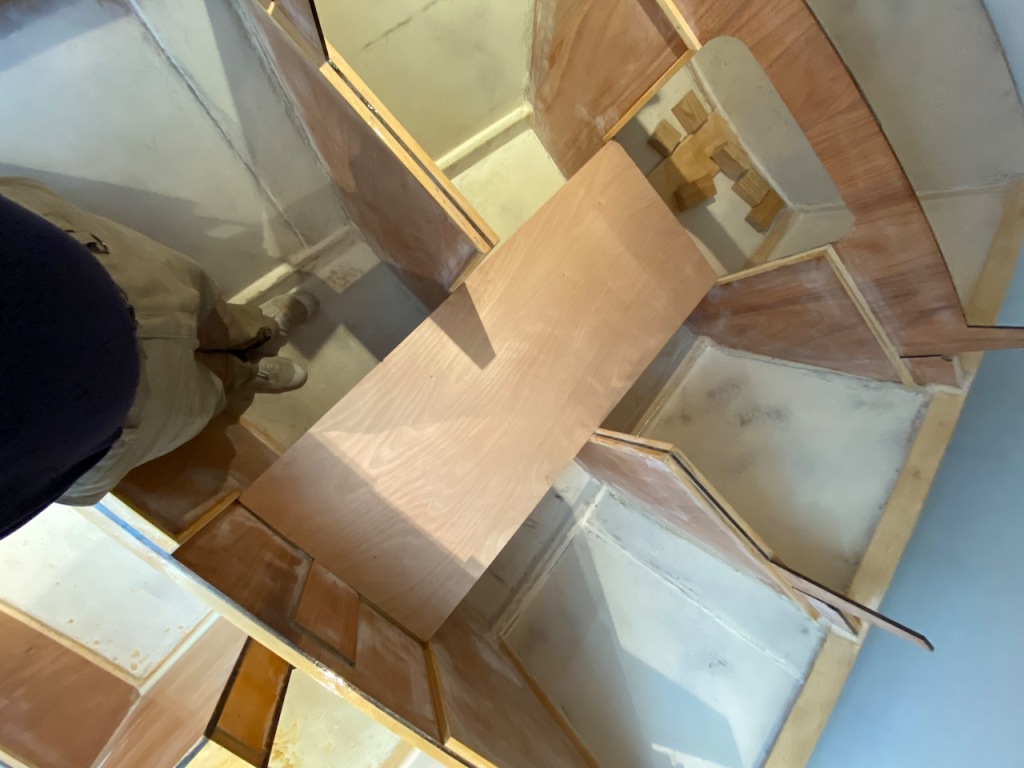
Dry fitting the self draining sole in place. It went in perfectly!

At this point it dawned on me to look at all of the kit parts that were left over and nut out where they fitted. Current kits all come labeled, but my ten year old kit has been a bit of a puzzle.

I really should have done this sooner, it was so rewarding to see how it fits. Especially the cabin sides and decks! Wow!

Wow. It’s a sharpie.